April 15, 2016
Chase DIY Workshop (and 2 easy DIY tutorials to try at home!)
I teamed up with Chase Freedom Unlimited to host a DIY party at Brooklyn Brigade, and I was so impressed by the creativity and talent of my readers! While we use our studio for our own work, we also host events, photo shoots, and workshops for other creative individuals. It makes it feel so much happier and more dynamic than a glorified (albeit brightly decorated) office, to share our space with our community.
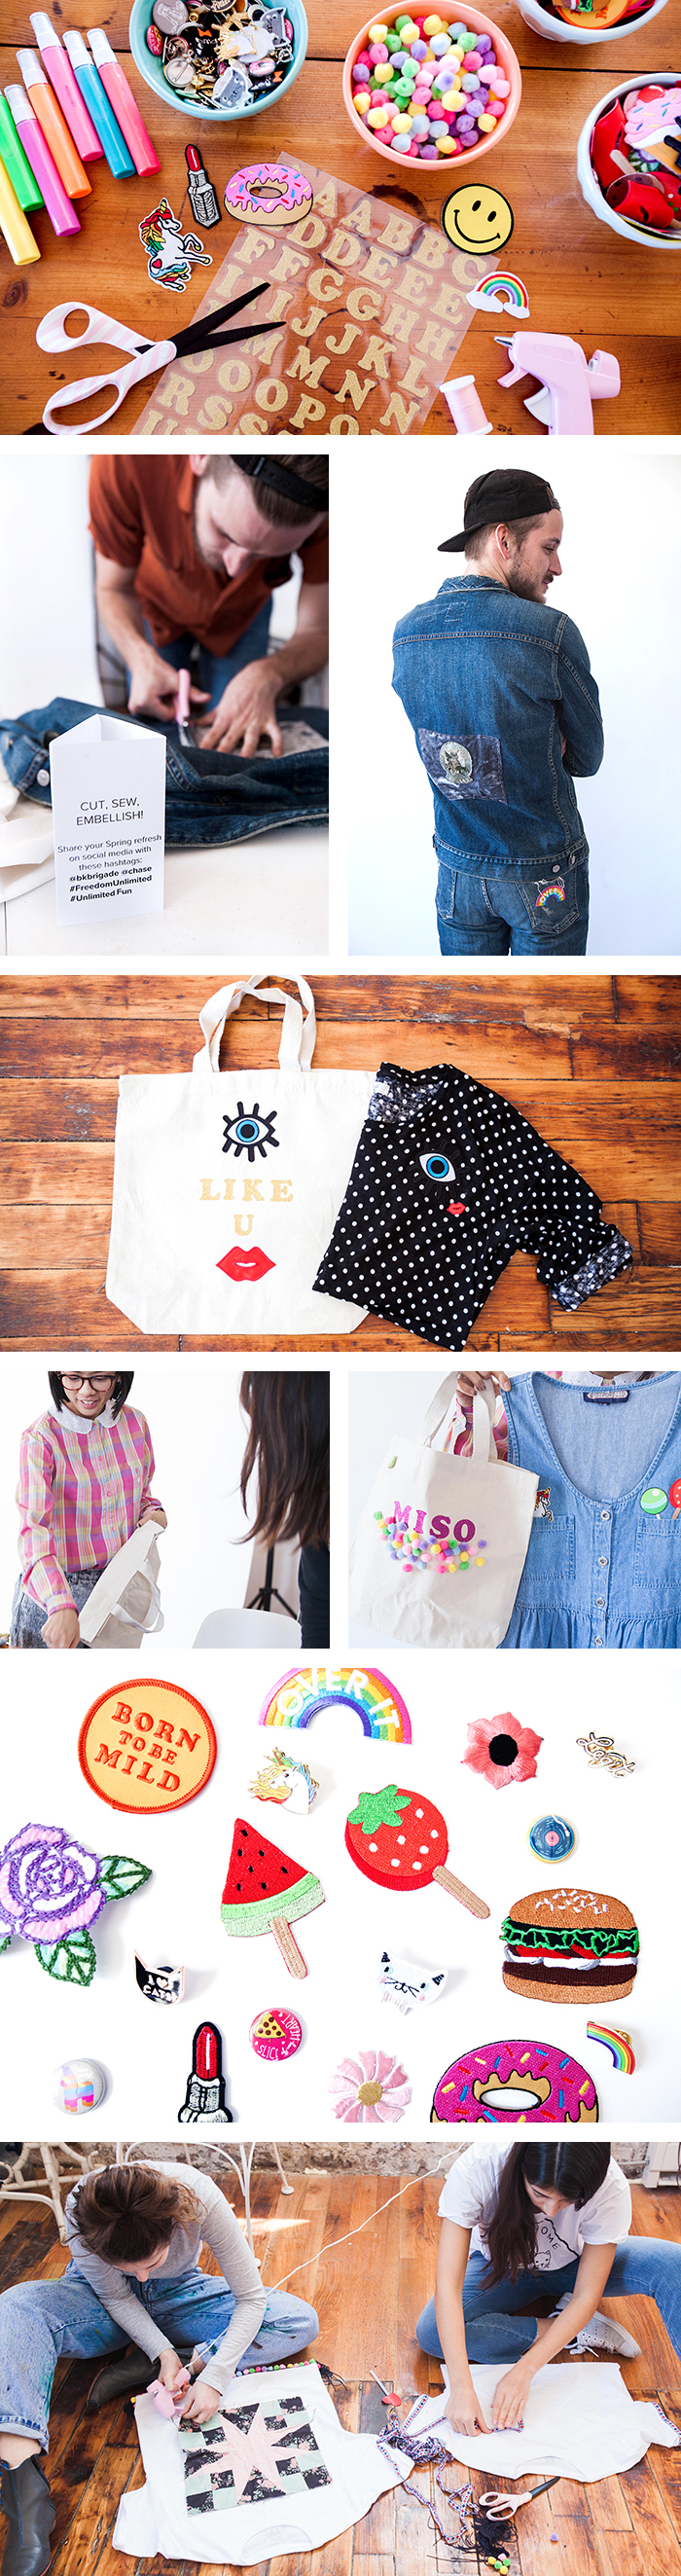
As it turns out, Chase Freedom Unlimited shares that same philosophy. By offering 1.5% cash back on everything and anything, the card gives you the purchasing freedom of taking the everyday norms and making them a lot more fun. So, we put our heads together and decided to bring in my readers for a DIY session. Each attendee brought in an item from their own closet — something that needed a revamp — and were given all the tools to make it into something new. Everyone does a little Spring cleaning in their closets, so why not take something old and make it new?
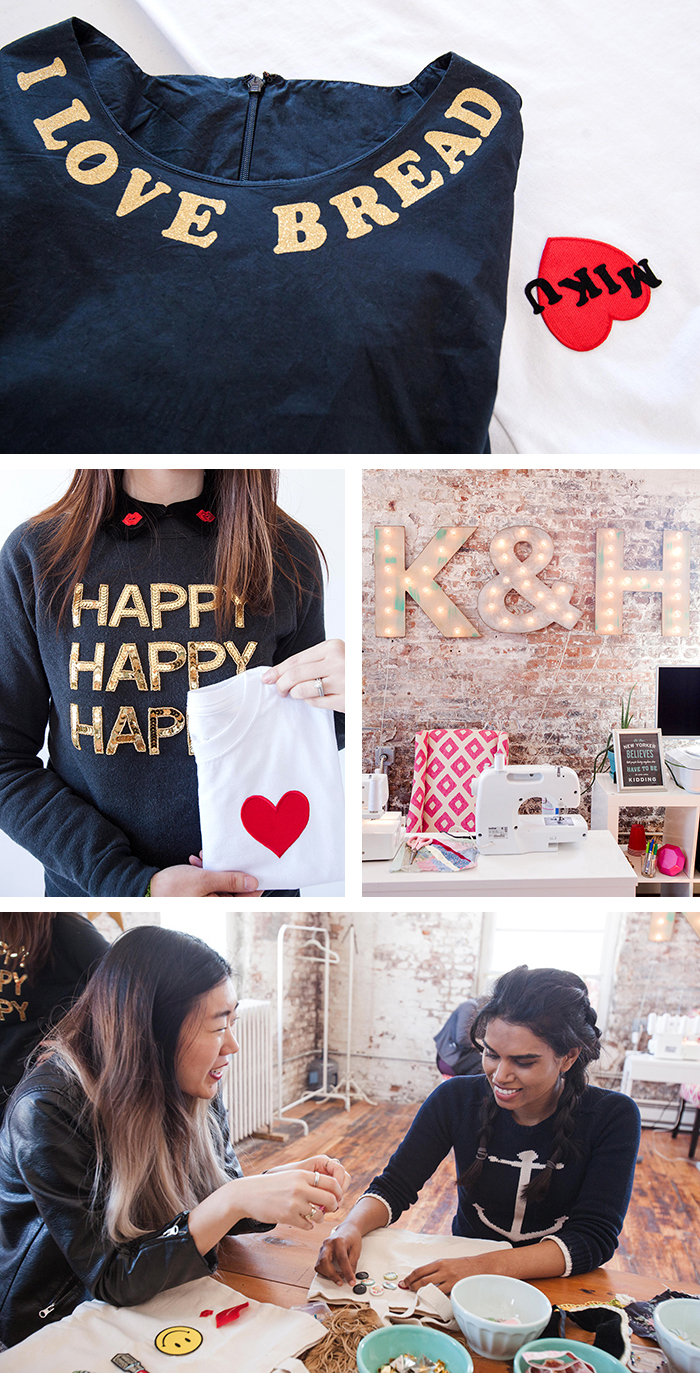
We had patches, pins, iron-on letters, collars, trims, studs, appliqués, a sewing machine, an overlock machine, hot glue guns, paint…anything they needed to reconstruct, embellish, and make something that felt fresh and revived. We also had blank t-shirts and totes for extra DIY fun, so everyone was able to go home with at least one other creation.
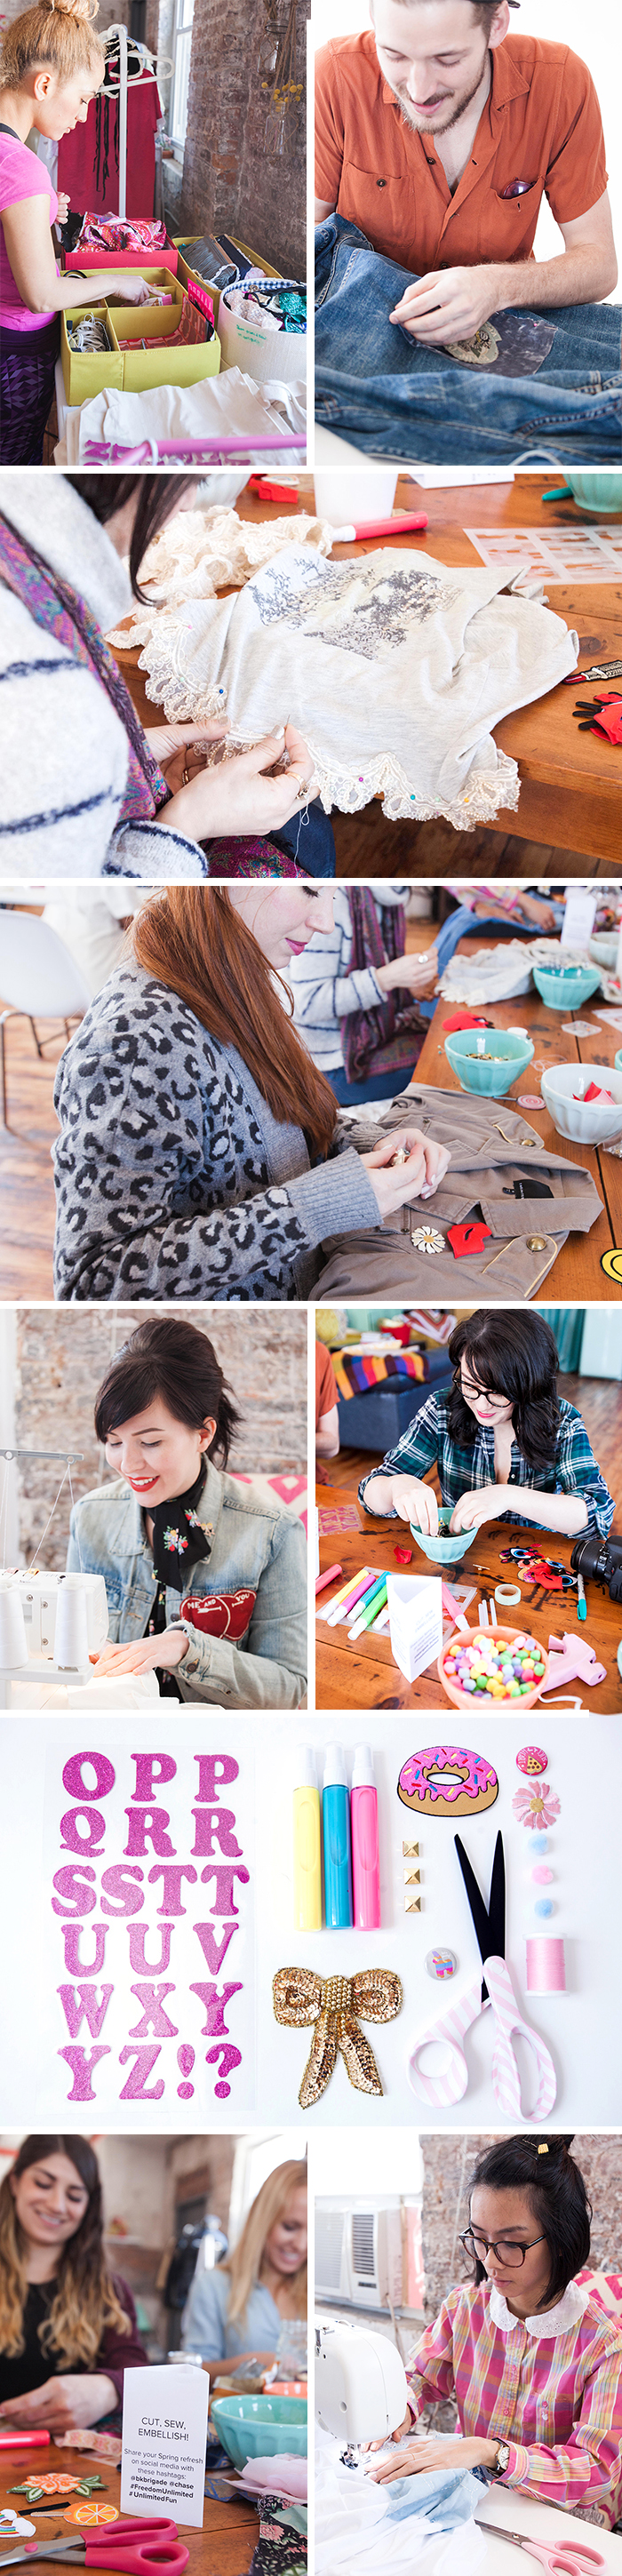
Check out some of their finished projects, and then continue reading for my own DIY creations (and step by step tutorials on how to make them, yourself!):

(photos by Michelle McSwain)
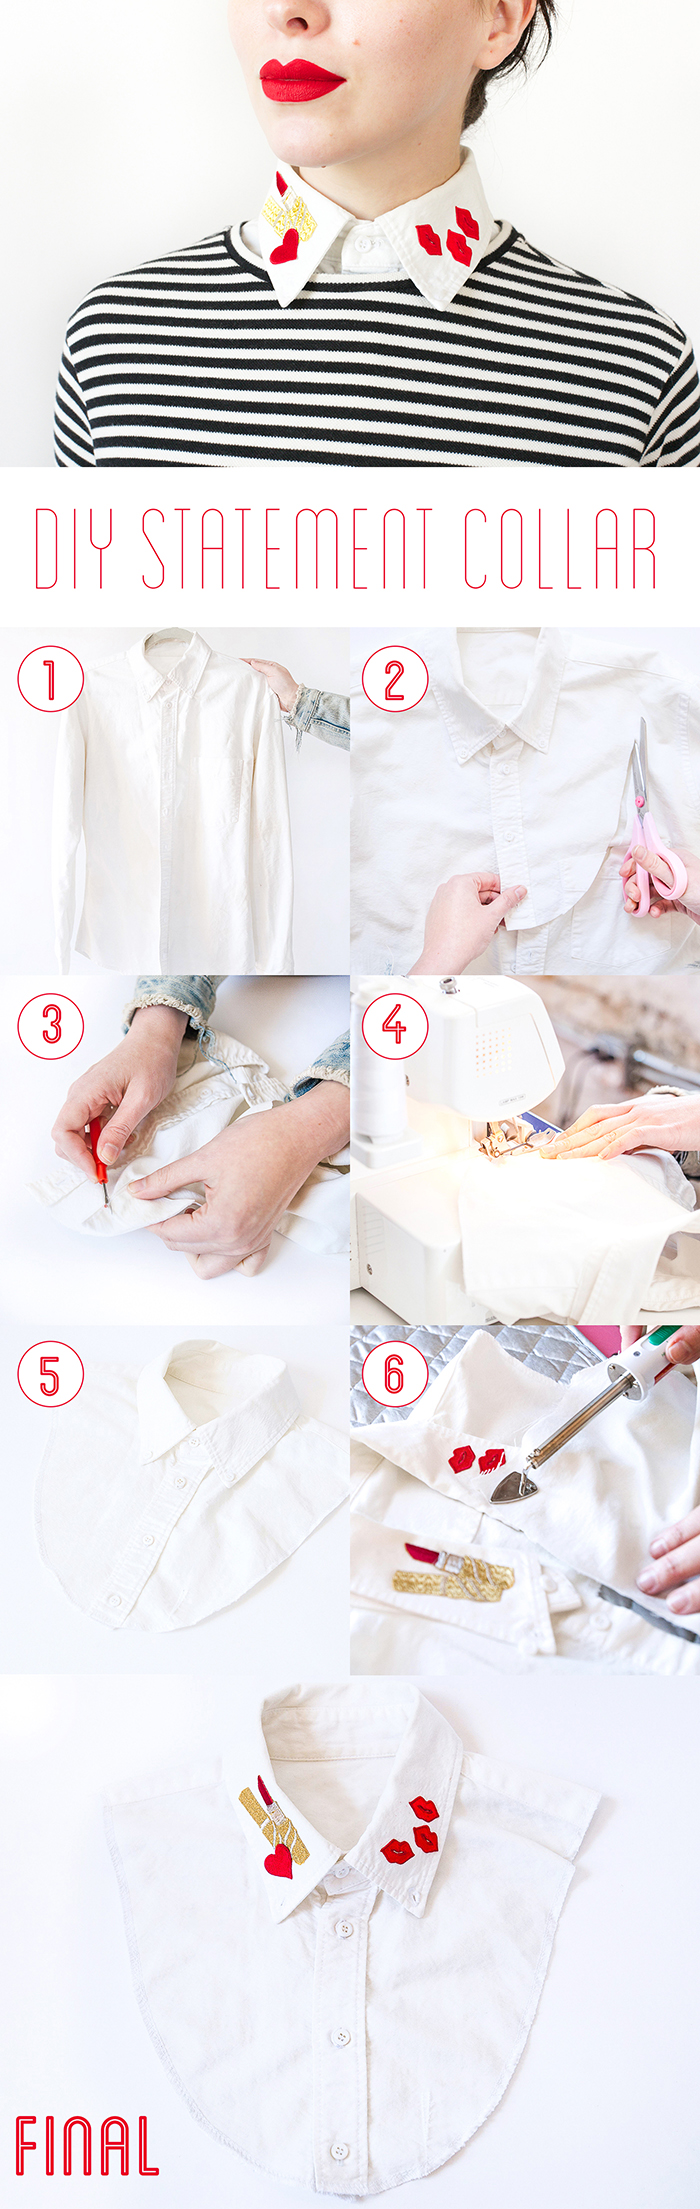
DIY statement collar / dickey
- Start with a button-down shirt. Bobby was getting rid of one of his old shirts, so I took it to the workshop. It had some permanent stains that made it unwearable, but I had other plans for it: a dickey (false shirt front) with a statement collar.
- Cut out the collar and surrounding areas in the shape of a bib, with the front a little longer than the back. The idea is to wear this under another shirt or sweater, with the collar peeking through — so make sure you leave enough room to keep it underneath another garment (without showing the edges).
- My shirt had a pocket, so I used a seam ripper to remove it. The less bulk, the better!
- I serged the edges to keep them from fraying. If you don’t have a serger, don’t worry! You have a few other options: a simple hem with a sewing machine, cut with pinking shears instead of regular scissors to keep it from fraying, secure with bias tape, or even use fray check for a quick fix. Remember that this won’t be showing, so perfection isn’t all that important.
- This is generally what it should look like. As you can see, I left the length of four buttons, which will allow me to wear it with lower necklines.
- Embellish the collar! I chose iron-on patches that I found in the garment district: lipstick on one side, kisses on the other. I used a scrap from the shirt (it’s 100% cotton) as a press cloth (to keep the synthetic patches from melting) and then ironed the other side, to make sure it was really secure. That’s it! Now, for the next tutorial:
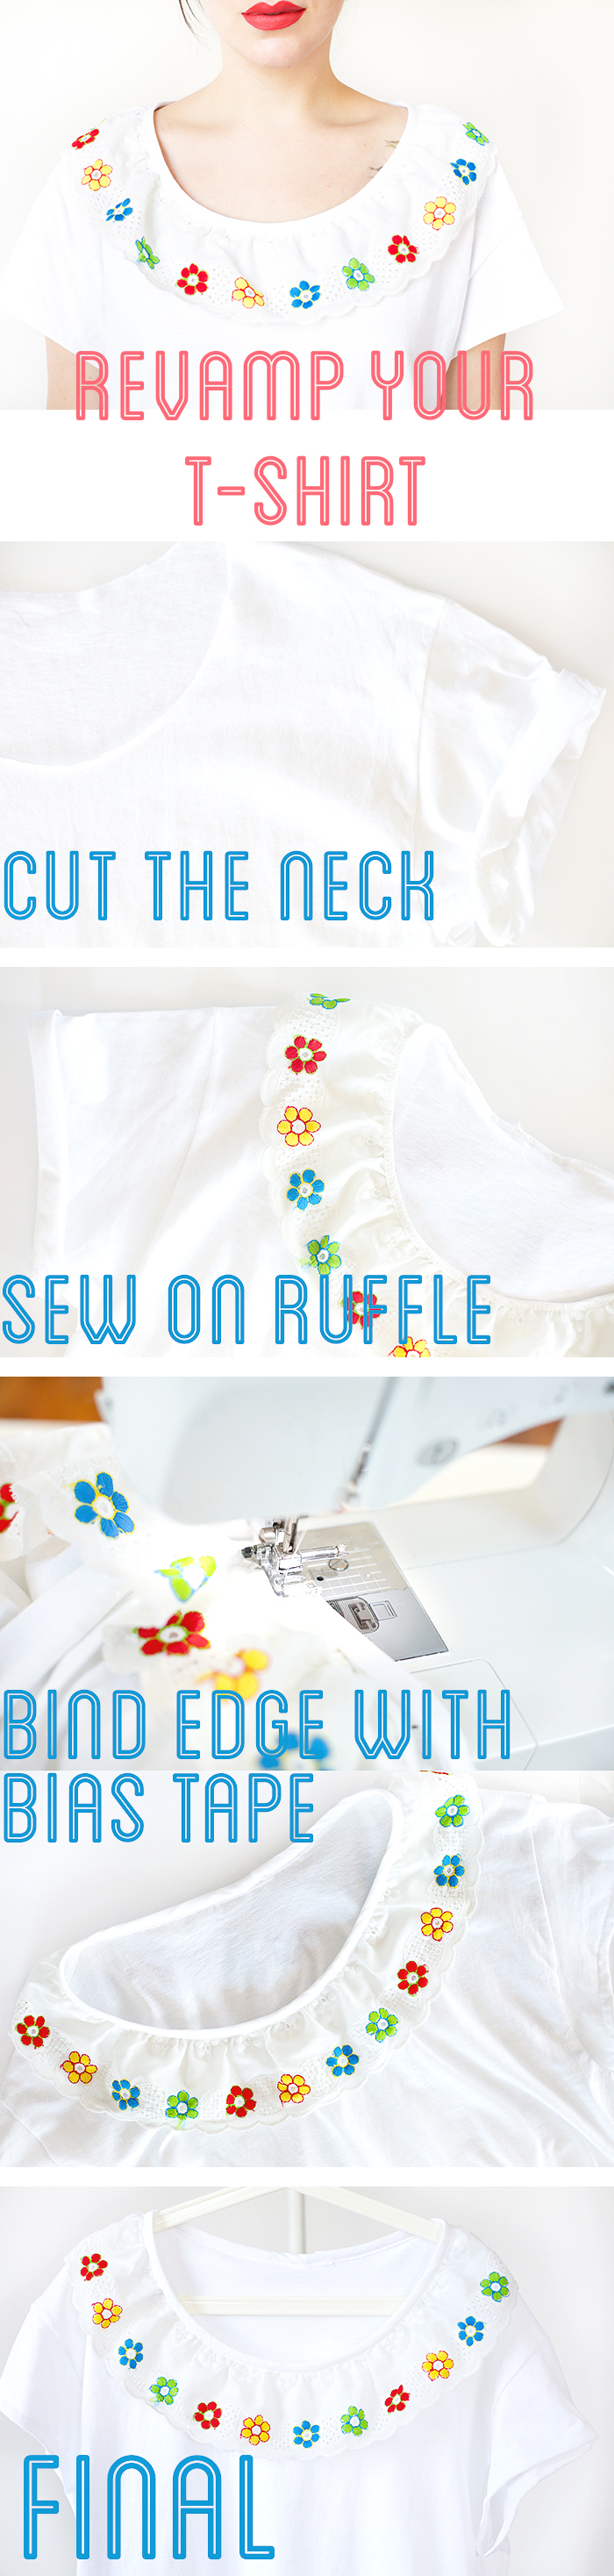
DIY ruffled t-shirt:
- Have an old t-shirt that needs a little extra flare? Add a ruffle to the neckline! I got this floral, ruffled trim from a fabric shop, which always have lots of options. Start by cutting off the neck of a normal t-shirt, into a scoop neck shape.
- Sew the ruffle around the edge, or simply pin it in place until the next step.
- Sew on extra wide, double fold bias tape around the edge of the neckline (it wraps around the edge, with one side covering the front and one side covering the back), to bind the edge. You can also use a contrasting color, for even more of a pop. Done! A whole new shirt. Let me know if you try either of these quick and easy DIYs, and make sure to tag @keikolynn @chase #UnlimitedFun, so I can see your finished projects!
This post was sponsored by Chase Freedom Unlimited. To learn more about how Chase Freedom Unlimited is bringing unlimited fun into our everyday lives, click here: http://bit.ly/ChaseDIY. Thank you for making this workshop possible!