November 13, 2021
How to Plan a Gallery Wall with Framebridge


Over the years, we’ve added more and more Miku portraits to our collection from talented artists who know what a proper muse is. I might be biased, but I think any art of our pets is automatically priceless and/or worthy of hanging at The Met.
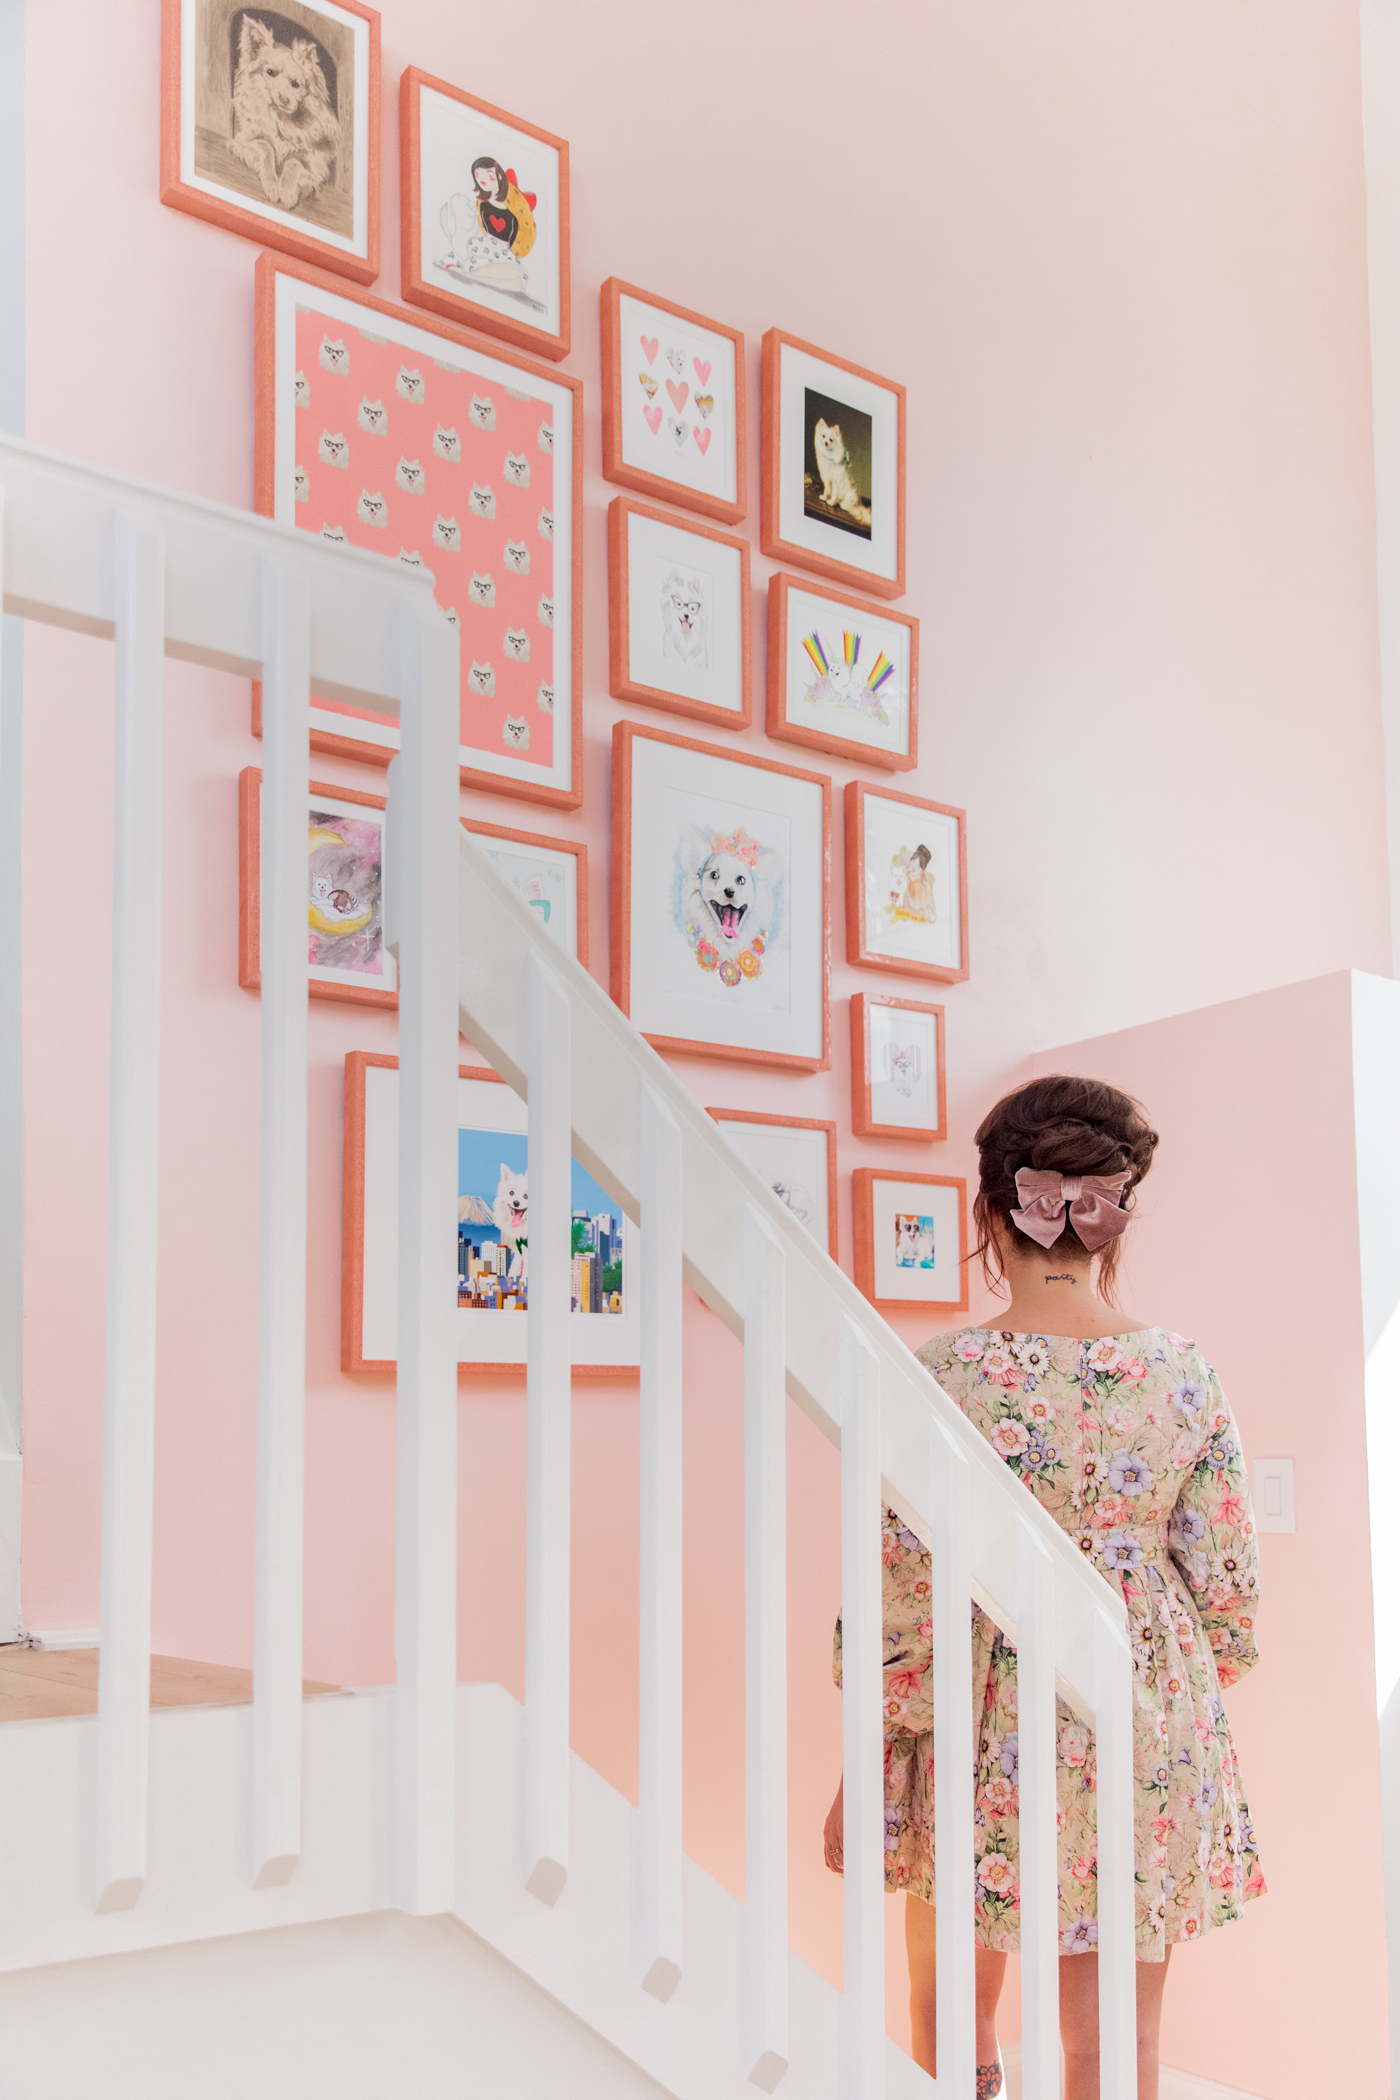
At first, we had a hodgepodge collection of frames that housed her portraits in our guest room, from one apartment to the next. With each addition, we’d find an inexpensive white frame and add it, haphazardly, to the wall. But when we bought our house and decided to hang a Miku gallery wall on the entryway to the stairs, which is one of the first things you see when you walk in the door, we knew we had to step our game up.
Enter Framebridge, my go-to for custom framing. Though they kindly comped the frames for this project, I have been a paying customer for several years. I started having all of the art in our living room custom framed by Framebridge several years ago and have always been incredibly pleased by the ease of the process and the final result. First, I’ll tell you more about the custom framing process — and then we’ll talk about how to plan and install your gallery wall.
Gallery Wall with Framebridge – Custom Framing Process
Upload your art (for planning purposes)
Whether it’s original art you need to send in or a digital upload, you can preview exactly what your final product will look like on Framebridge’s easy to use site. You can also use sample art if you want to skip that step, but I like to take photos of each piece so I can get a proper visual. Classic Virgo, you know? You’ll also need measurements, so get your tape measure ready.
Choose your frame and mats
One thing I love about Framebridge is they have a great, well curated variety of framing options without it being overwhelming — because I’m the type of person who will, well, get overwhelmed if I have pages and pages of options. At first, I was a little bummed to see that my go-to gold frame of choice has been discontinued, but then I saw they have a newer pink option, the Paris frame, that may as well have been plucked out of my dream frame fantasy. Its glossy, varying shades of pink make it look like a freshly glazed ceramic. It ended up working out perfectly for our already-pink wall, and now I can’t imagine it any other way!
Not only can you choose the matting color, you can also determine the thickness (which will, in turn, determine the frame size). Since you can view a preview in real time, I ended up customized my matting to be thinner on certain pieces because I liked the look of it a little better!
p.s. If you’re indecisive or need a little guidance on what would look best, you can also work with one of their designers.
Send in your art to be framed (or upload it, if it’s digital!)
All of the art I used was original, so I had to send in the physical pieces to be framed — but if it’s digital, you can upload directly on the site. They make the process so easy by sending pre-paid packages that will keep your art safe on its way to Framebridge. Just use the packaging and label provided and send it back to be framed.

Note: Keep in mind that this is a custom process, so don’t expect Amazon prime delivery speed. However, I found that my turnaround time was really fast. Also, when I had a few questions (and made a mistake in my order), the custom service was top notch. And look at how nicely and securely they were packaged! They each come with everything you need to hang them, so no trips to the store are necessary.
Planning your gallery wall
Once you have your art in hand, it’s time to plan the layout of your gallery wall. I find that adding a couple of extra steps saves you from a lot of headaches and extra holes in the wall. It’s the whole “Measure twice, cut once” mentality of someone who sews, I guess. So while some may find this to be a bit overboard, I highly recommend taking the time for the following steps before securing your pieces to the wall.
Make paper templates

Cut out paper templates for each frame. This way, you can tape them to the wall and move them around as needed. As you can see, my sister took the extra step of drawing visual representations of each portrait. So, we knew which one was which. The drawings look exactly the same as the art, don’t you think?
Plan your layout

Before putting them on the wall, I like the plan a general layout on the floor. In the plan, I can easily move things around and see how everything looks together. I don’t have many technical rules. But I usually start by placing the “anchors” first — the largest pieces — and then moving the smaller pieces around those fixed frames. I just shuffle things around until I find the balance I want. I keep each frame a similar distance from one another so there aren’t strange, unsightly gaps. Once you have the general layout, take a photo so you can refer back to it.
Hang the paper templates, first!

Before putting any holes in the wall, hang those paper templates with painters tape. Also, you can use any wall-friendly tape that can be moved around without damage). This way, you can make any final adjustments before hanging. And get a proper visual of what it will look like on the actual wall.
Replace the templates with the art, one by one

Each paper template acts as your place marker, so replace them with your newly framed art, one by one. We like to use a picture hanger spot marker. You can use this to mark right through the paper before you remove it. That way, you know exactly where the hardware needs to go.
And that’s it! Time to enjoy your gallery wall. Seeing little Miku’s smiling face brings me so much joy, and I can’t thank Framebridge enough for the care and detail that went into each piece. If you’re looking for to custom frame some special pieces, I highly recommend checking them out!
Shop This Post