Once I made this vintage-inspired heart-shaped hat, I was asked to make a tutorial. Luckily, I filmed my process and was able to grab some stills to make it a full blog post. Don’t let this DIY intimidate you — it’s actually quite easy. Though I recommend it for the cleanest finish, sewing is completely optional and the process and supplies are easily customizable depending on the look you want and what you have on hand. you can even make this with cardboard if you don’t have foam. But for what it’s worth, I made a few prototypes with different methods and supplies and found the foam to be the easiest, most comfortable, best structure, and weight. It’s such a versatile material to work with!
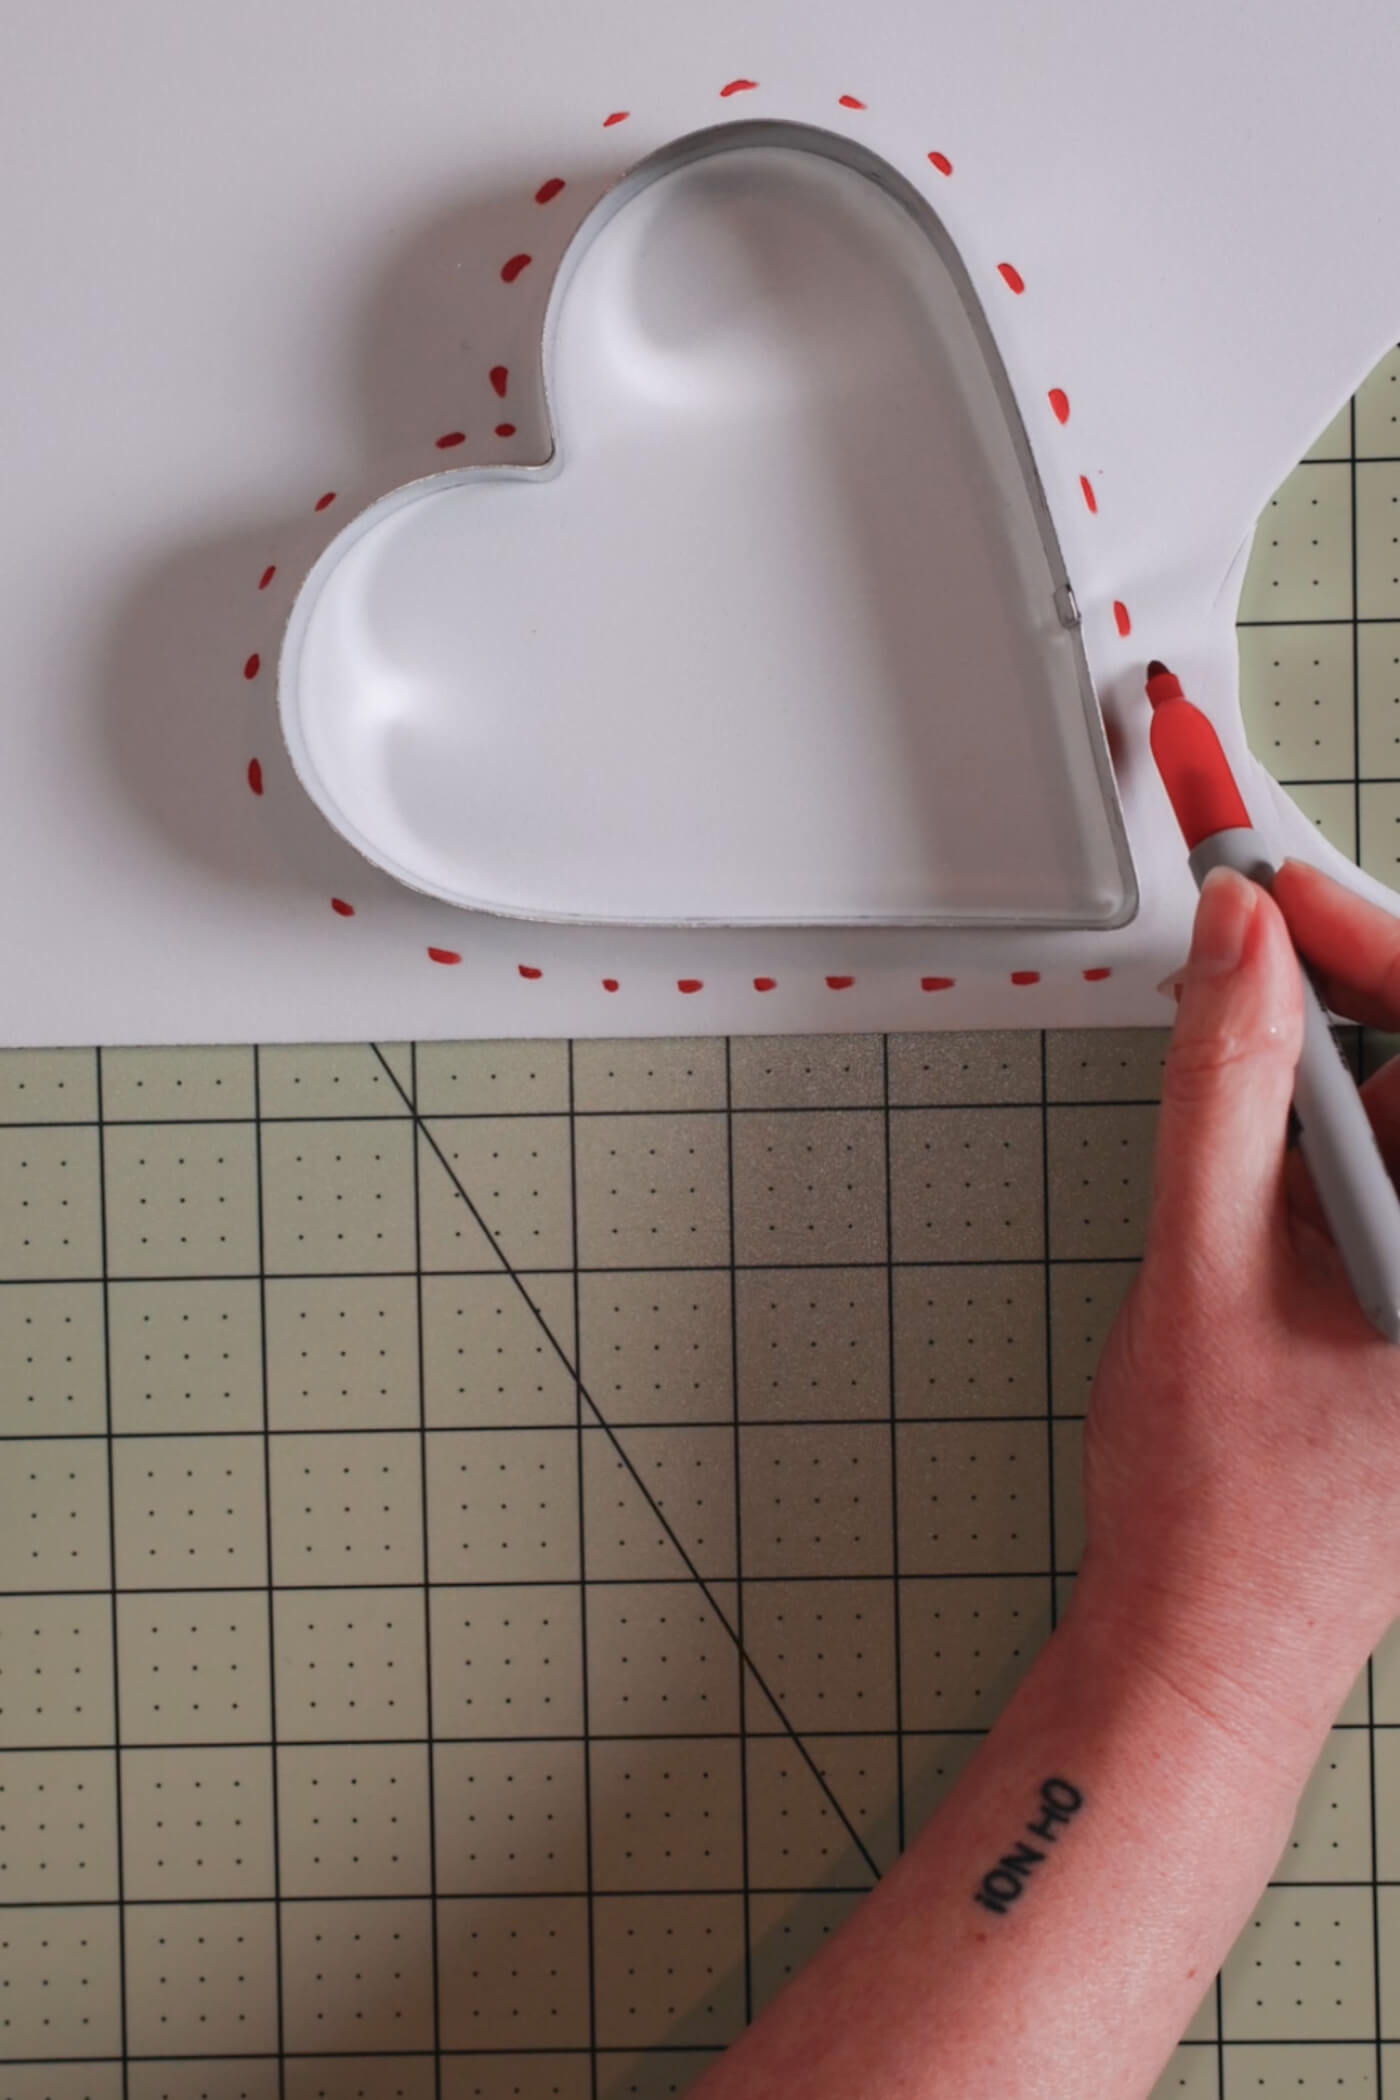
Trace a large, heart-shaped cookie-cutter on a piece of EVA foam, leaving a bit of room around the edge. I used 4mm thick foam. This will be the top of your heart-shaped hat.
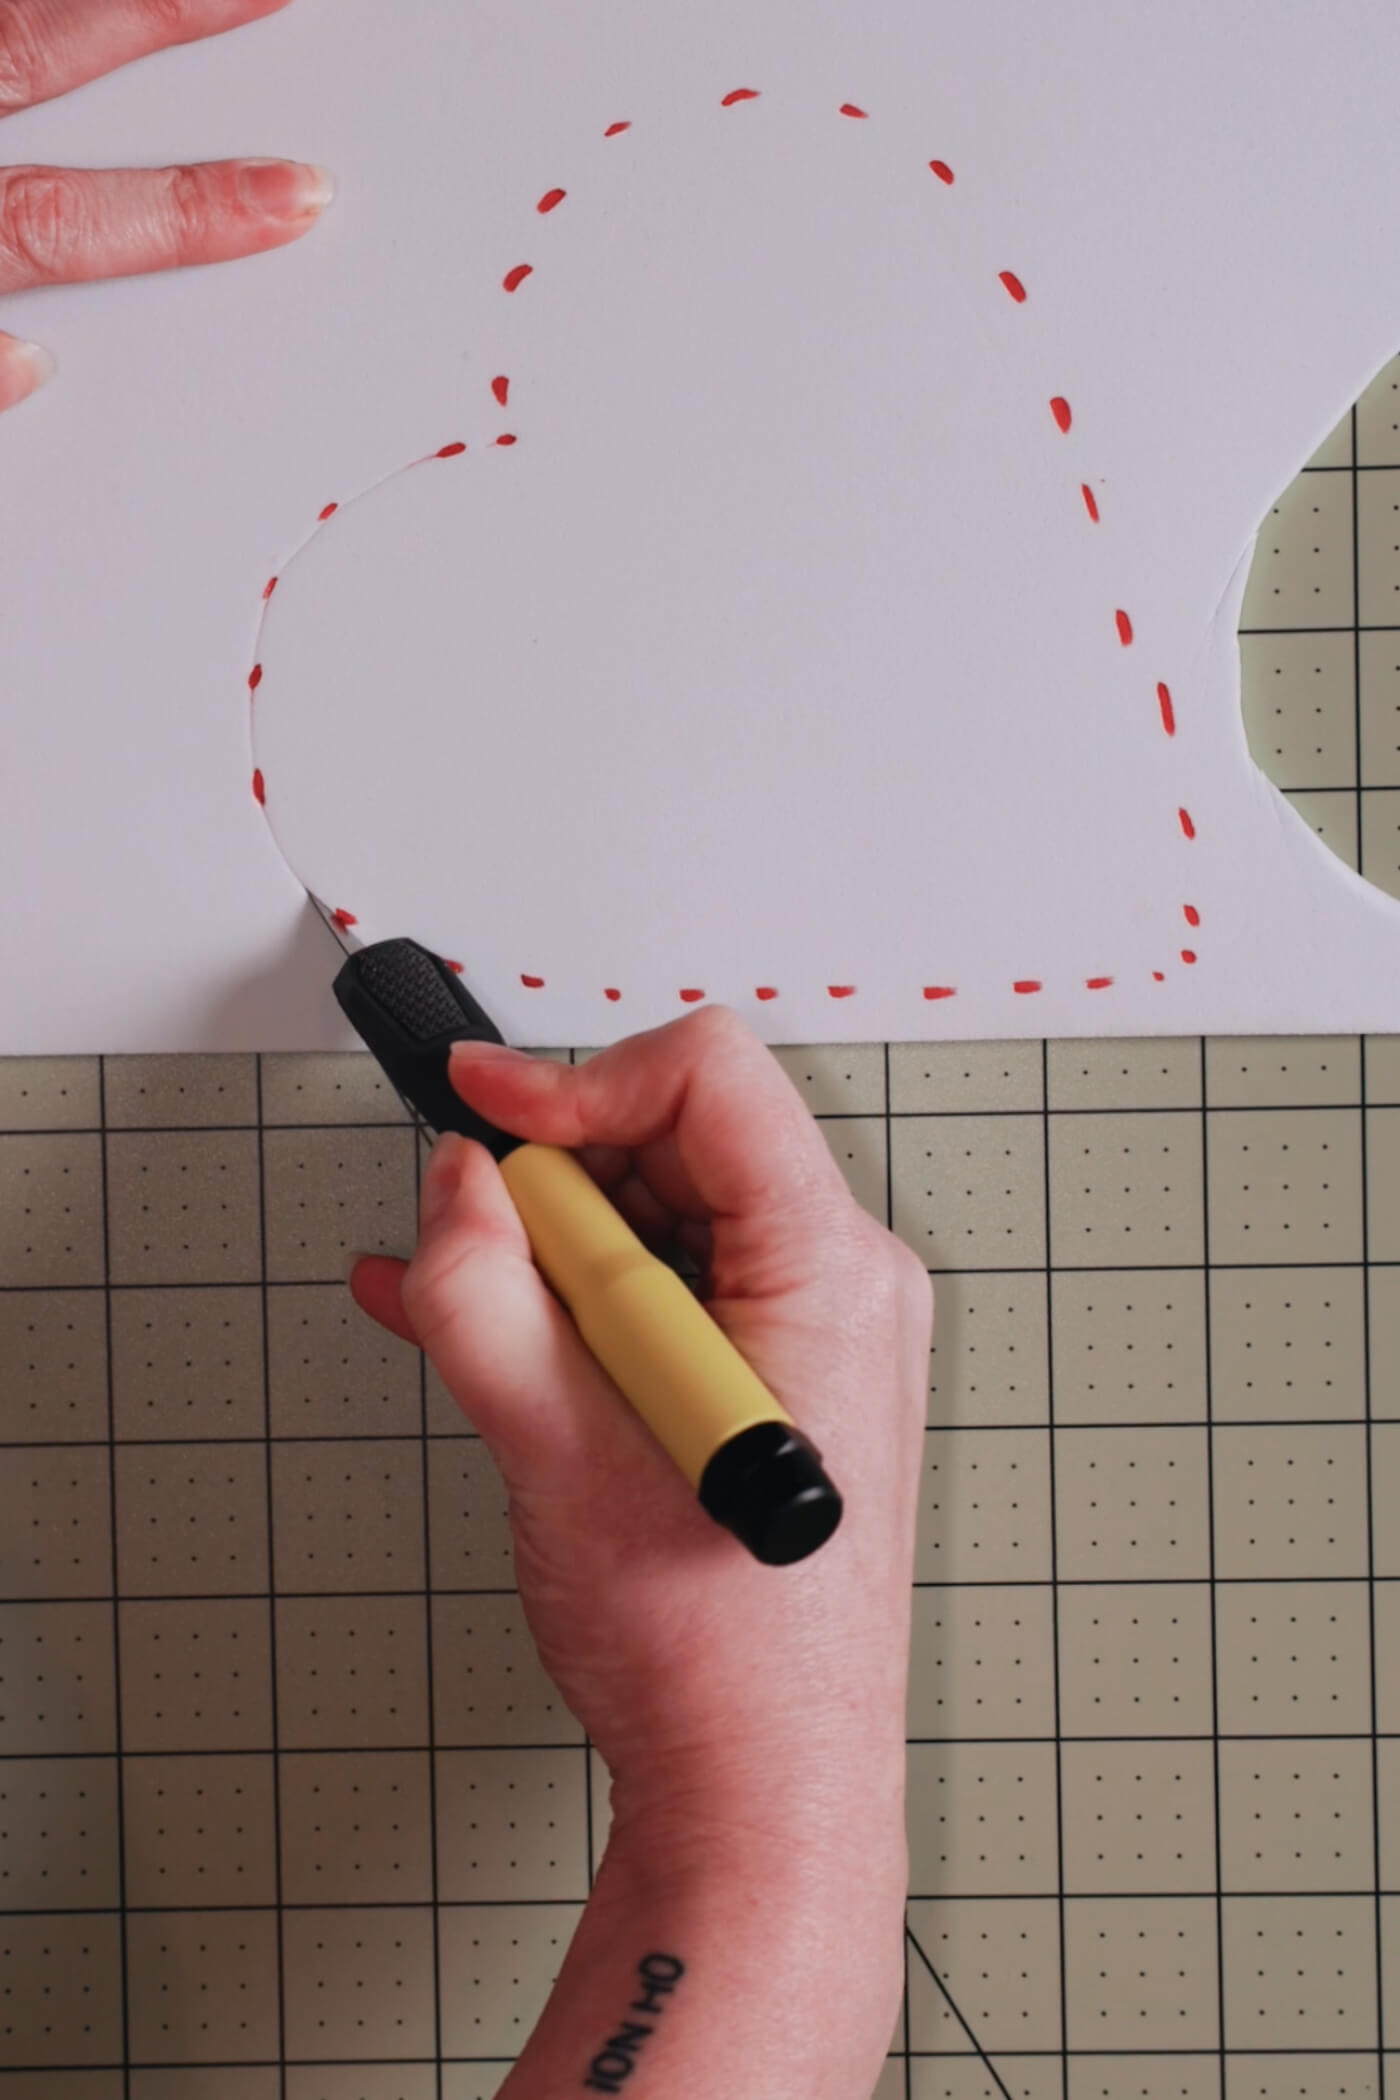
Cut it Out
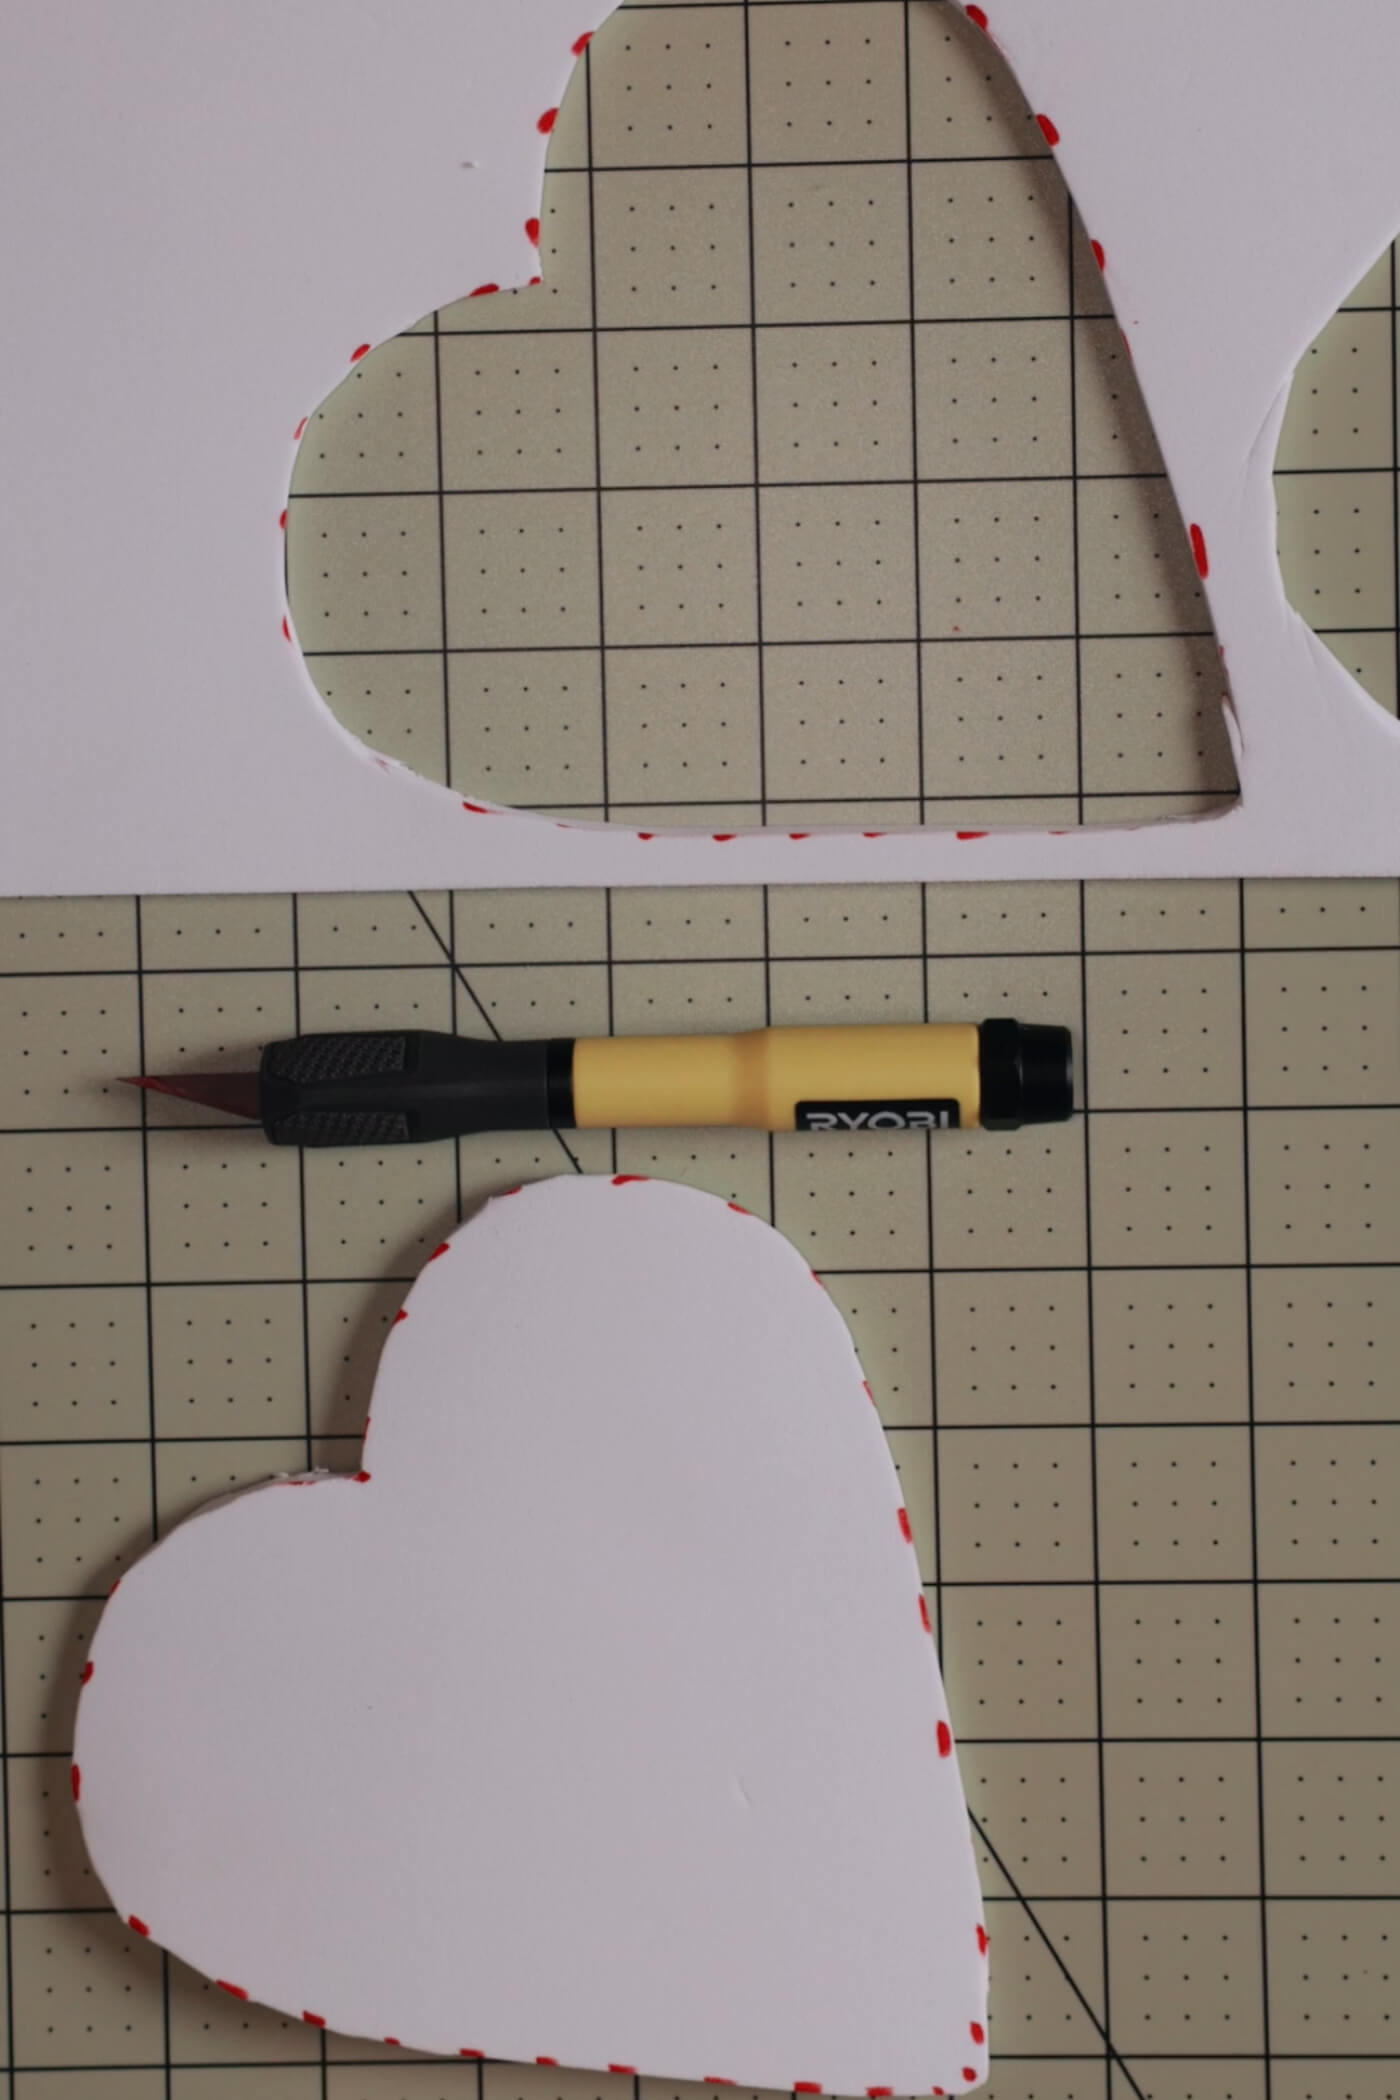
Cut out the heart with an exacto knife and put it aside.
We’ll come back to this after we create the base.
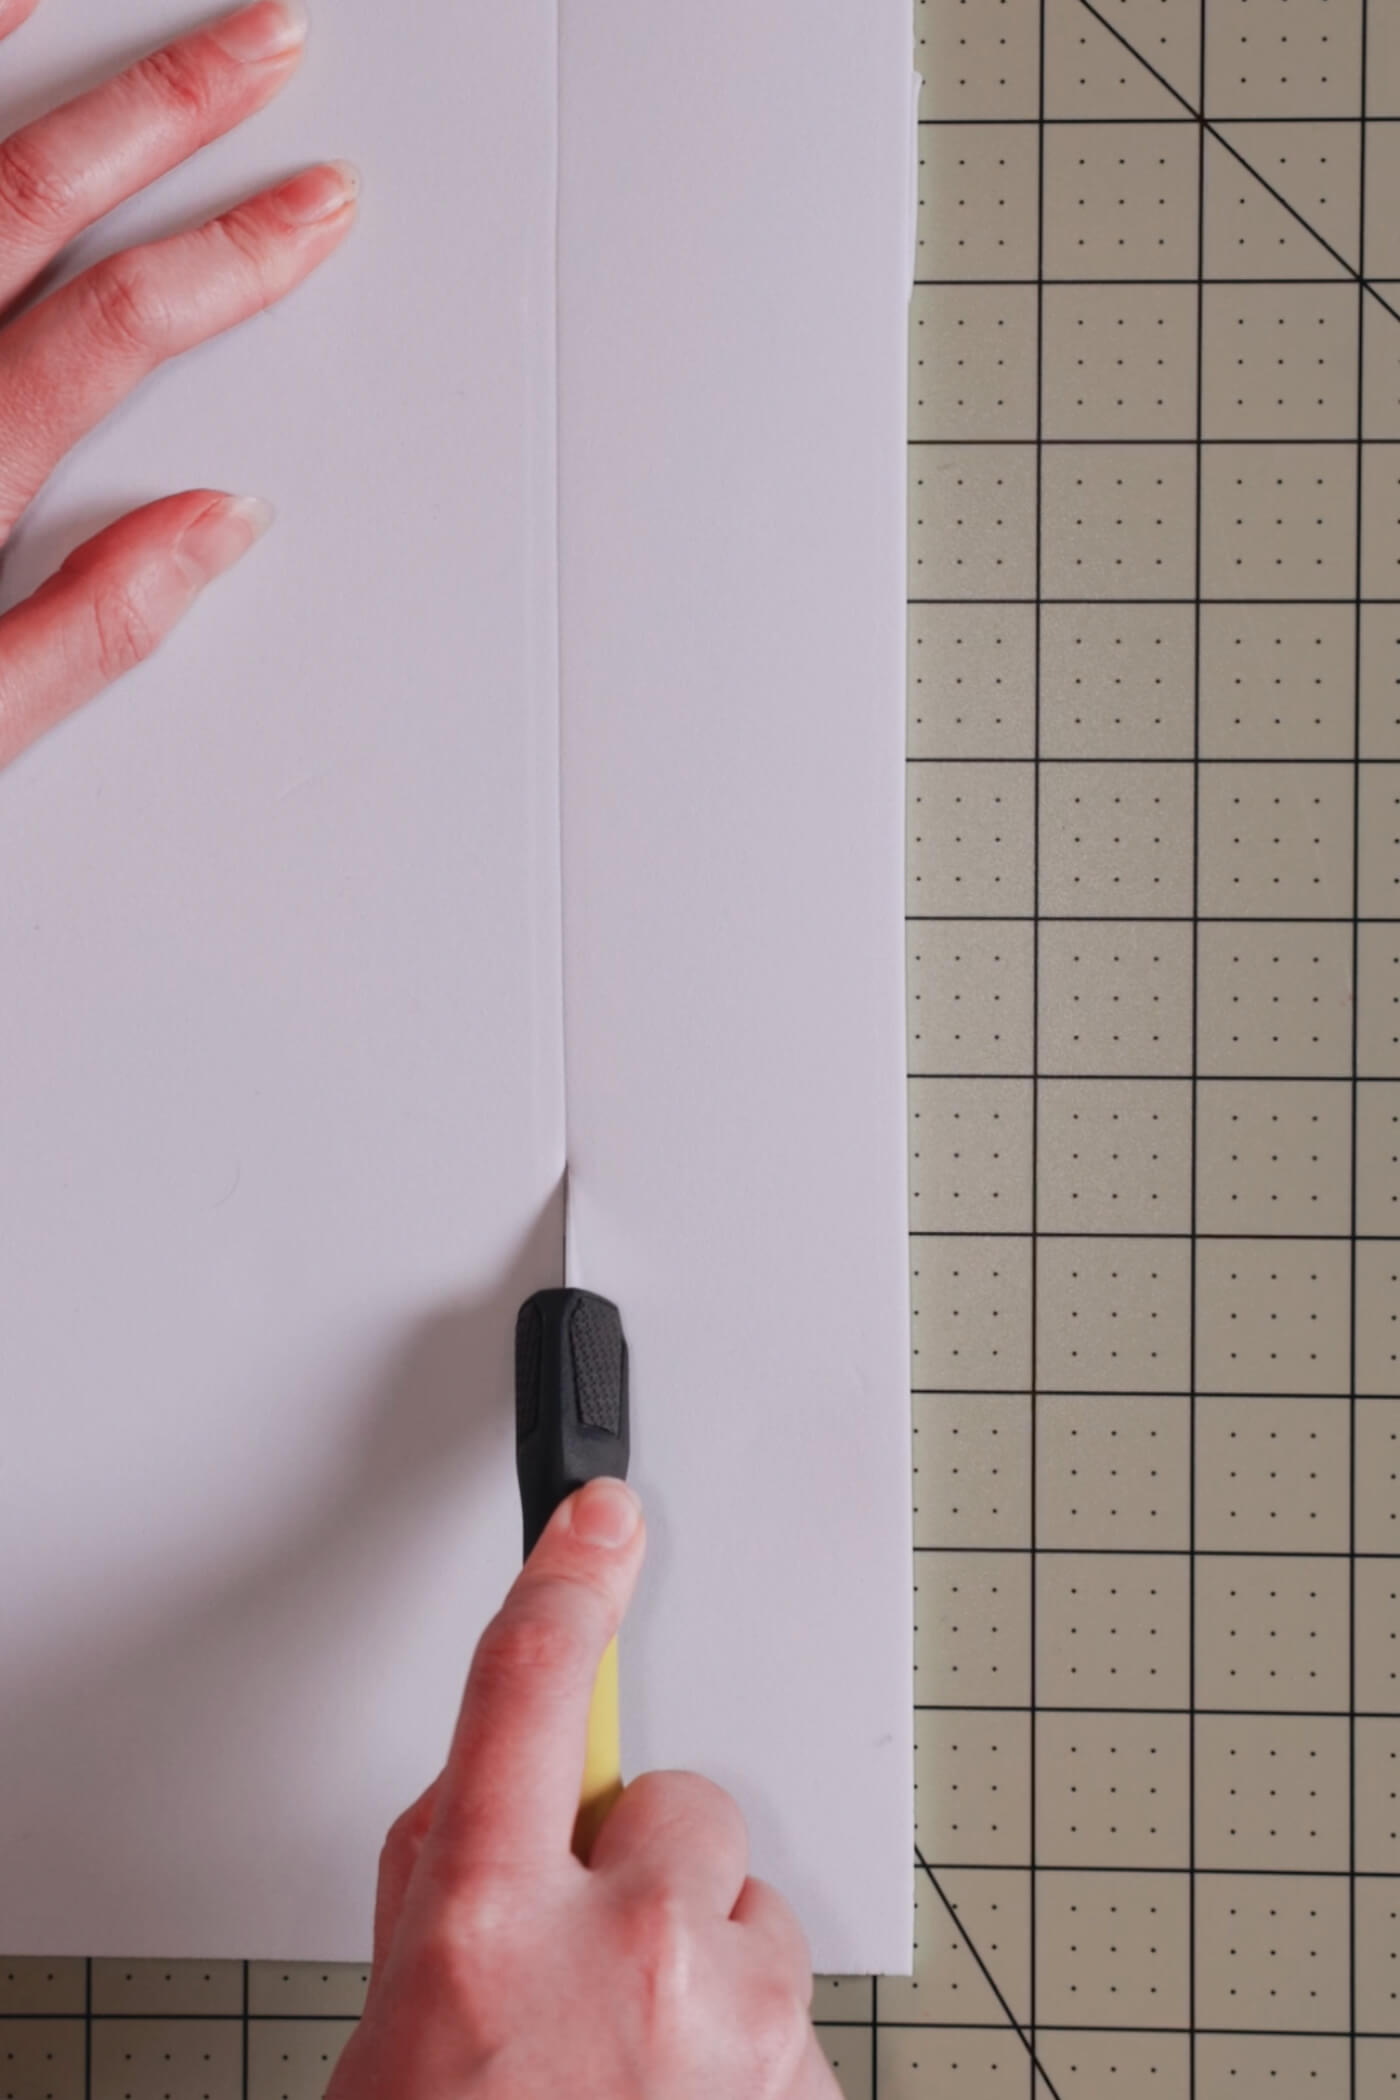
Cut two strips of the same foam to make the sides of the hat. I made mine a little over 2″ tall. The length will depend on how big of a hat you are making, but I cut mine to fit exactly after molding it.
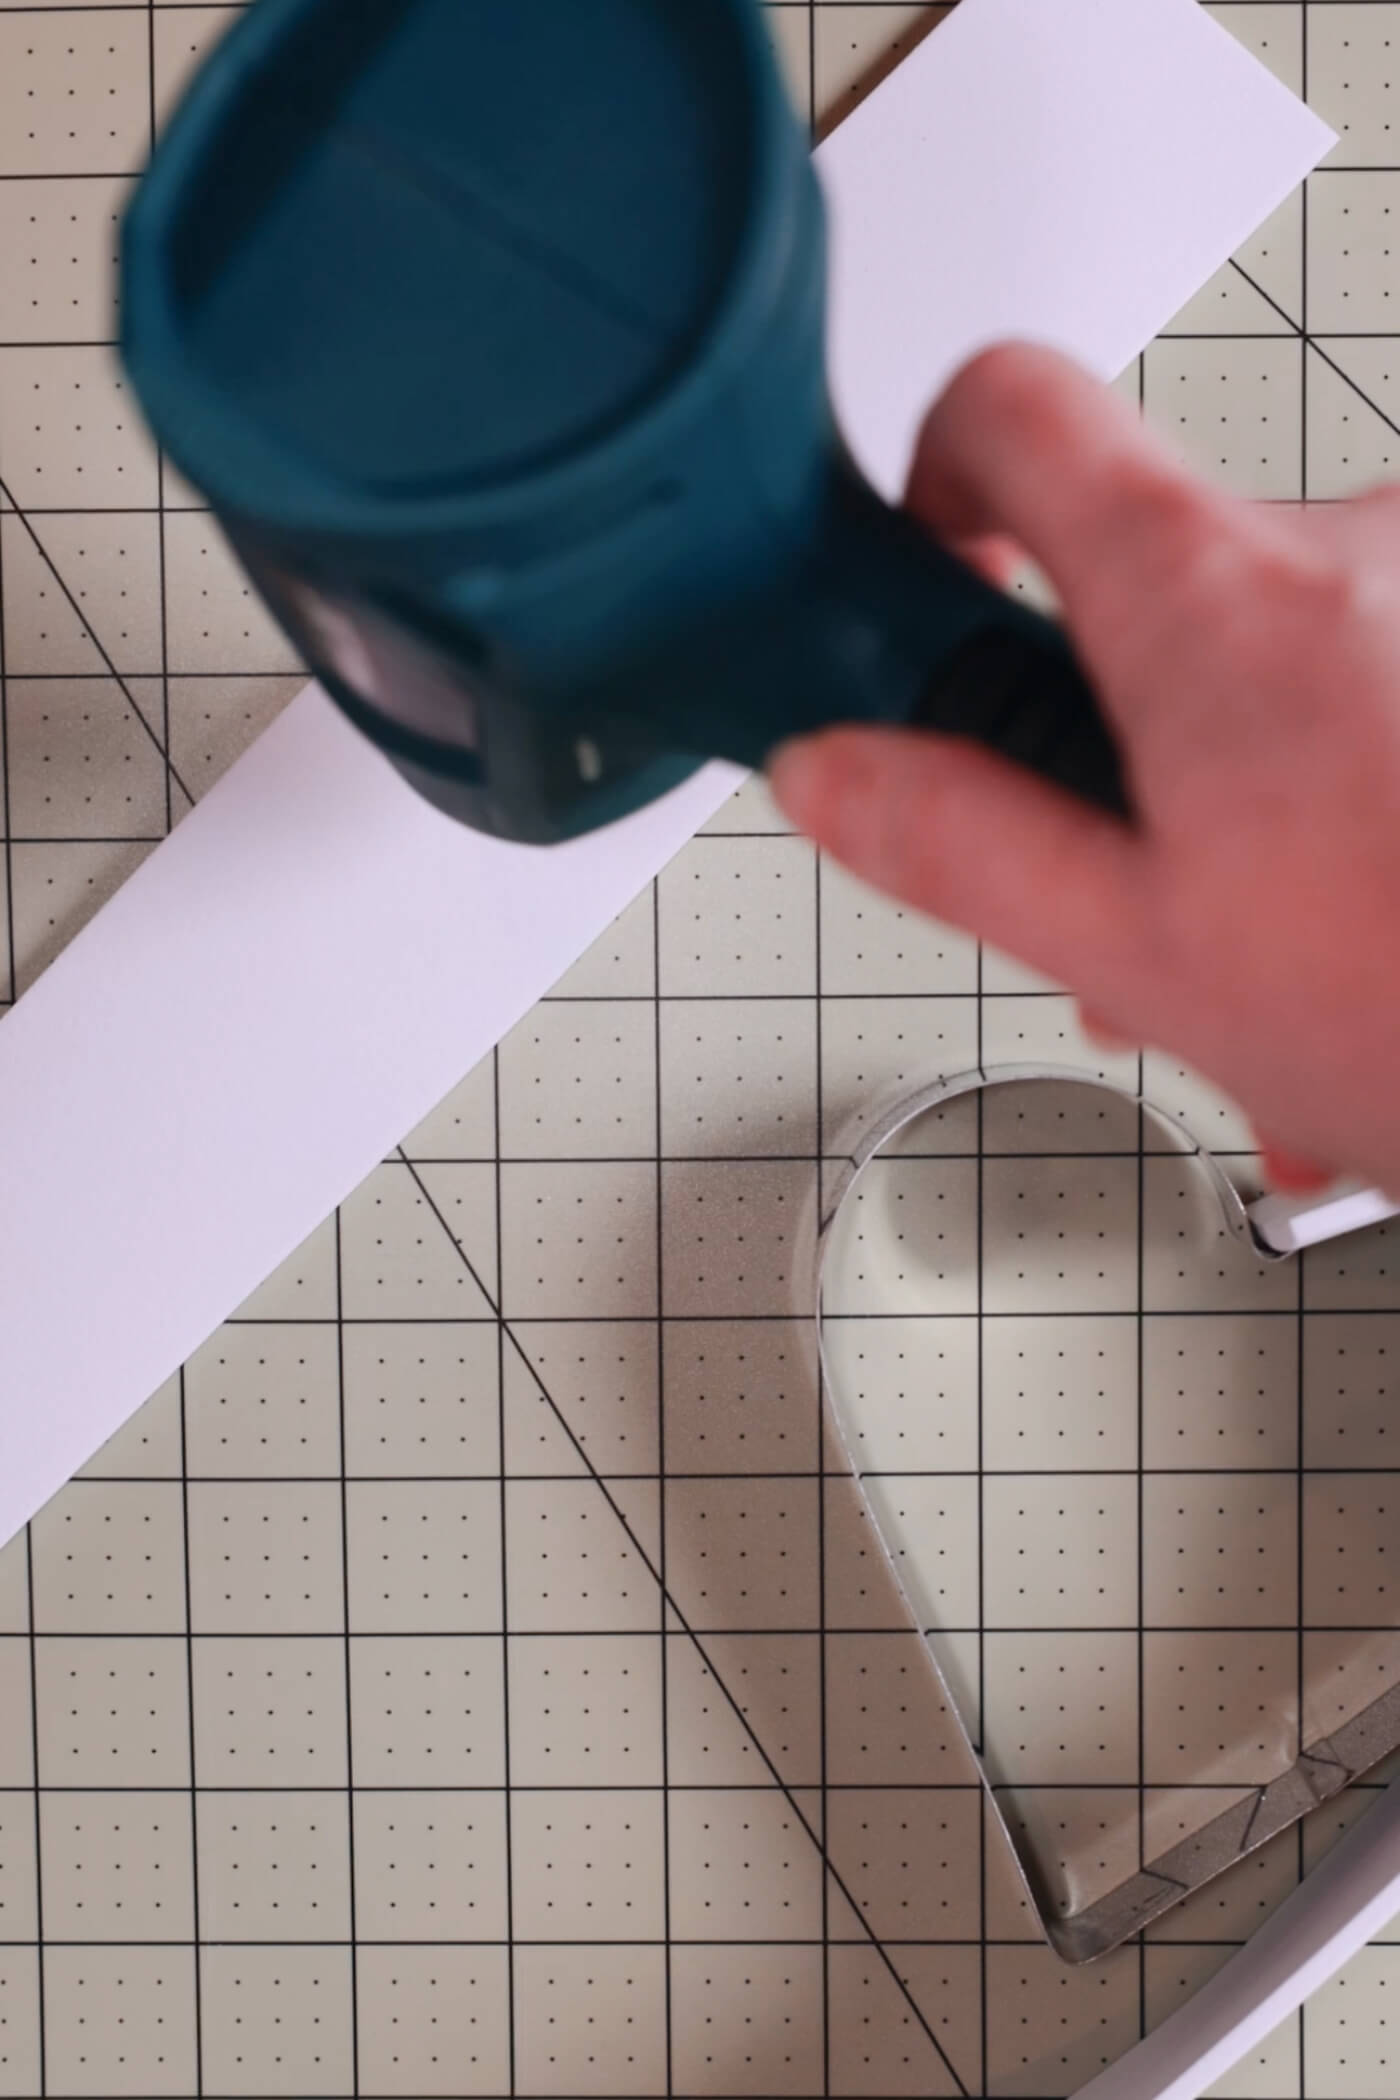
Mold the Base
Gently heat your EVA foam with a heat gun. This will make it moldable.
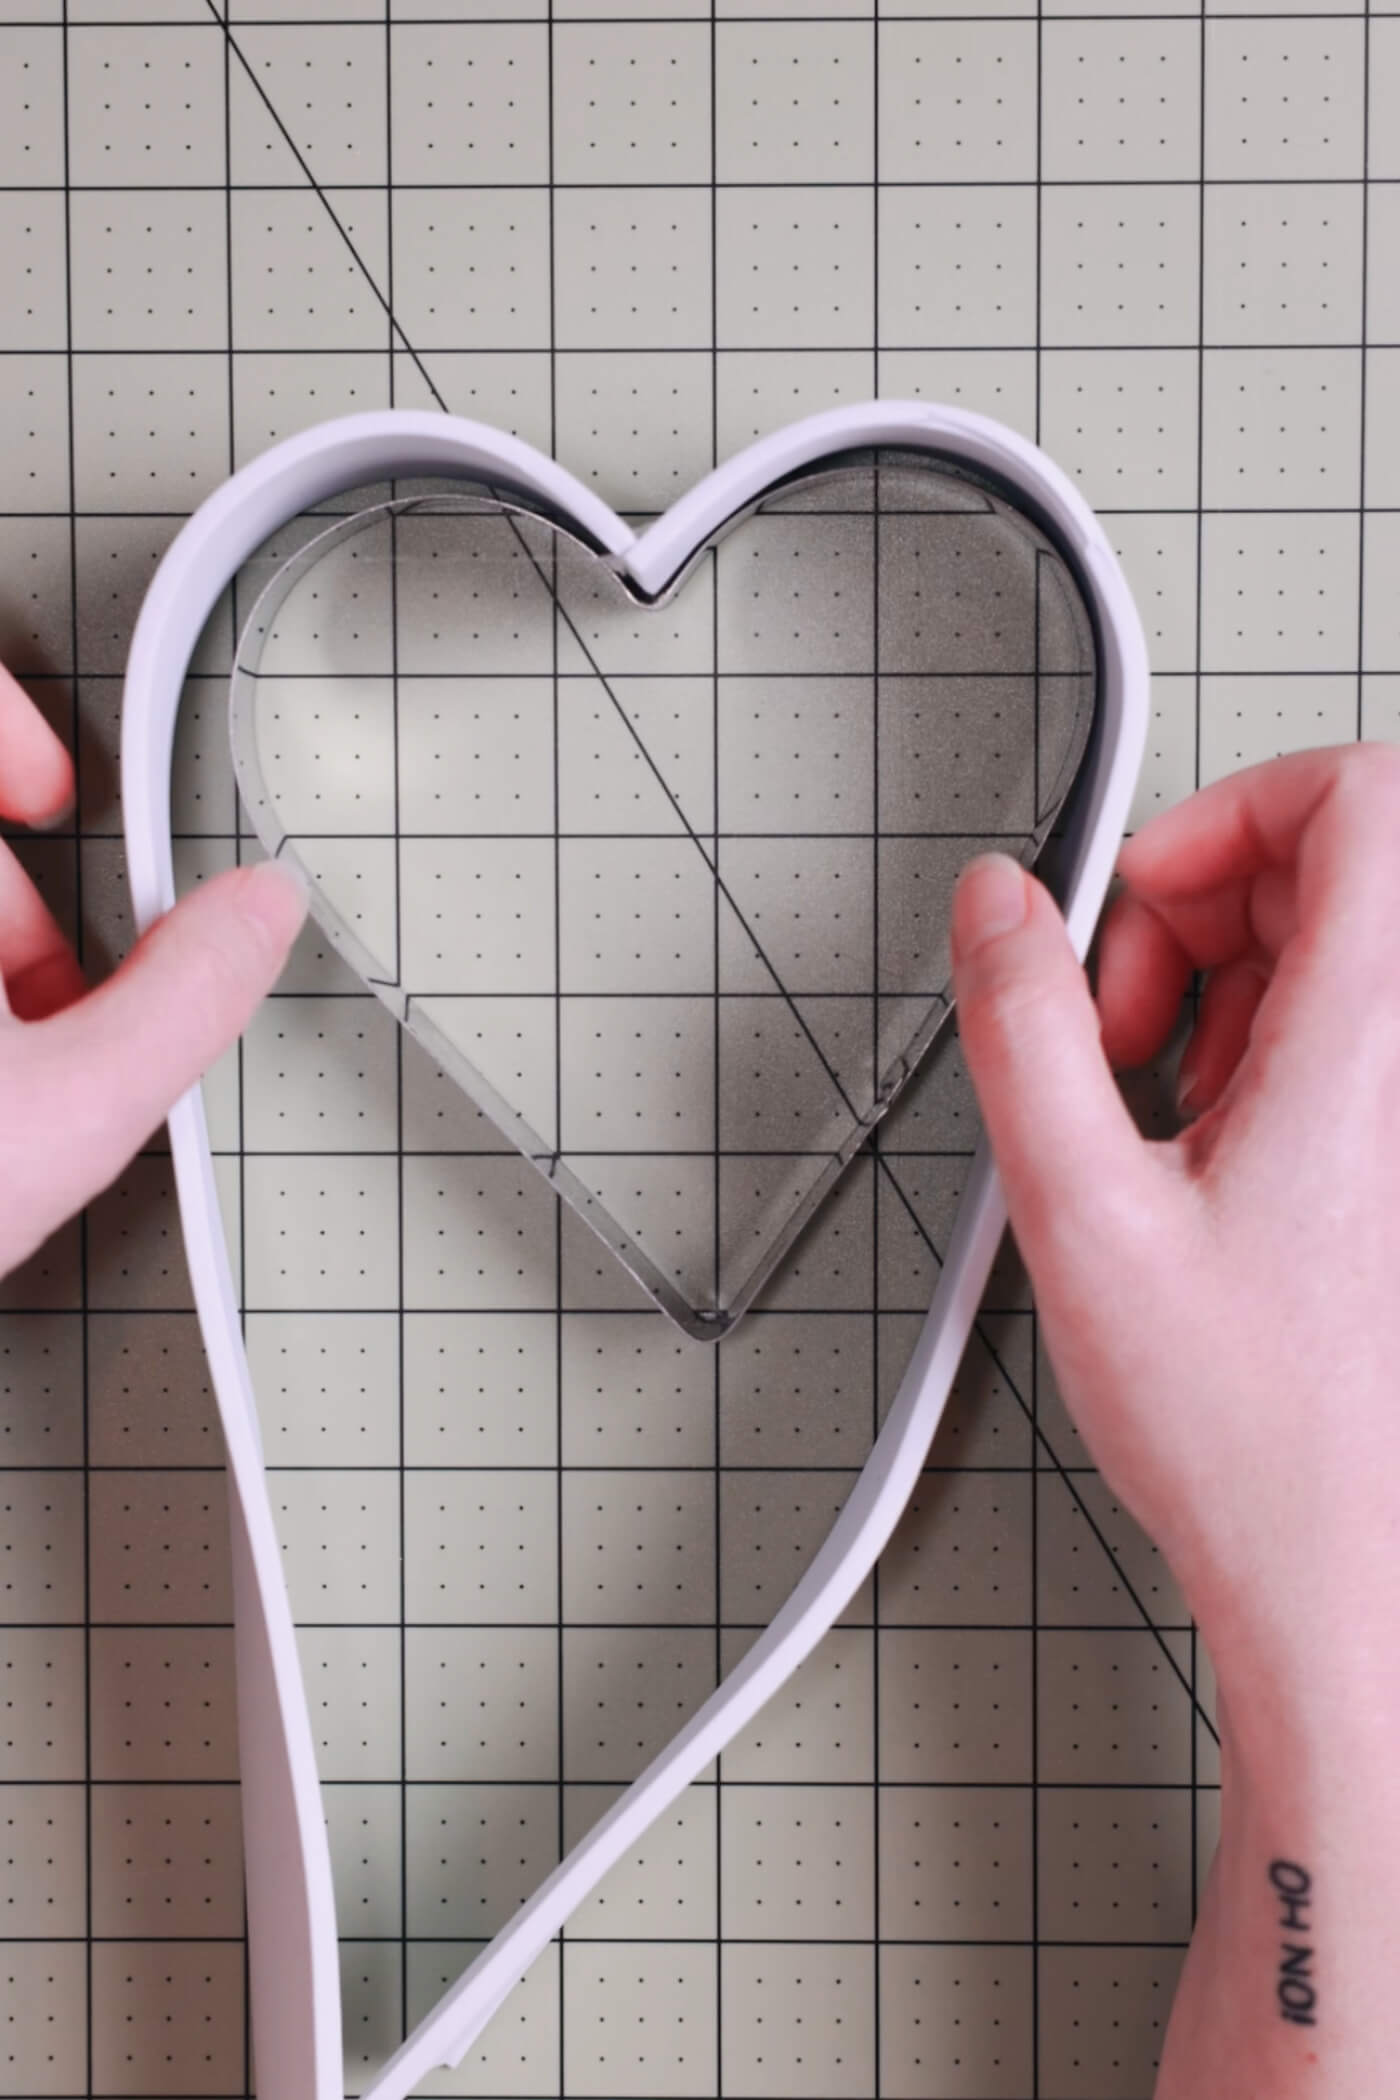
Then, shape the foam around the cookie cutter, one side at a time.
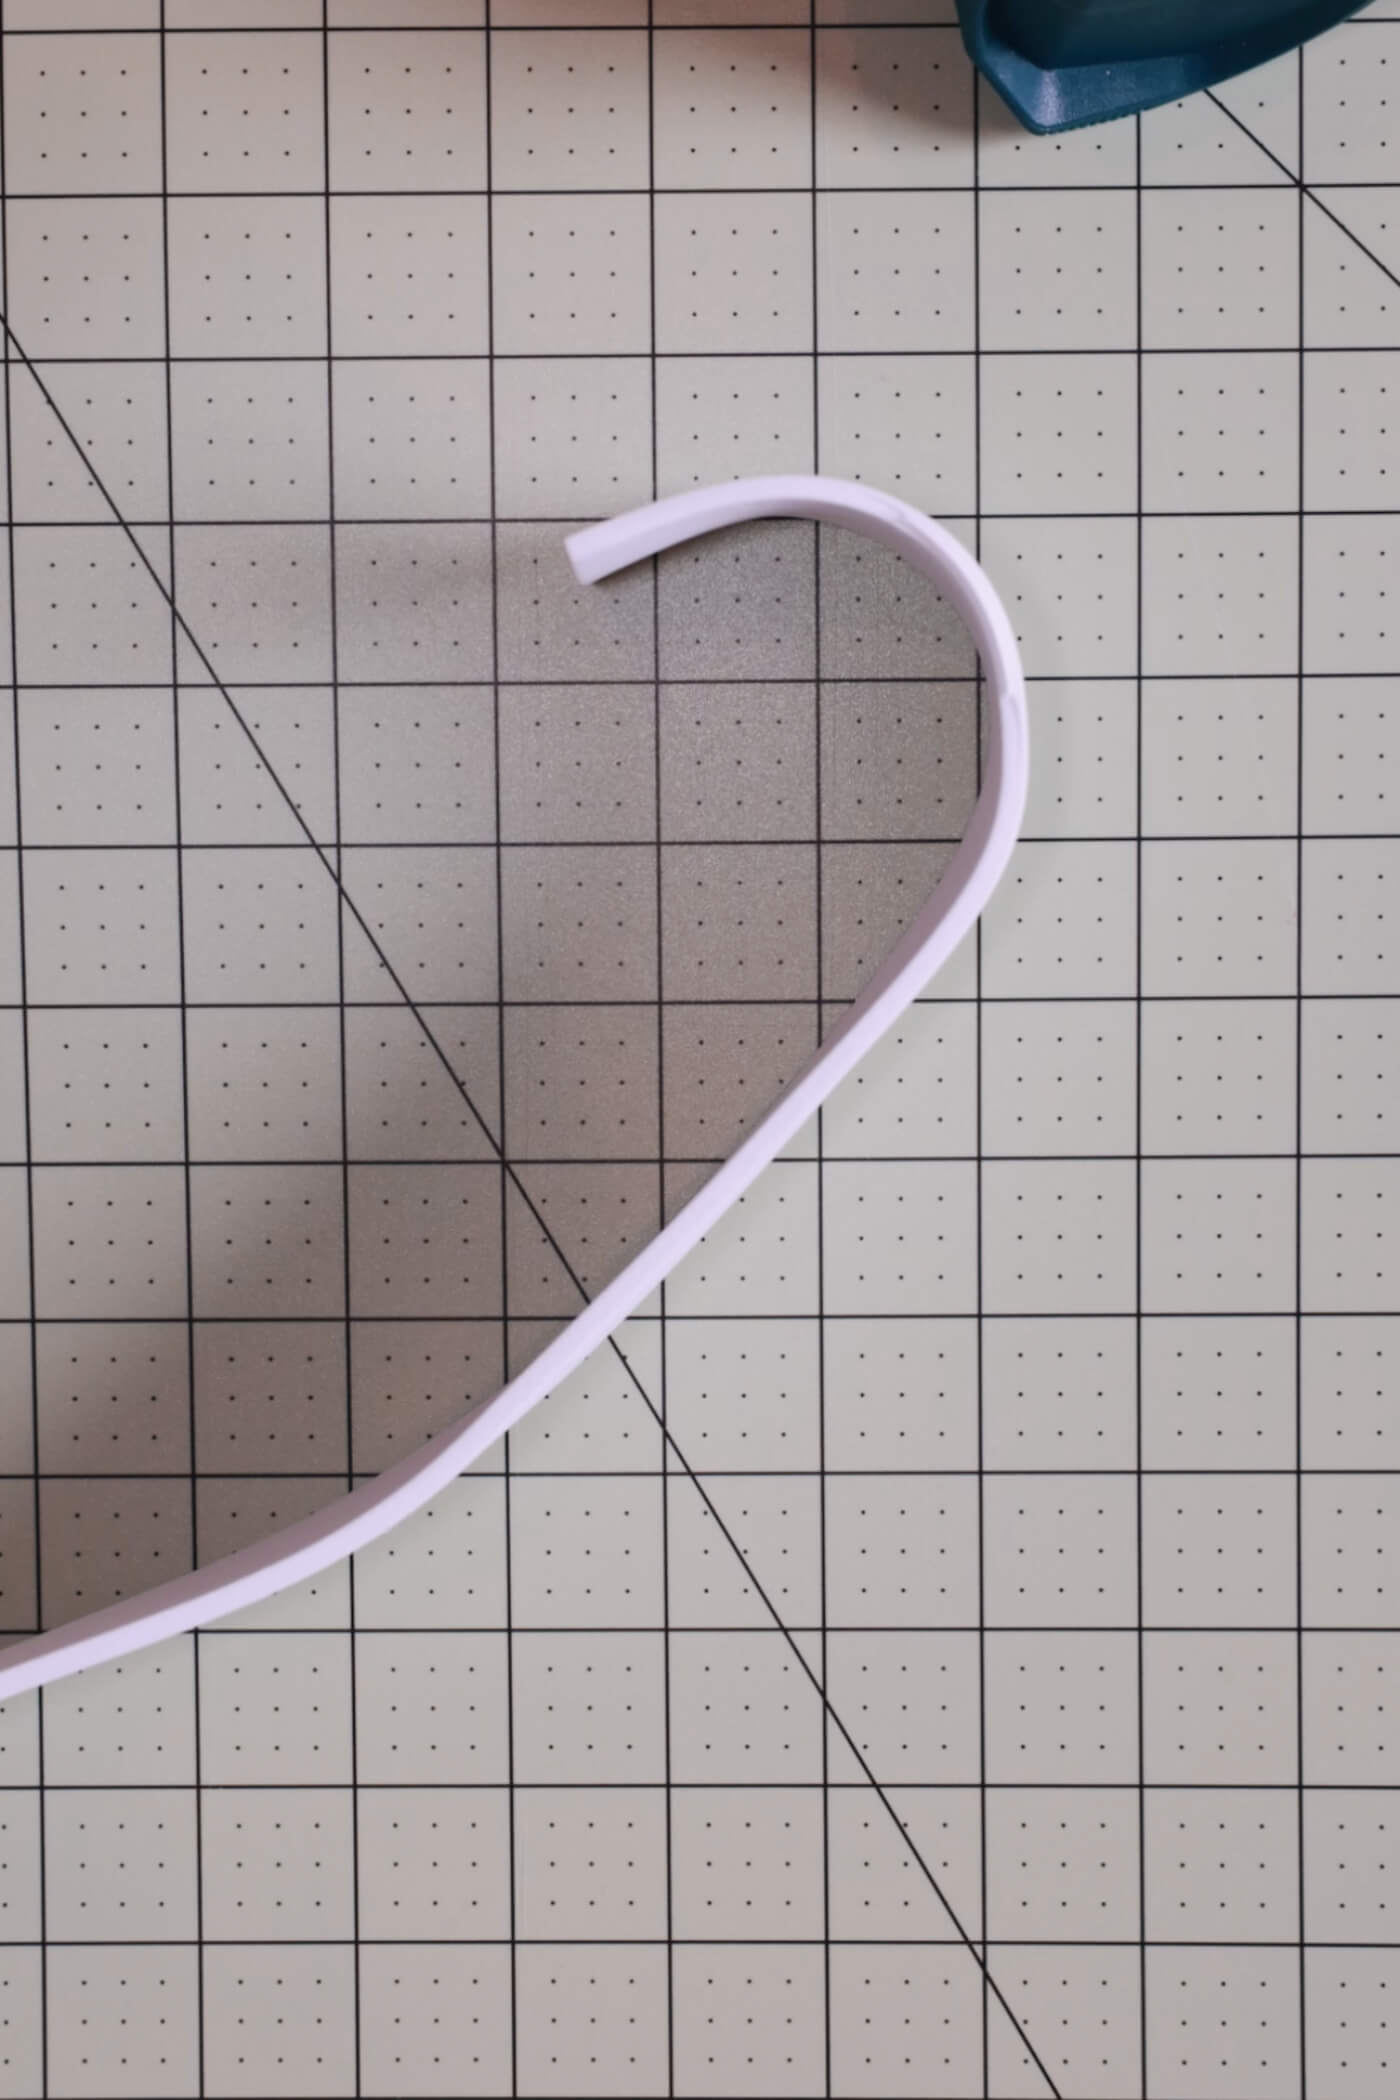
Once it cools, it should retain its shape. I prefer to shape the other side before I trim the bottom.
Glue the center
Repeat for the other side, glue at the center of the heart (I used hot glue).
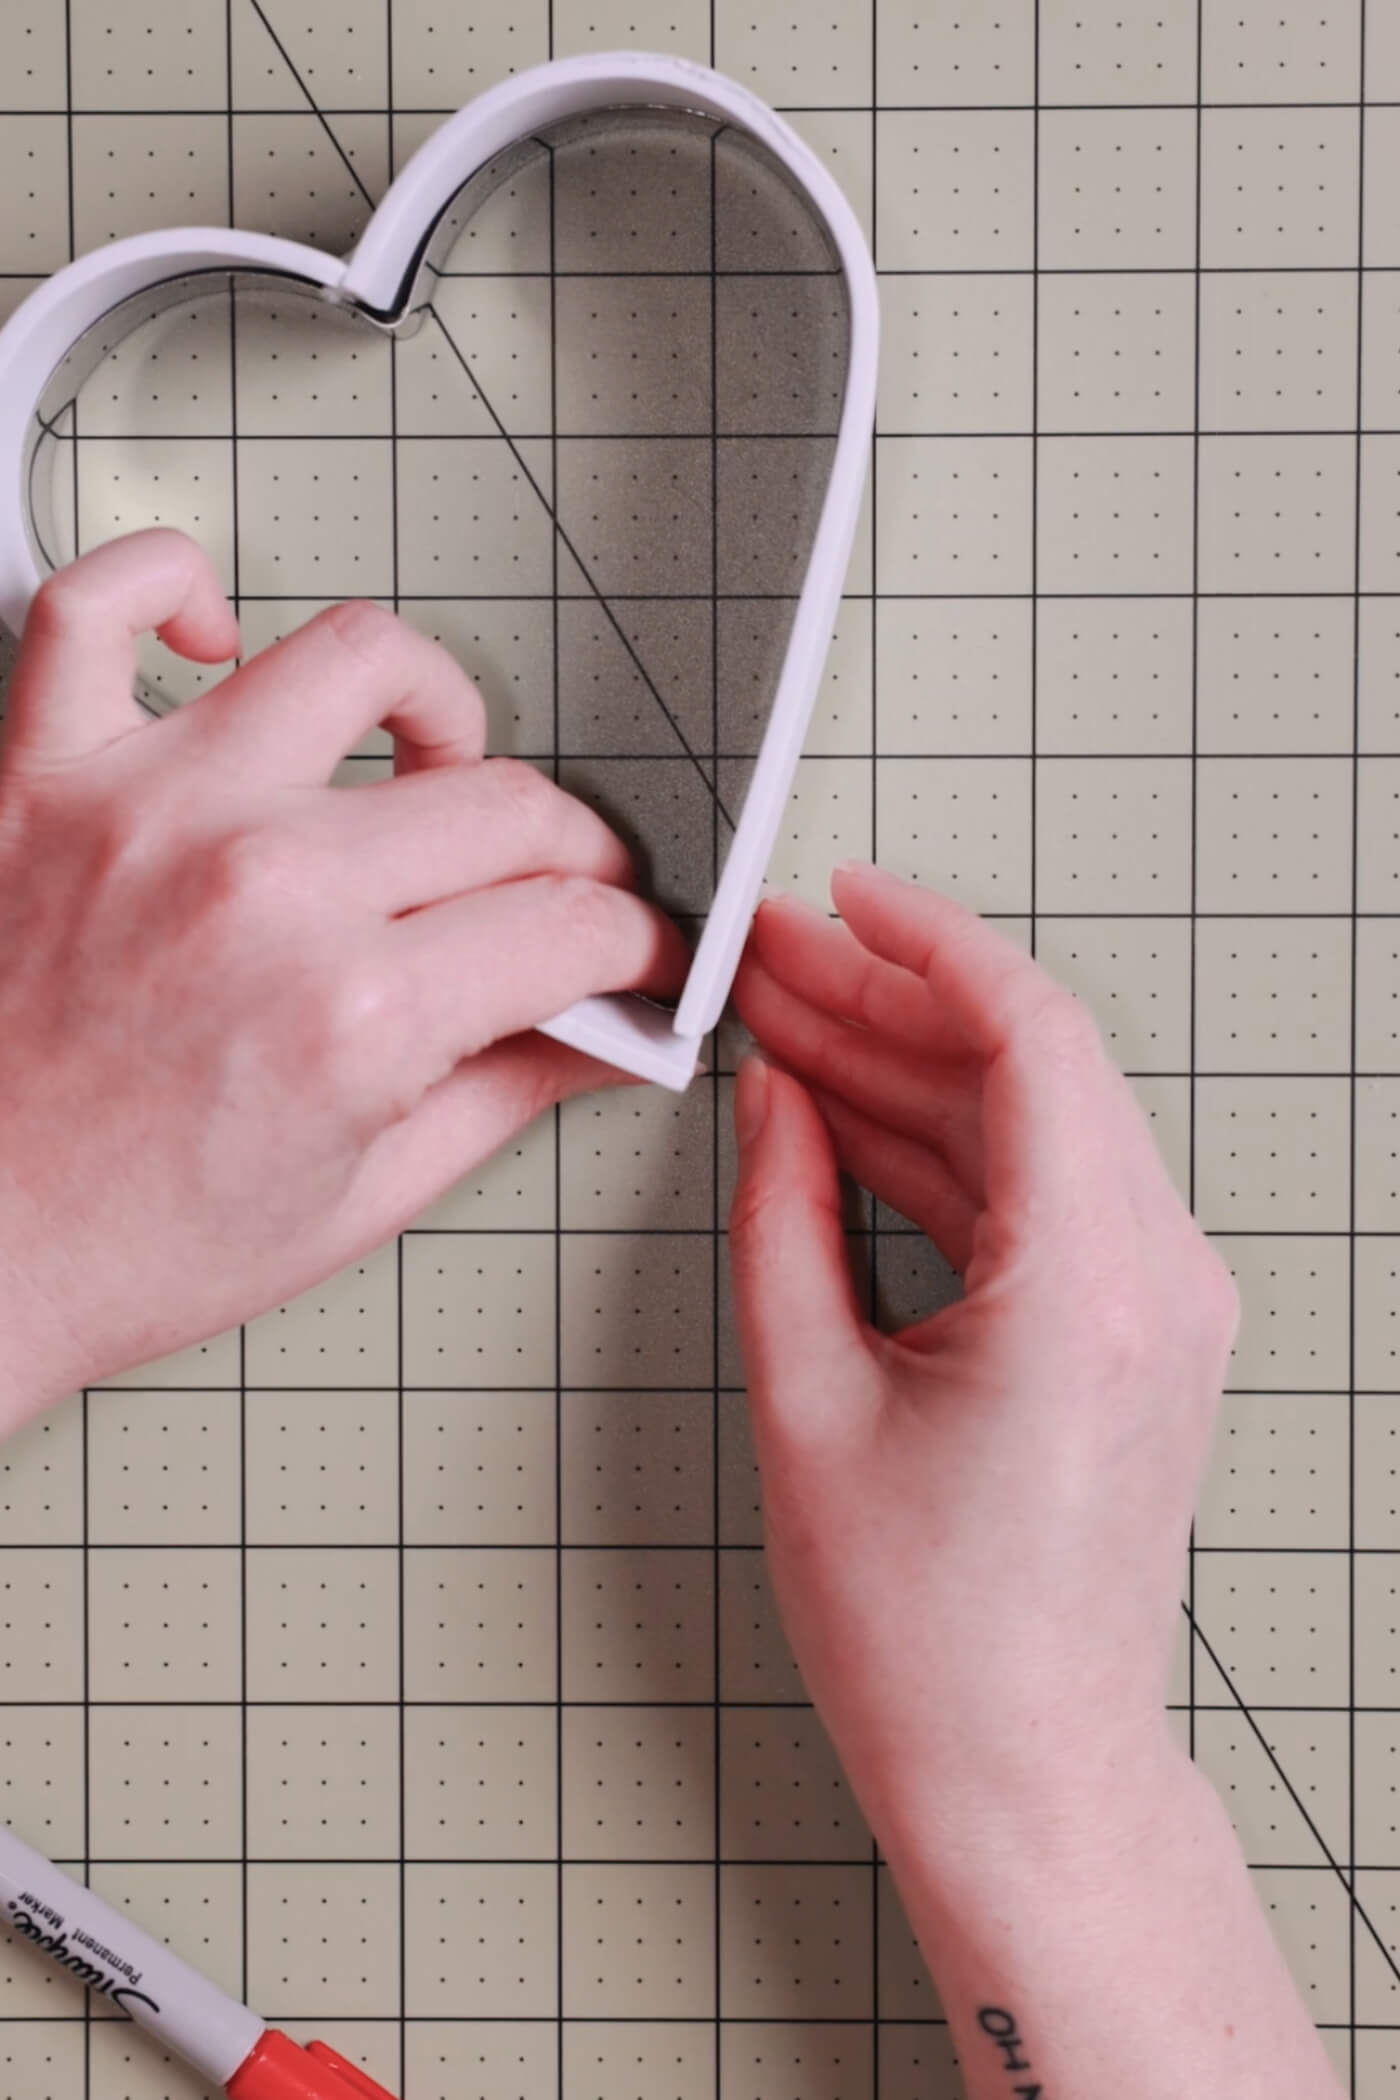
Lastly, trim the ends to make the point. Don’t glue this part. Not quite yet!
Adding The Fabric
Cover the Sides
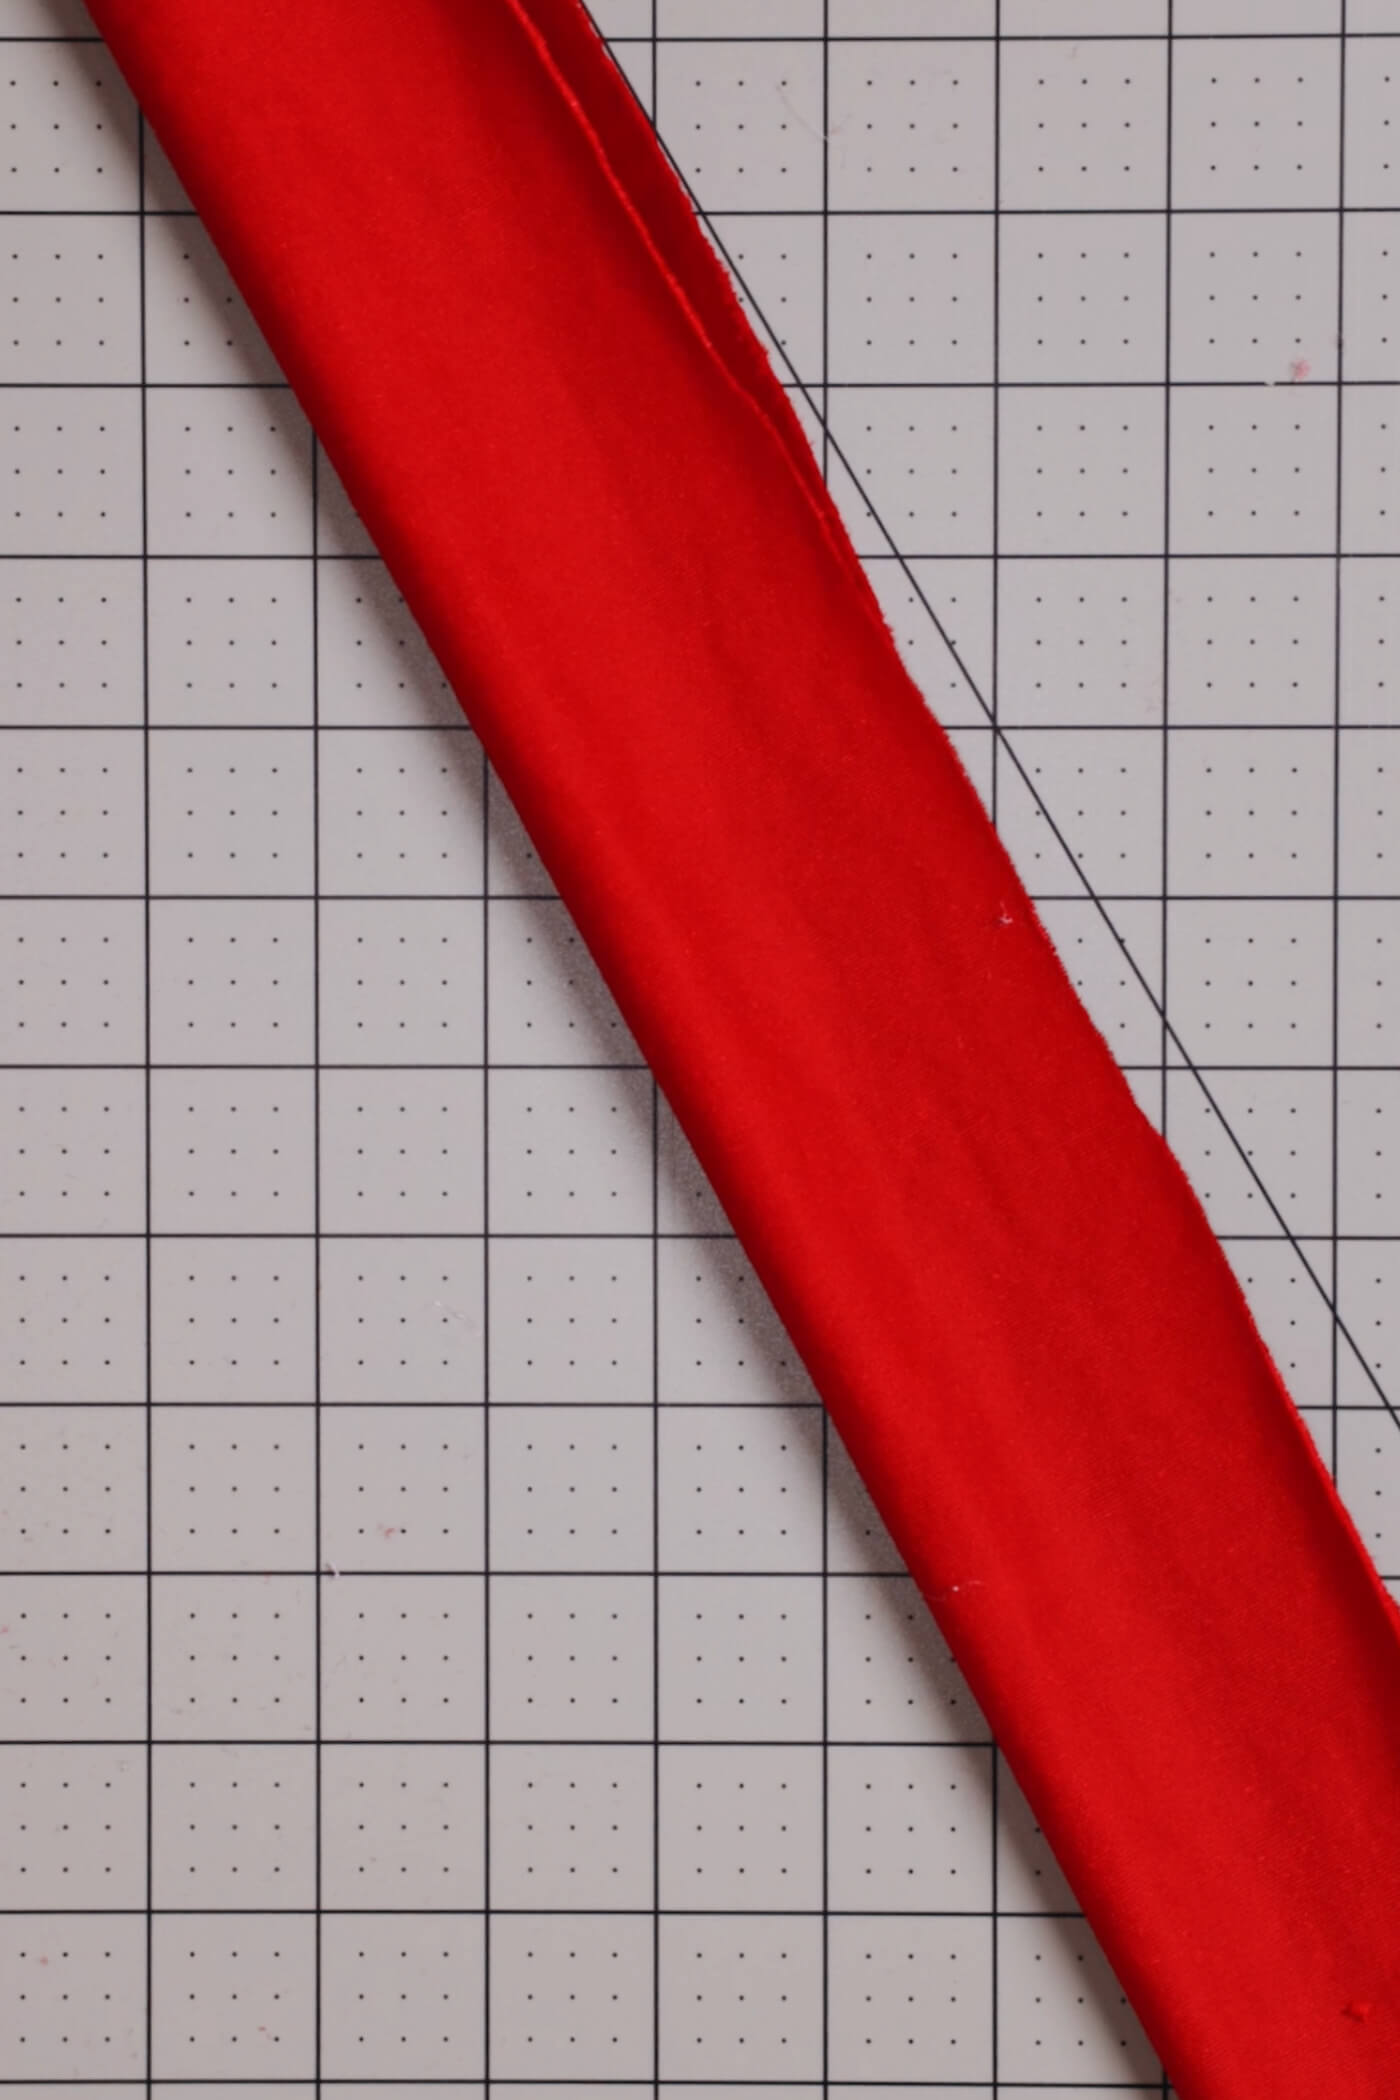
Cut fabric of your choice to cover the sides of the heart (in one long piece – shown folded in the center here). I chose to use a stretchy velvet fabric so it would hug the curves better — and instead of making it a smooth base, I added texture by scrunching the fabric. So here, you have a couple of different options:
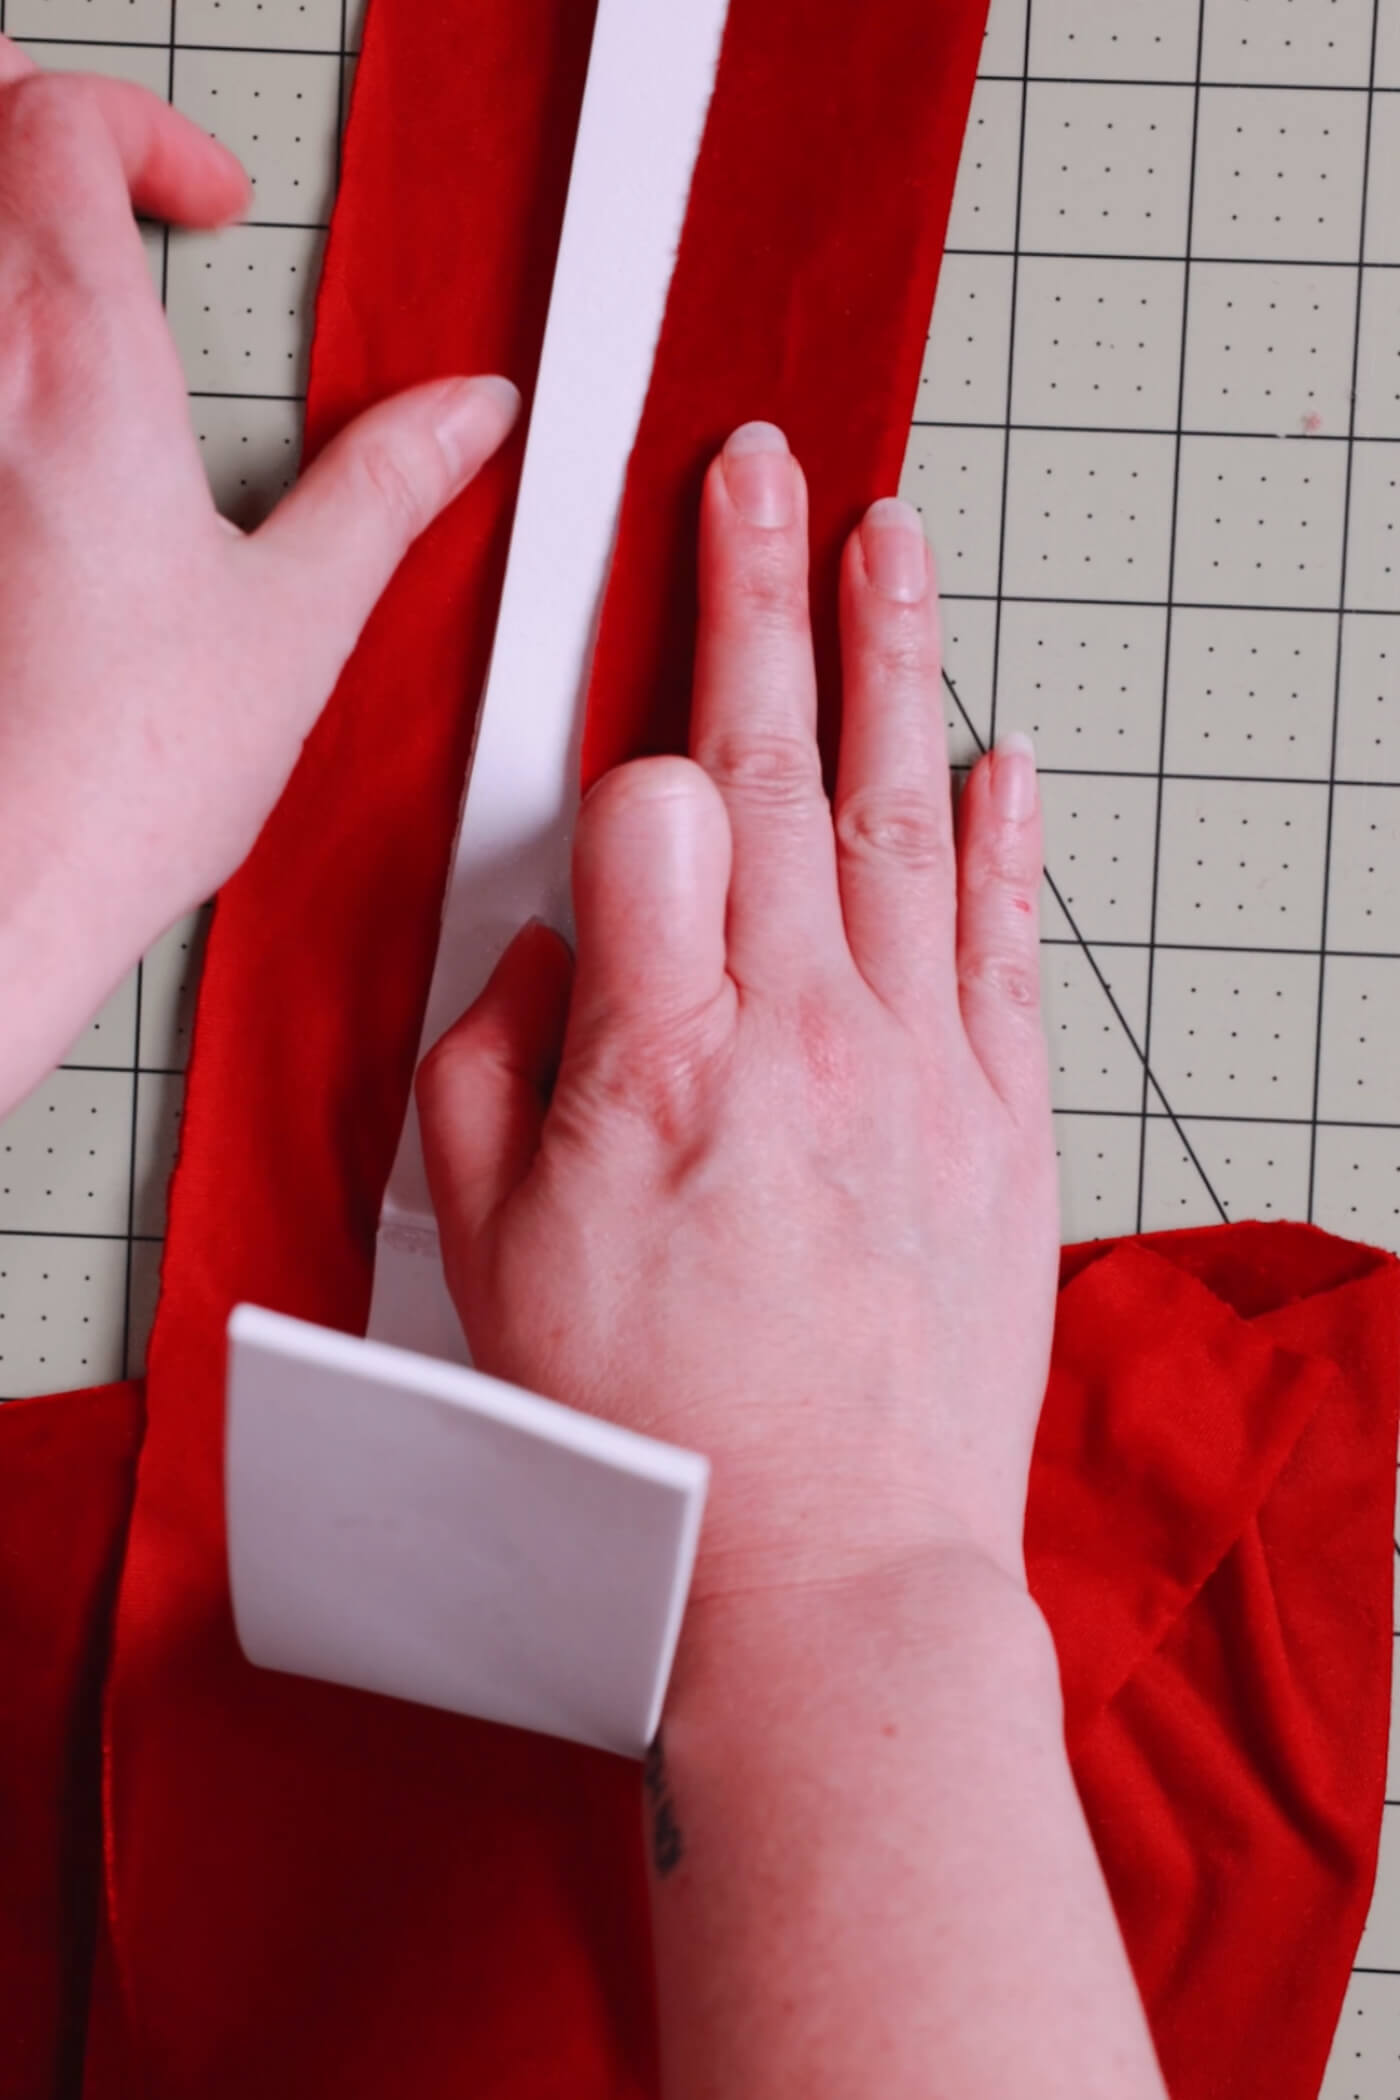
If you’re going the no-sew option, simply fold the fabric taut around the foam sides and glue in place. You will have a smooth side with this option.
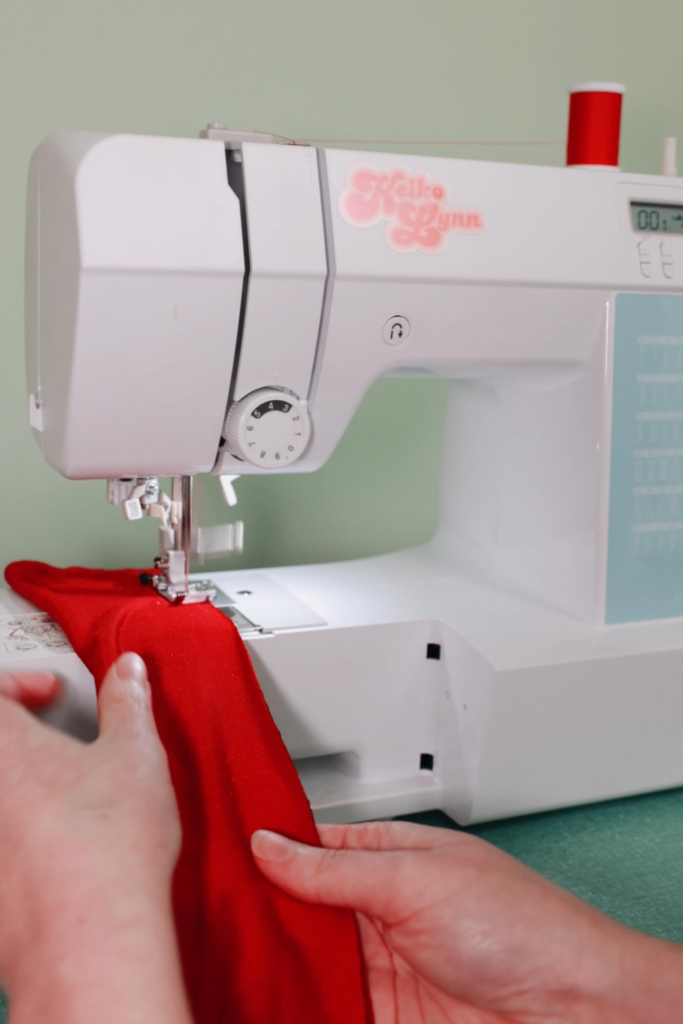
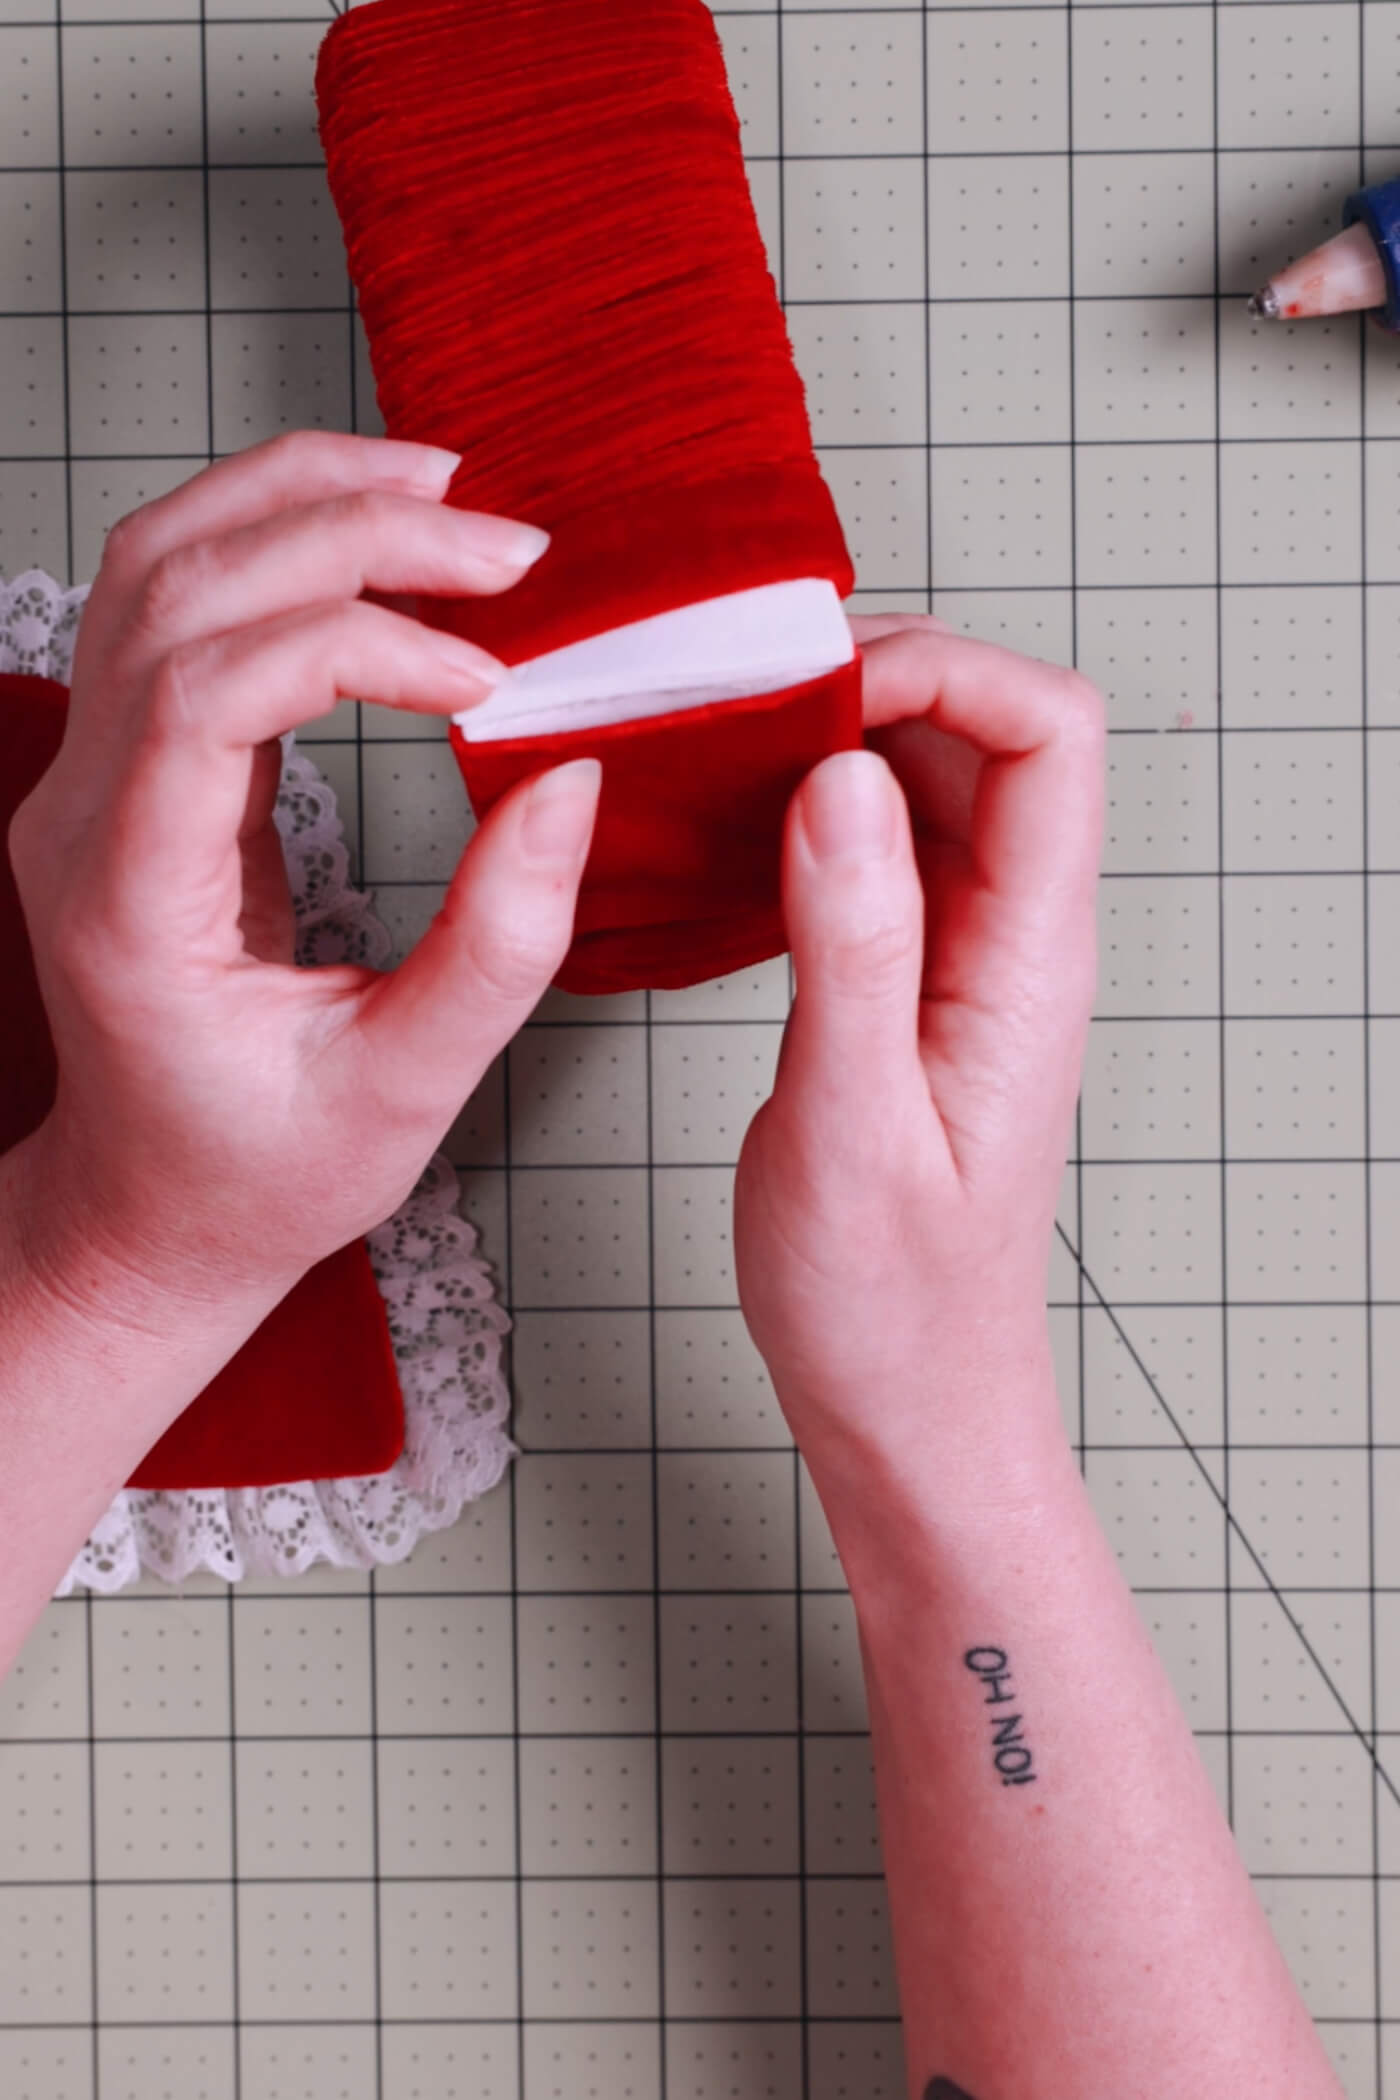
I chose to sew the sides and feed the foam through. I want that scrunched side and generally, sewing it is faster!
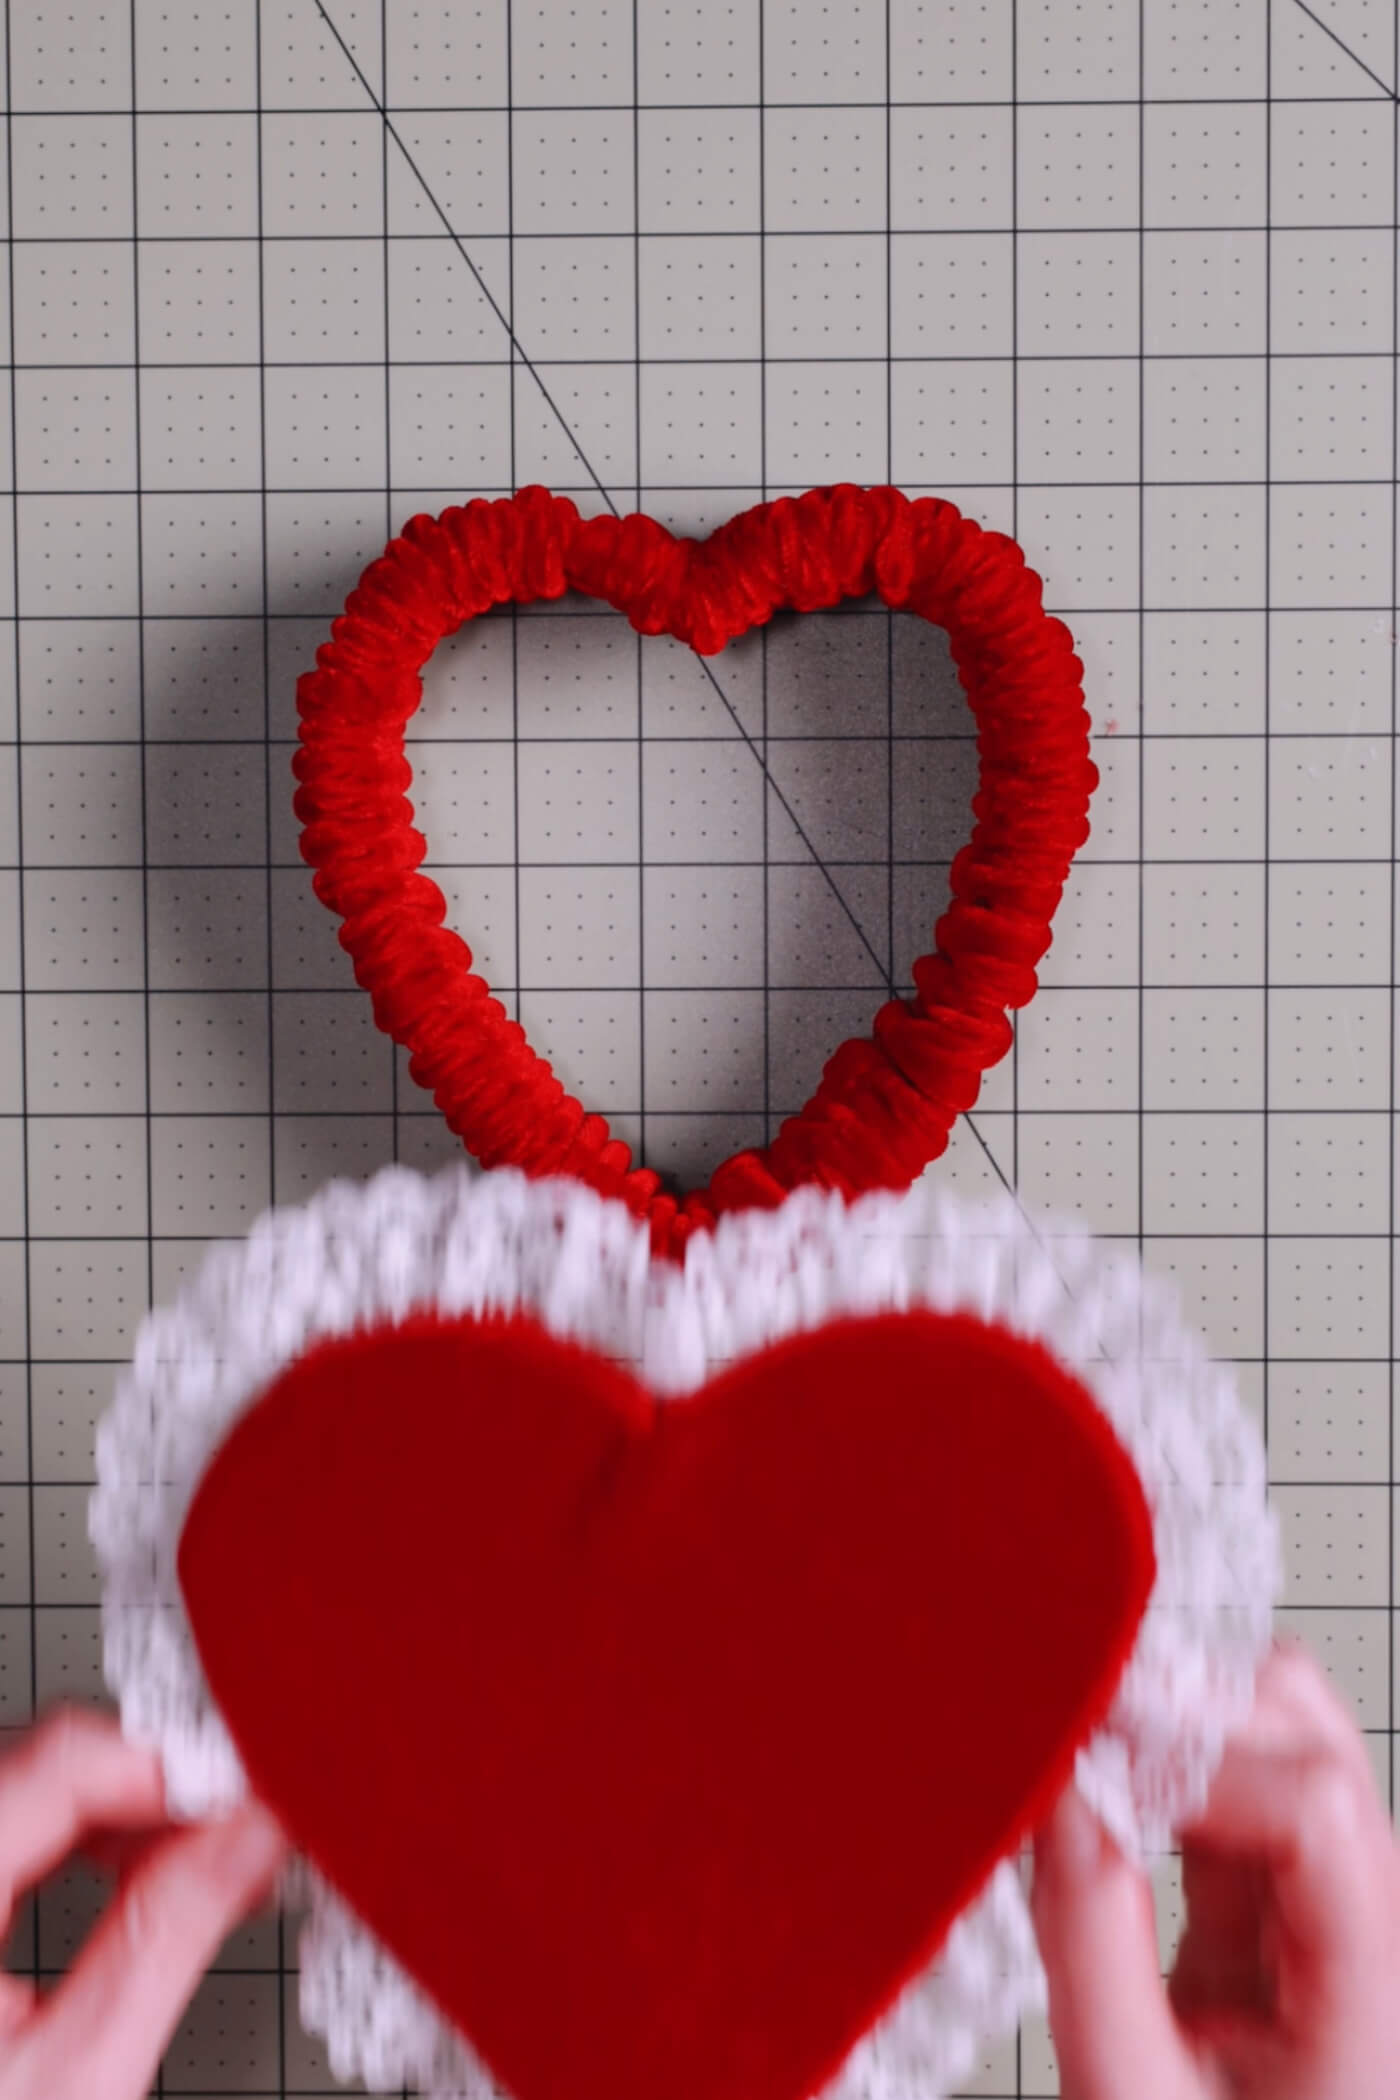
If you sewed the fabric, turn it right side out so the stitched side is inside the tube, then feed the foam sides through it. Either keep it taut for a smooth side or scrunch it for a textured side, like I did. This will obviously require extra length of fabric but I love the look! As you can see, I scrunched the right side up a little more so that once it’s glued in place, I can pull some of that extra fabric to the other side to overlap the seams.
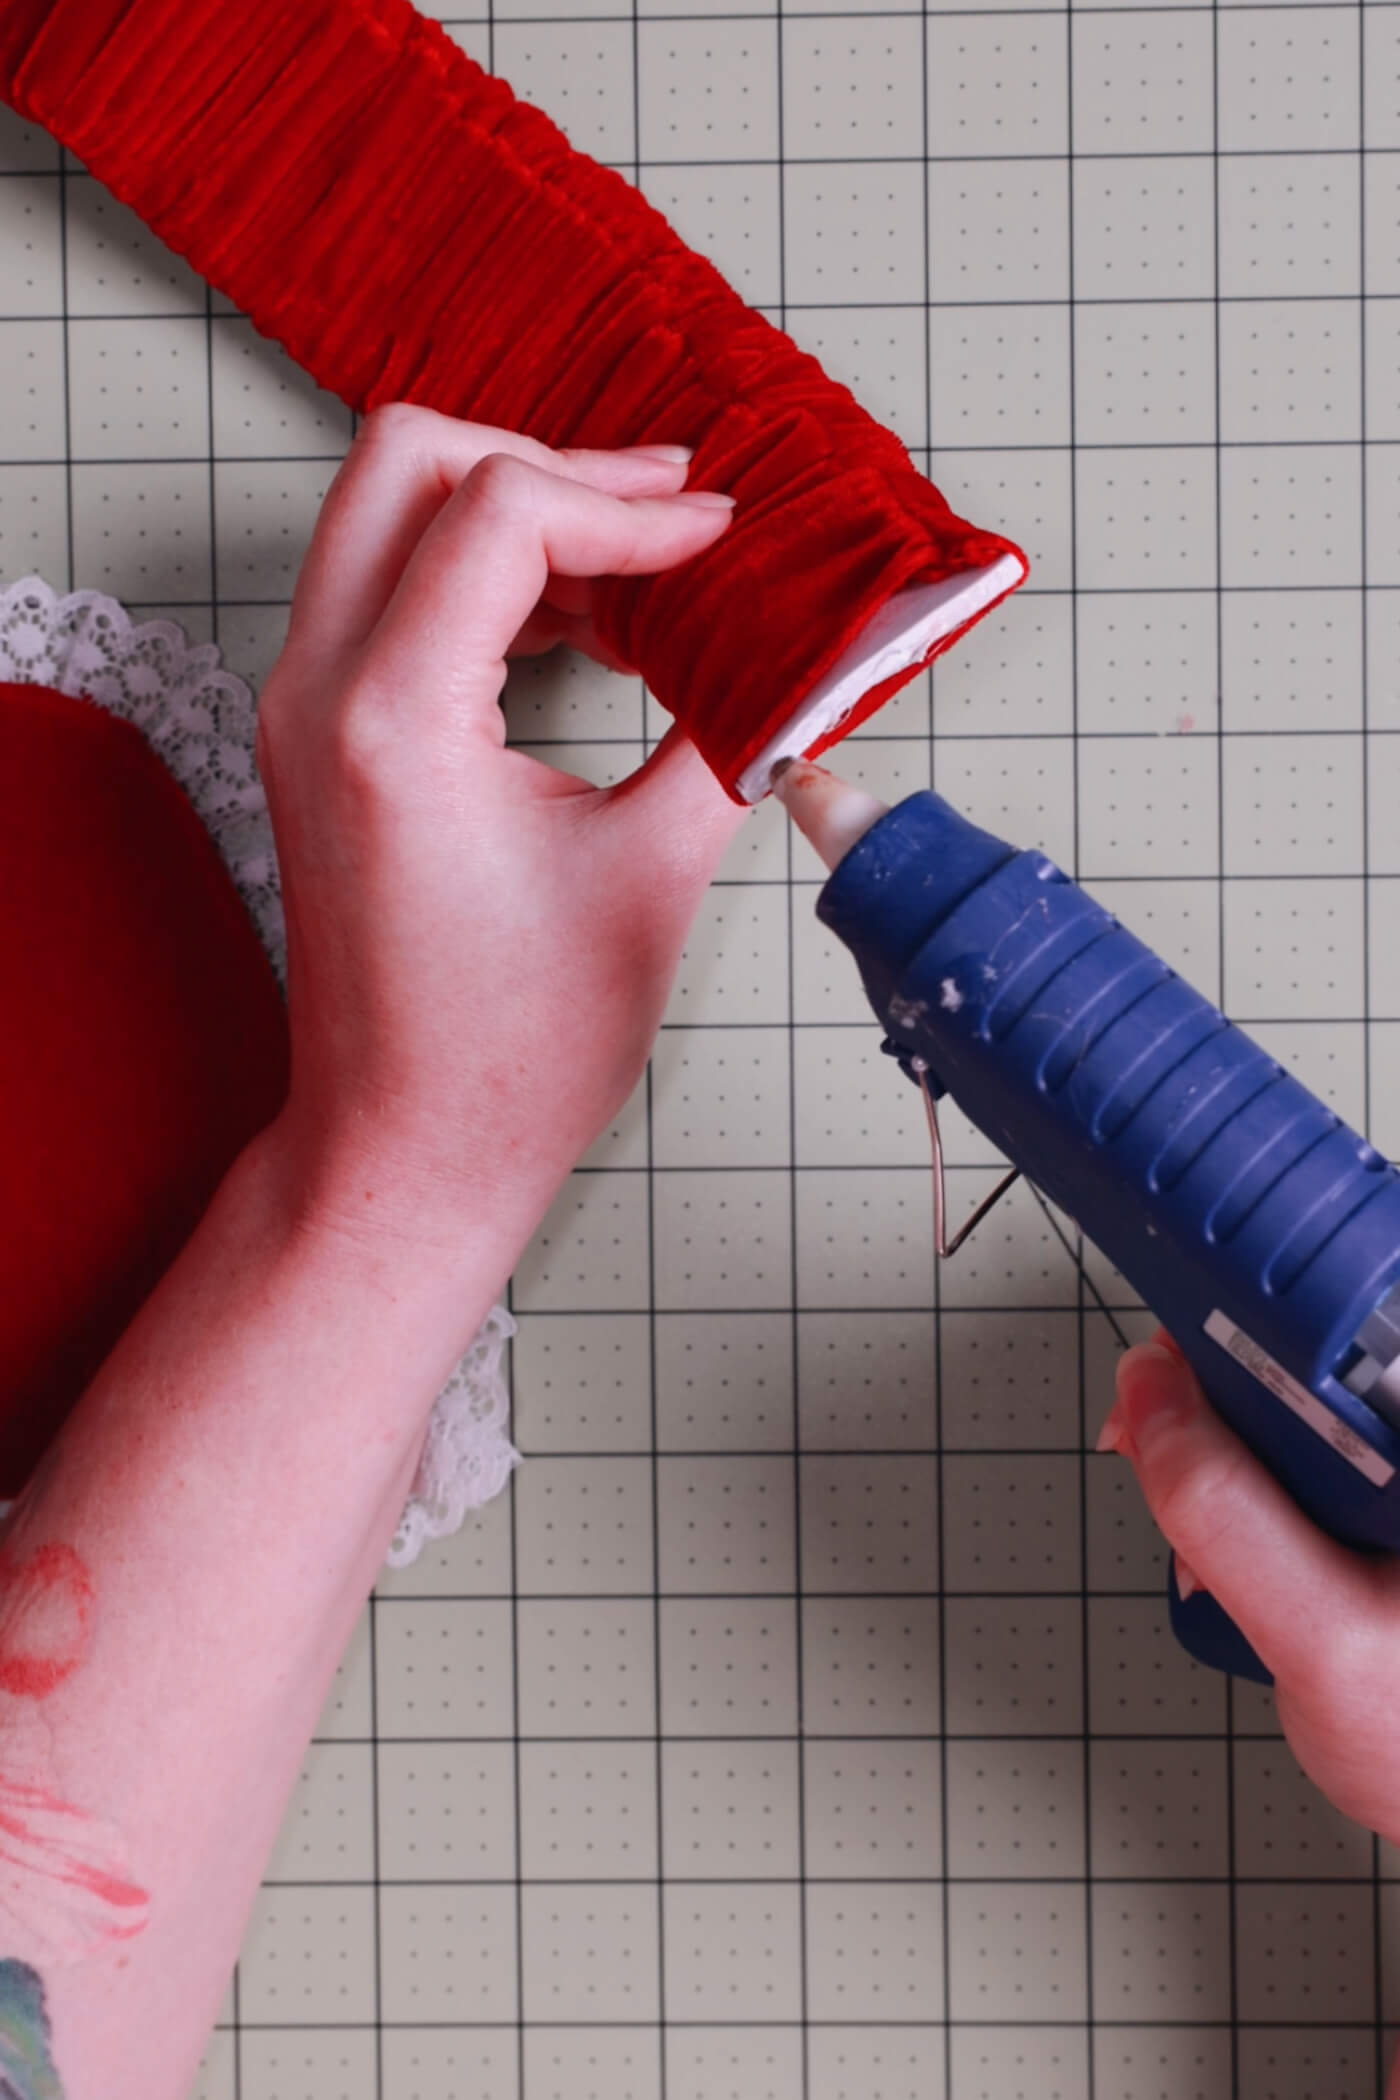
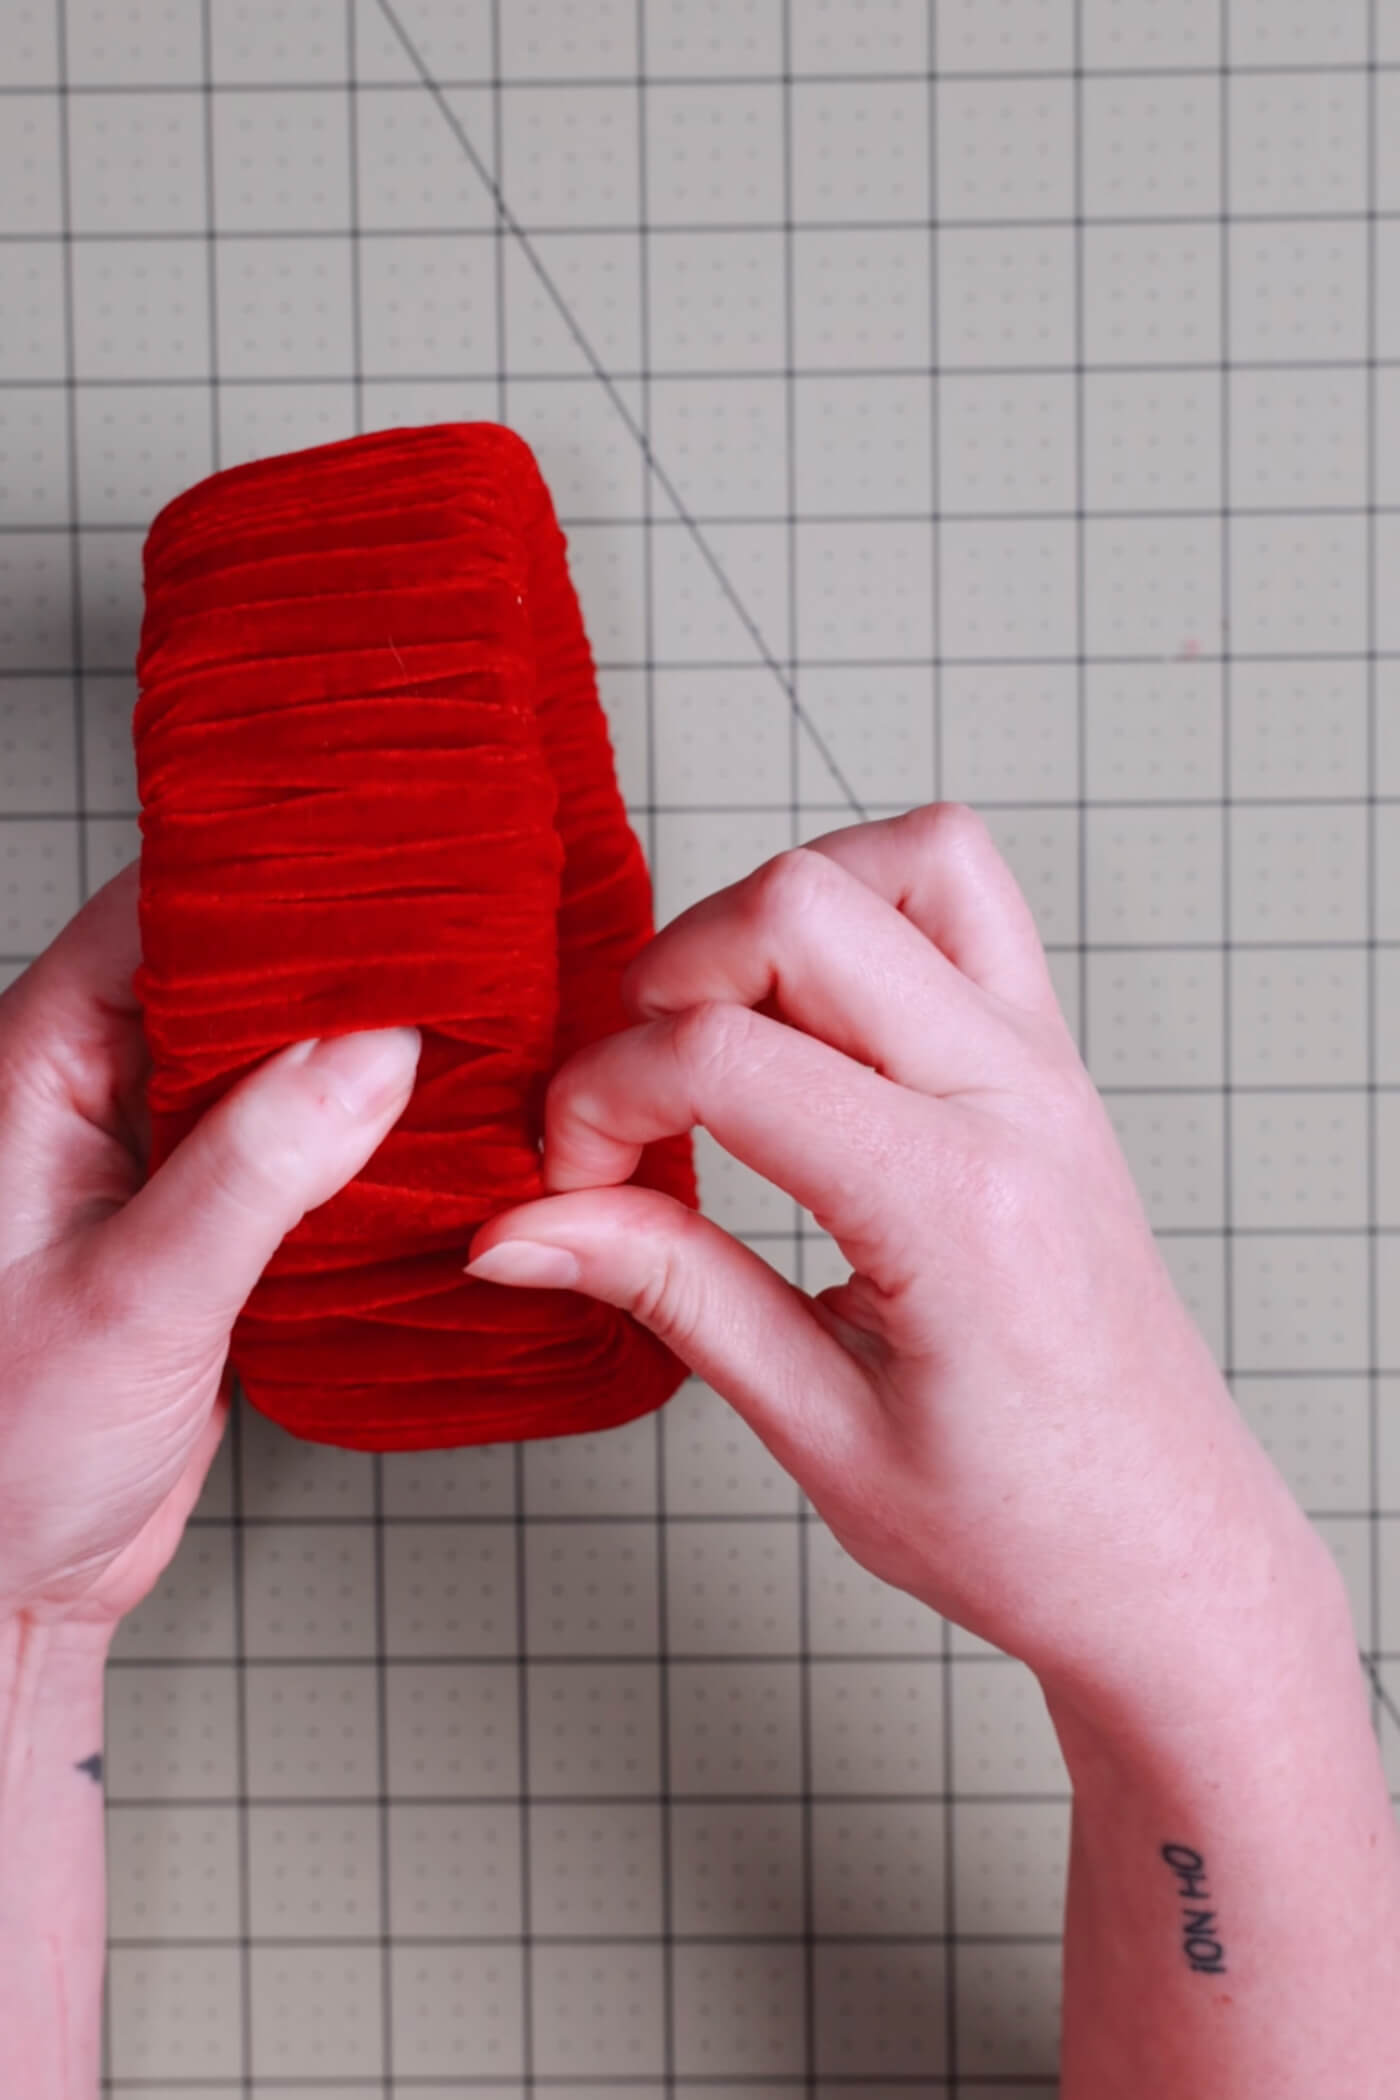
Glue the Bottom
Glue the bottoms of the heart sides together.
Make sure to hold it in place until the glue is fully dry.
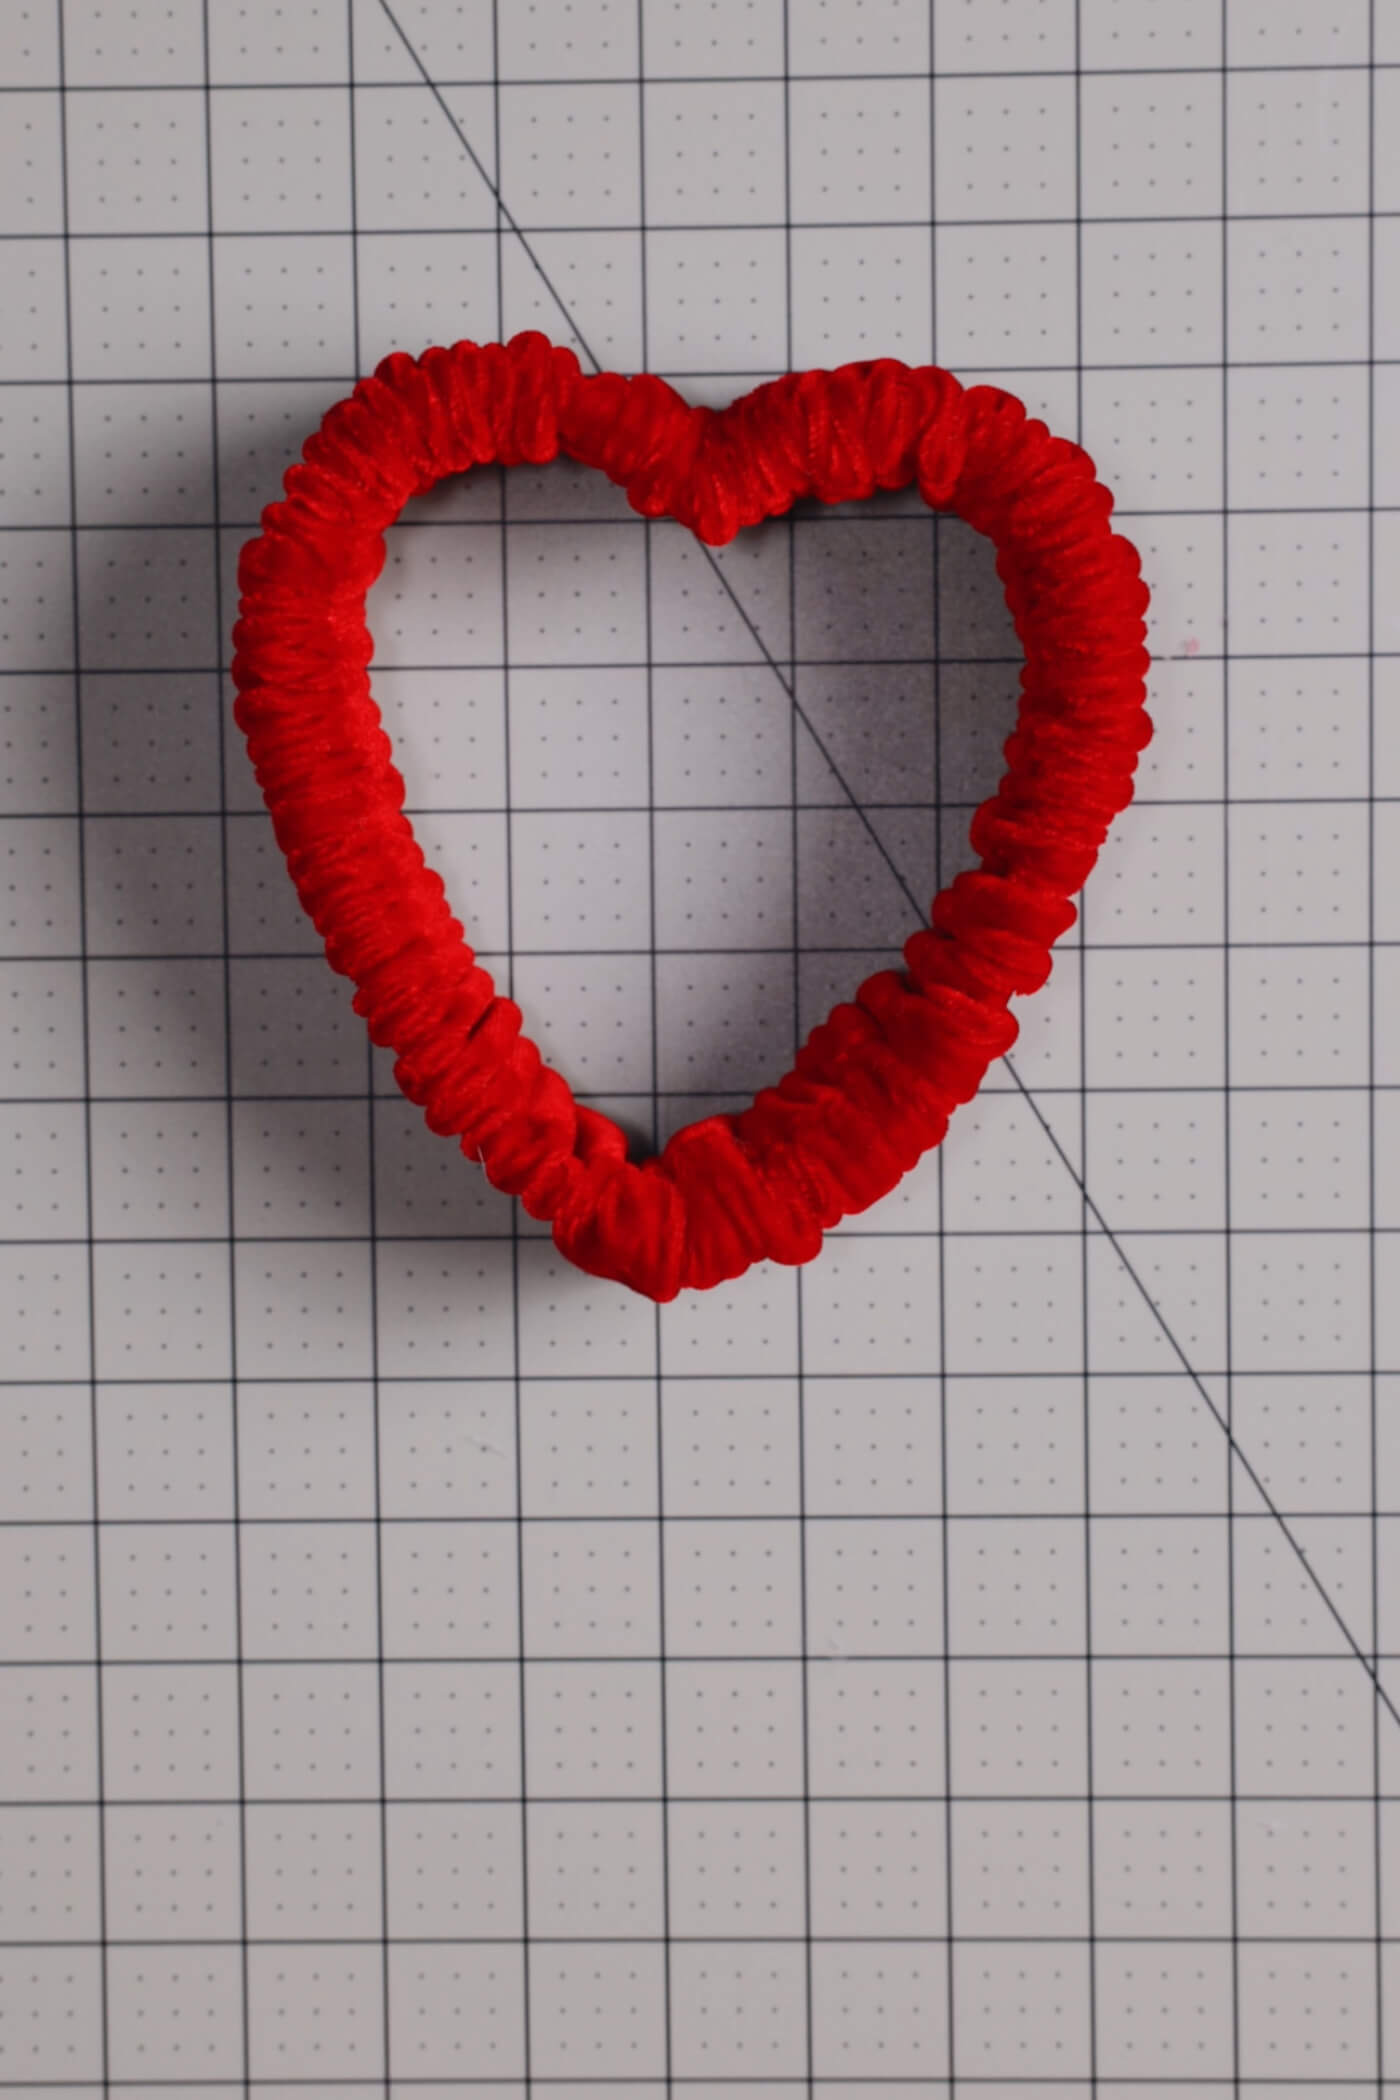
Overlap the Edges
Pull one side over the other to hide the seam. I tucked the edges under for a clean finish and overlapped them a decent amount so nothing would show. Additionally, you can hand stitch this in place (just a few tacks will do!) or use glue or just leave it overlapped for the no-sew method. The base should look something like this. Now let’s finish the top!
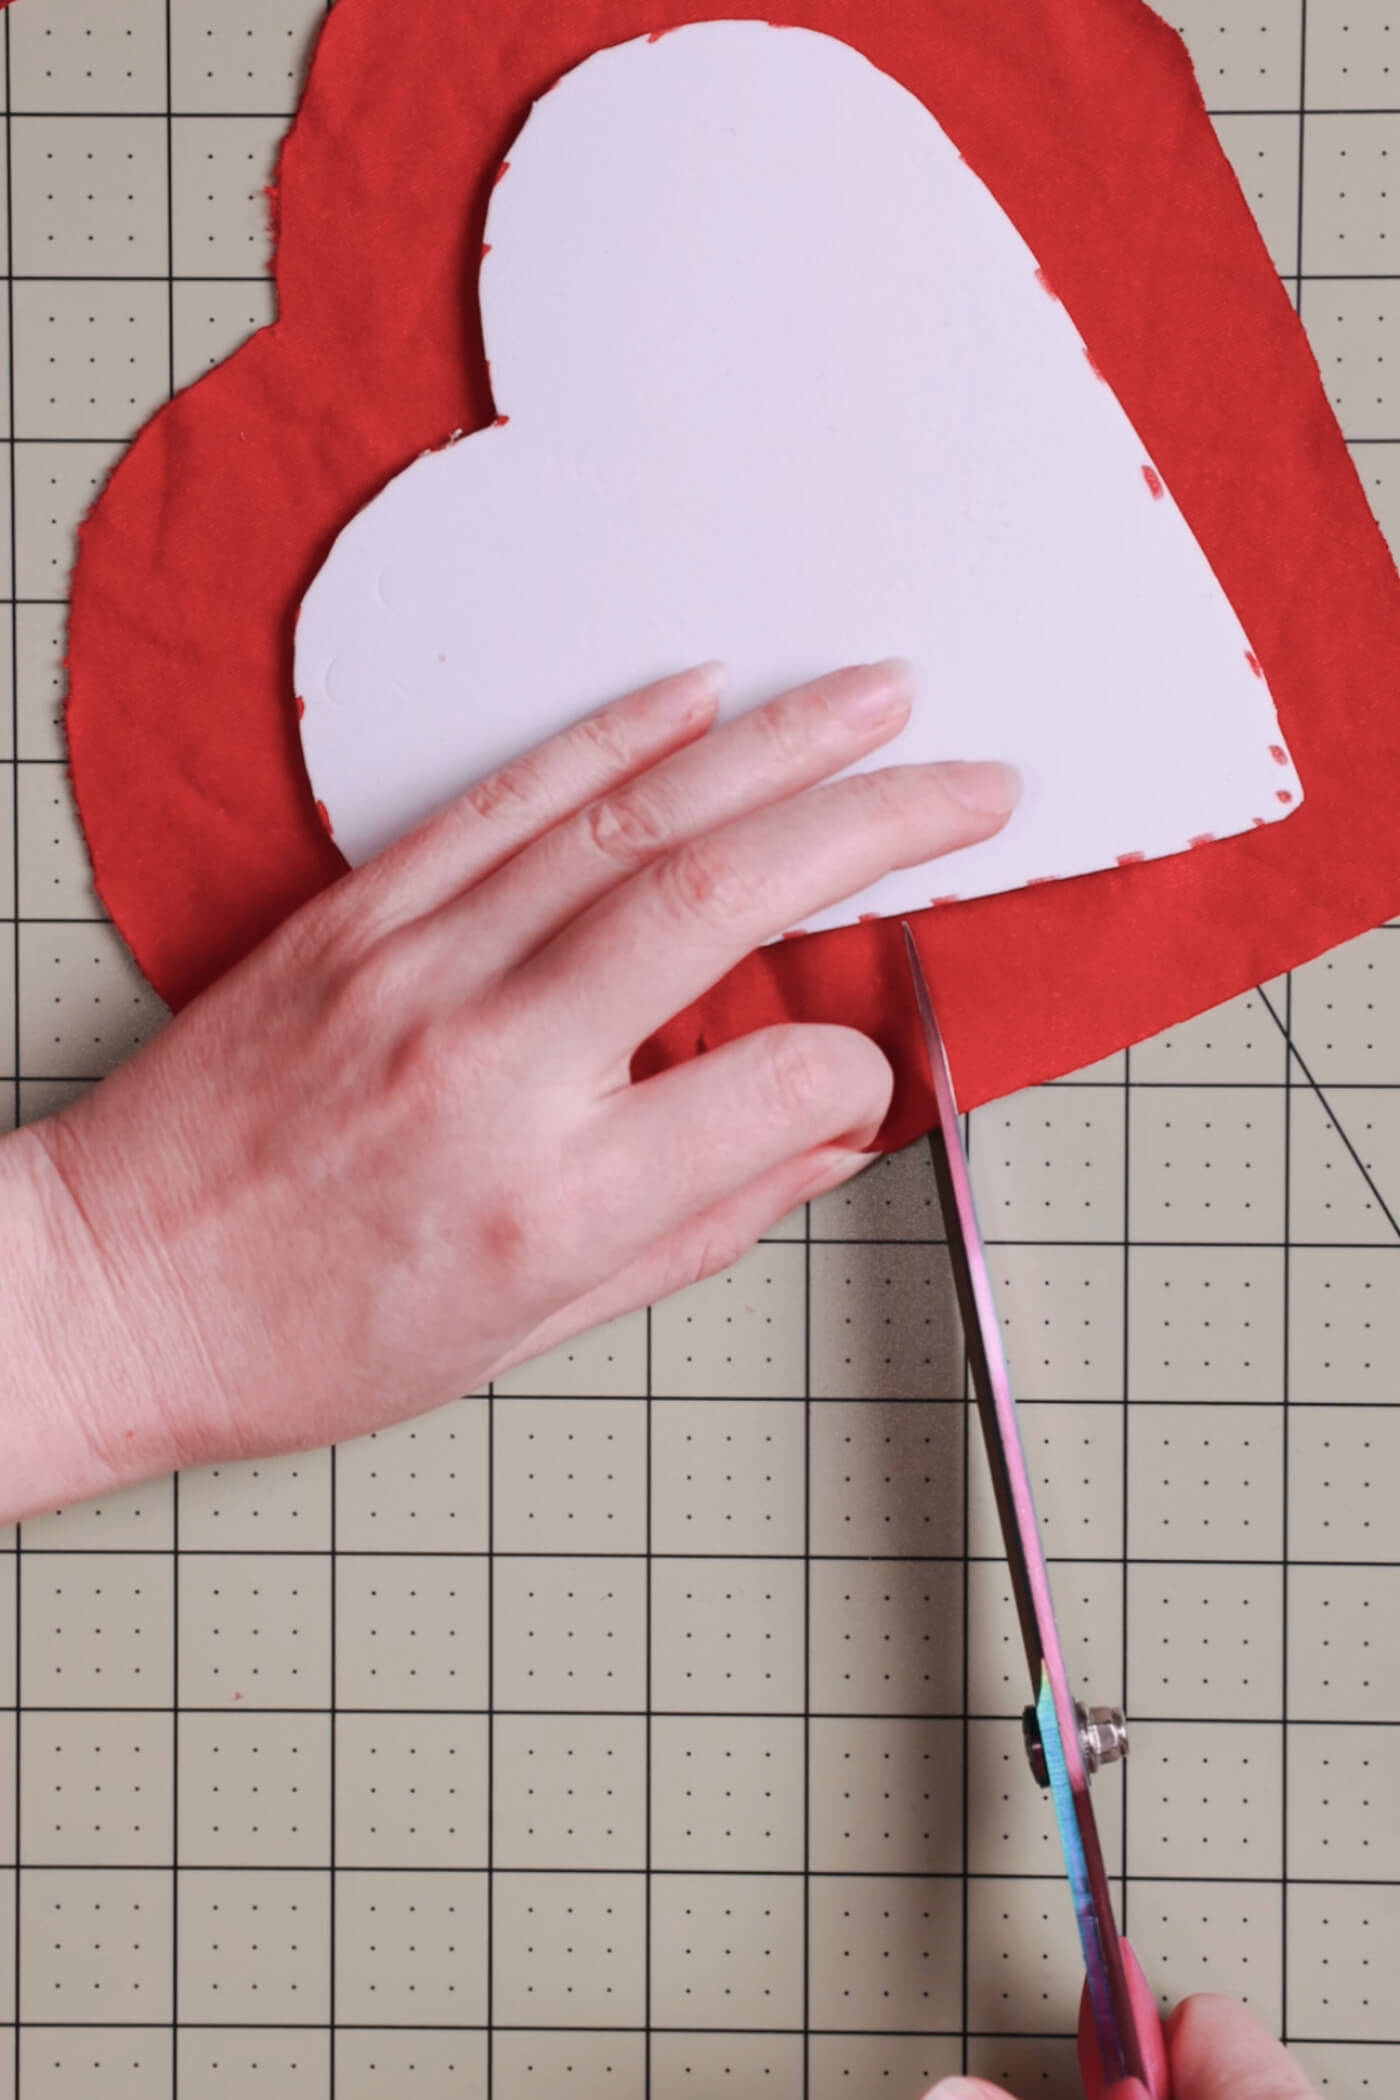
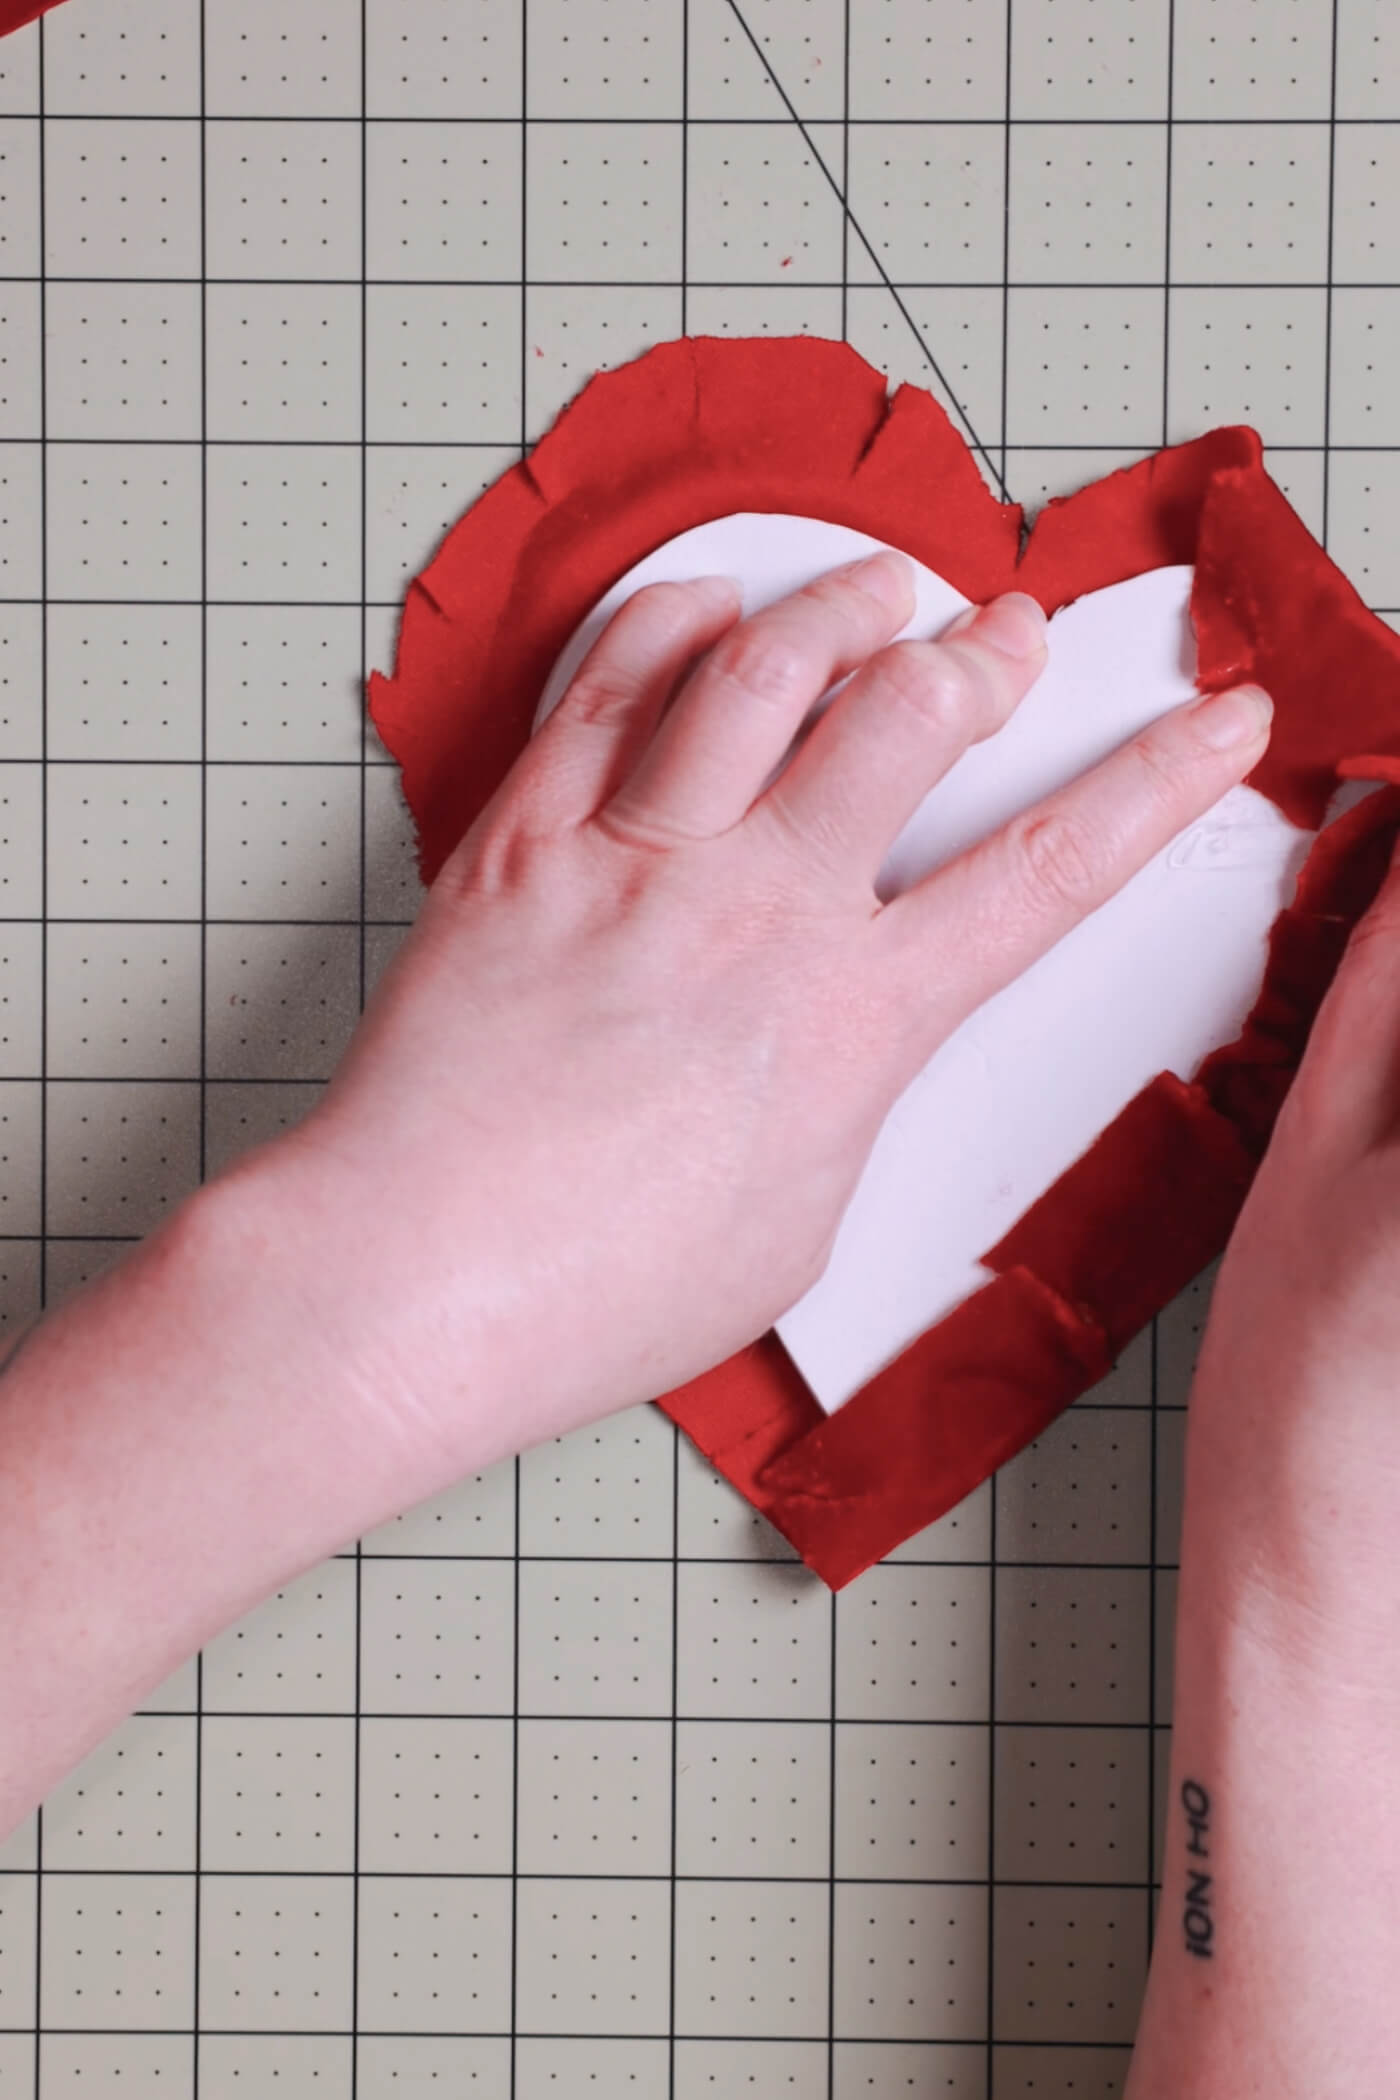
Cover the Top Heart
Then, cut out a larger heart from a piece of fabric (stretch velvet is a great option). Honestly, I made the allowance too large — you don’t need this much!
Clip around the edges and tab by tab, stretch it around the back and glue in place. If it’s messy, don’t worry — the front is all that matters.
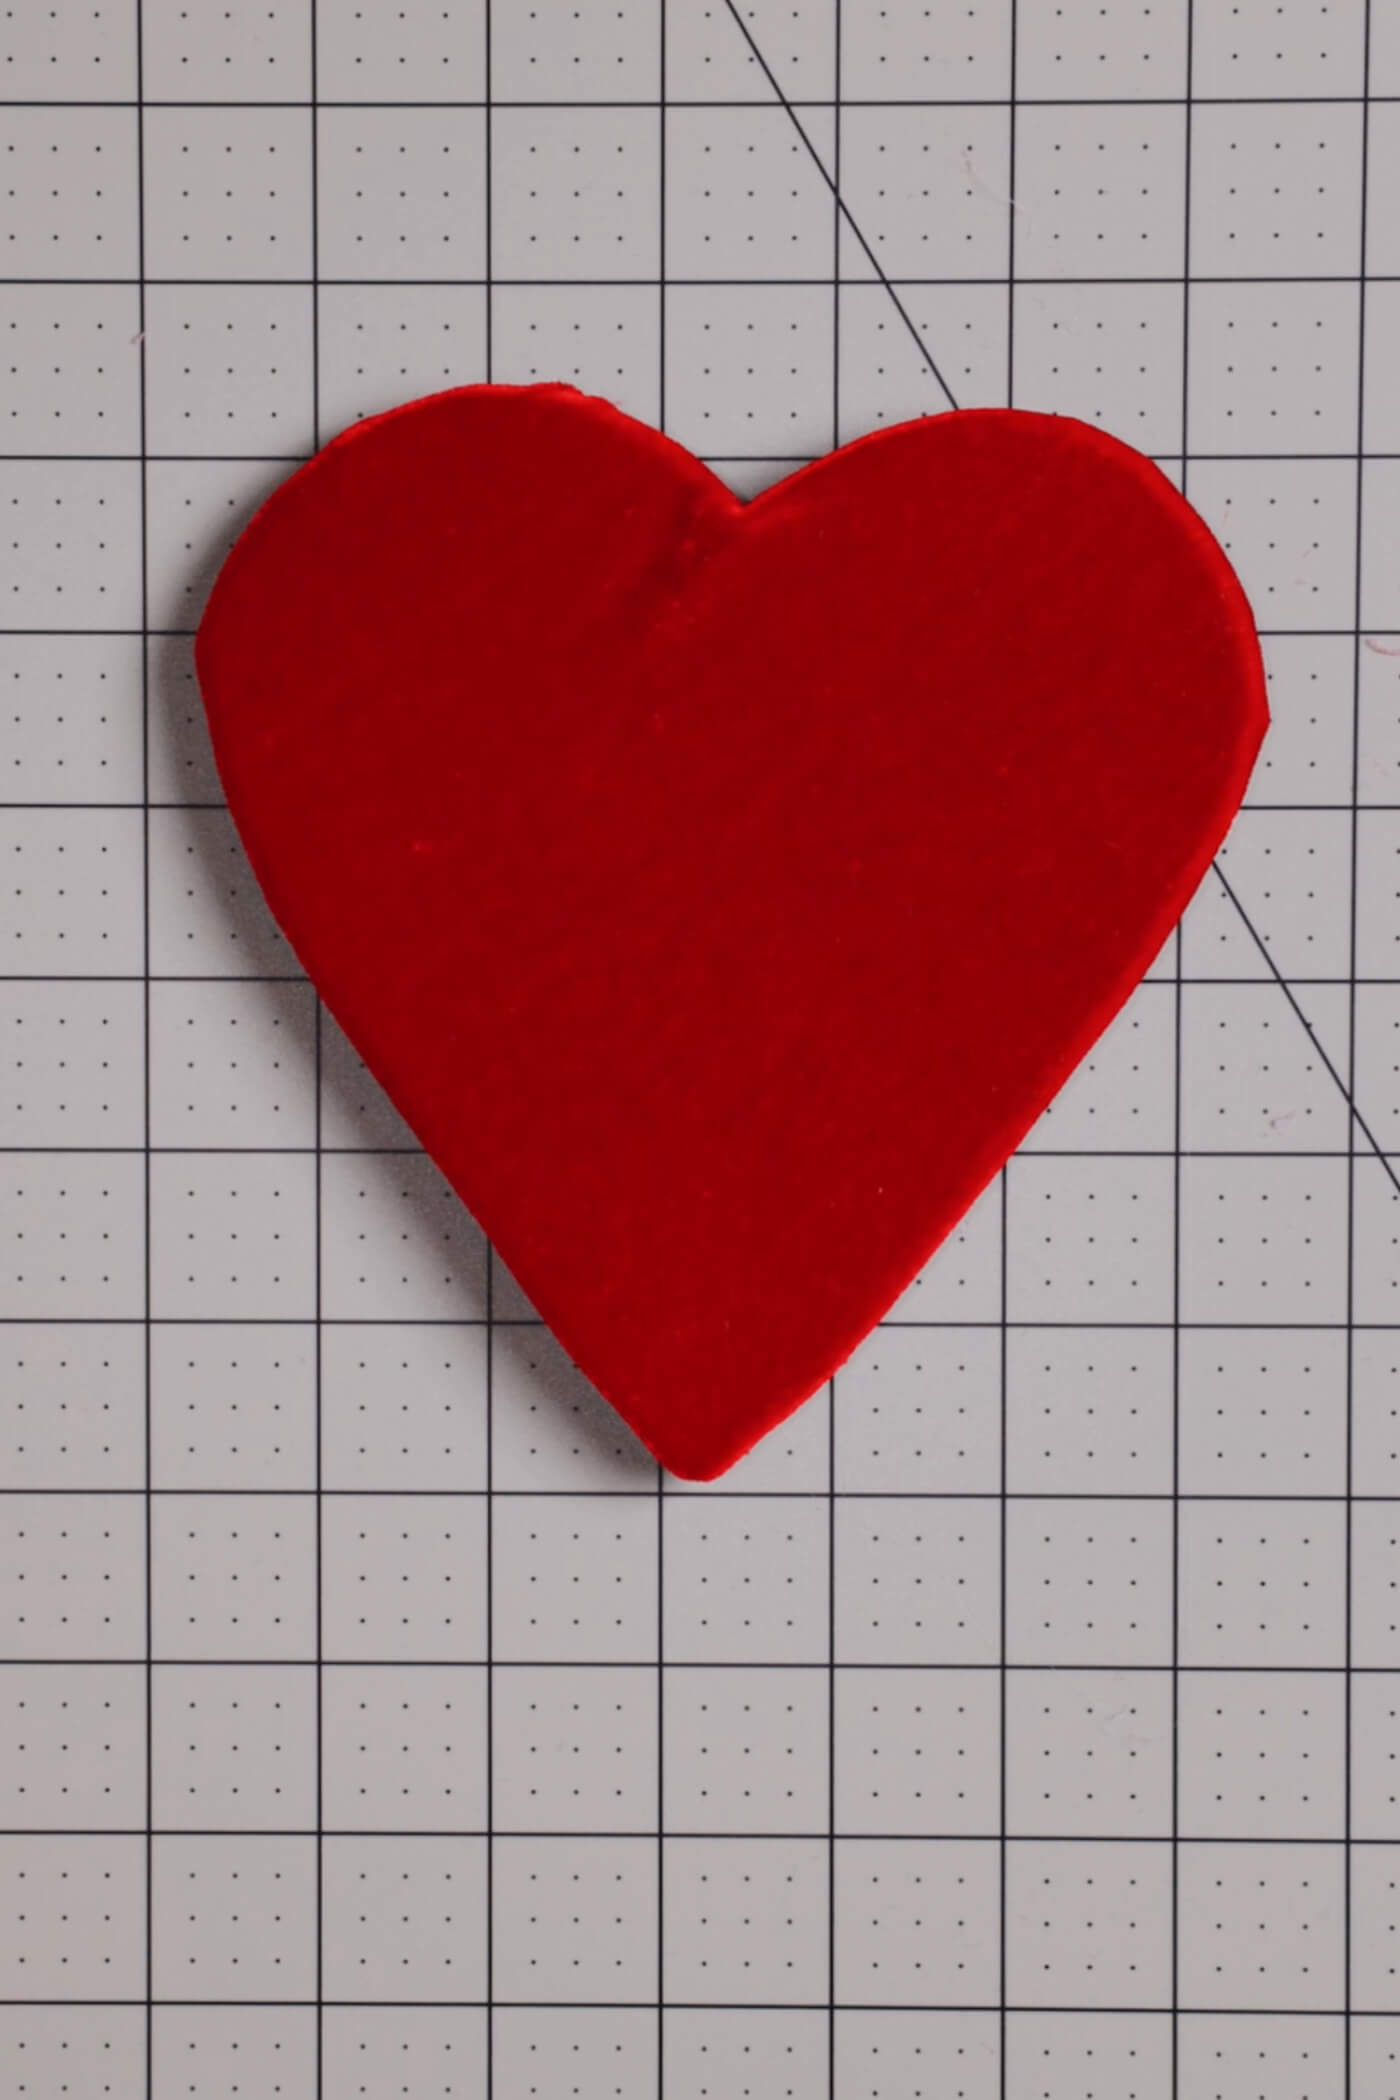
At this point, the back is a mess but the front should look nice. Now lets fix the back!
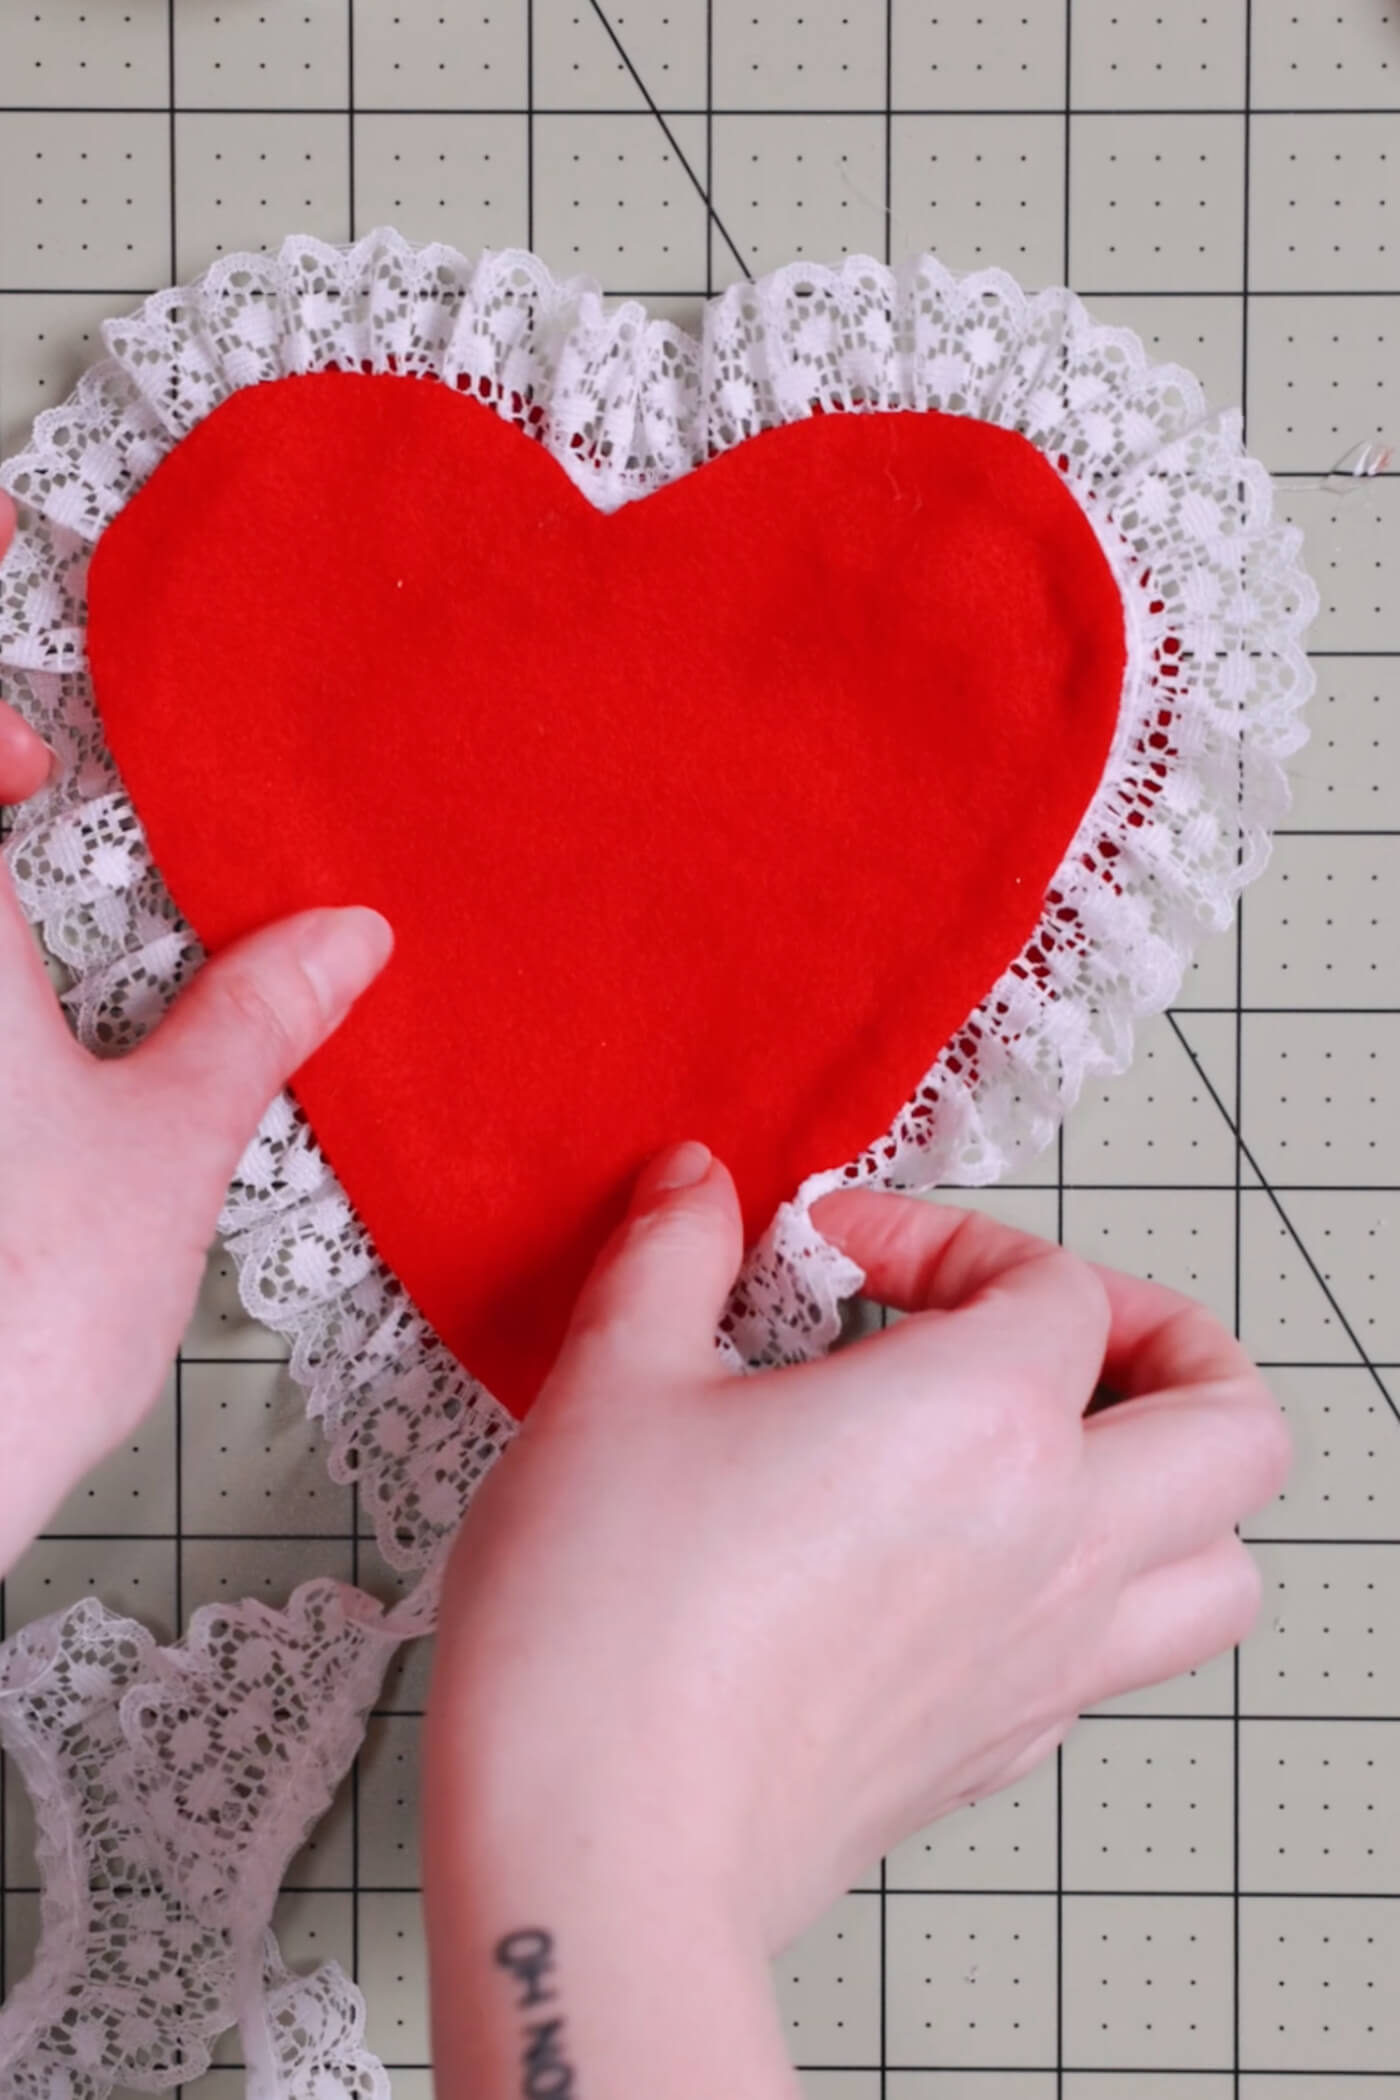
Add Some Trim
On the back of the heart, glue some trim around the edges, and then cover up the mess with a felt back. Glue that in place, as well.
This is what it will look like from the front. Trim the lace.
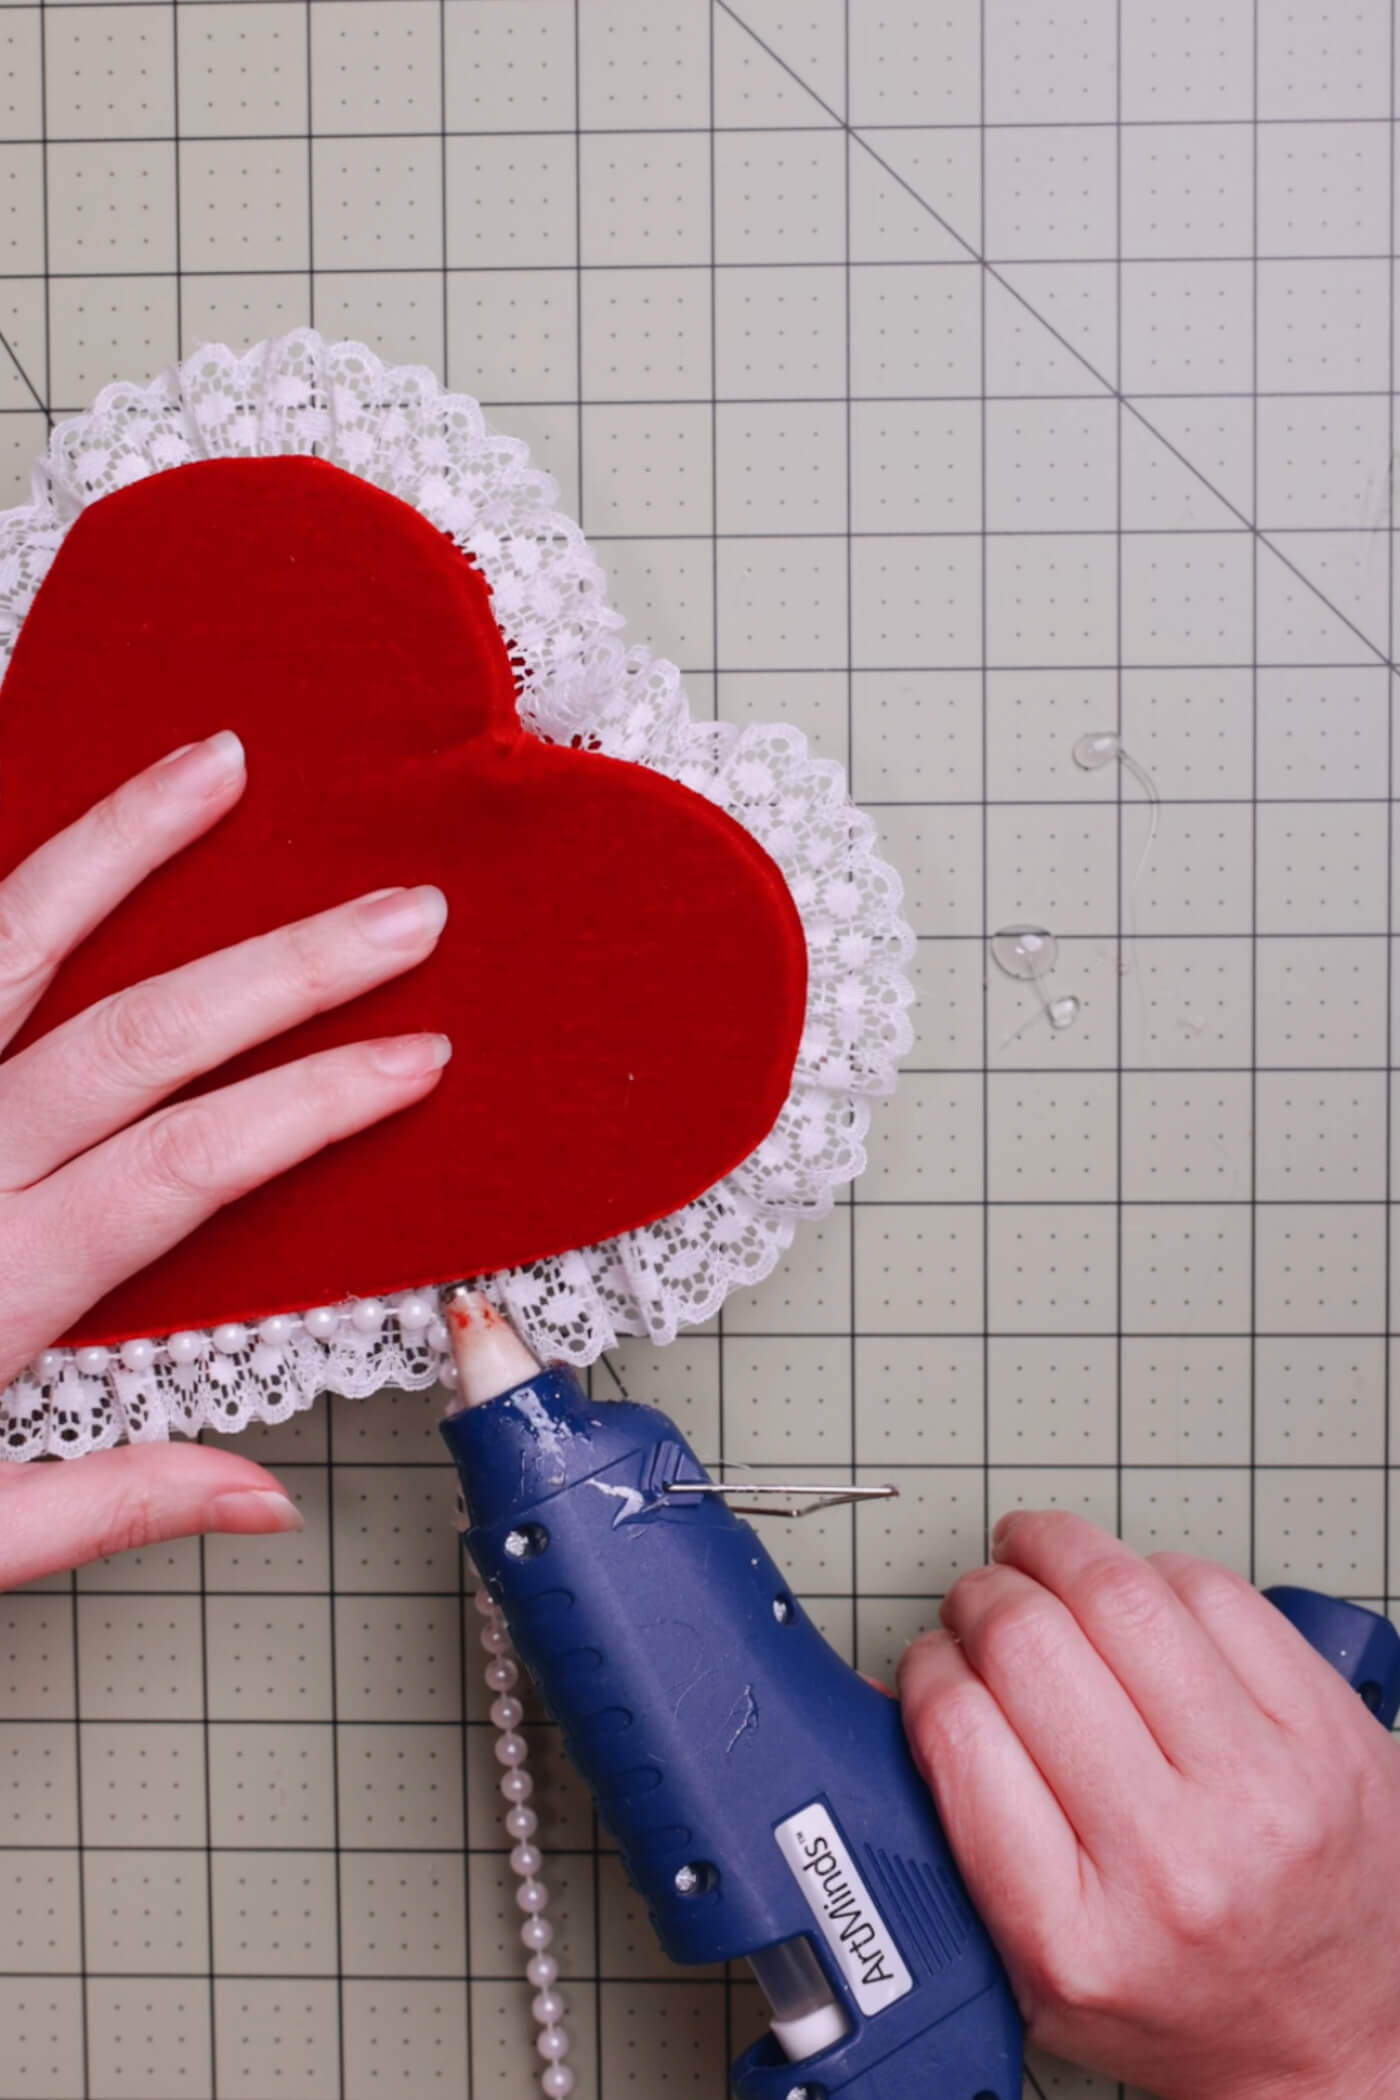
I decided to add some pearl trim to the edges. You can decorate any way you like!
Putting it All Together
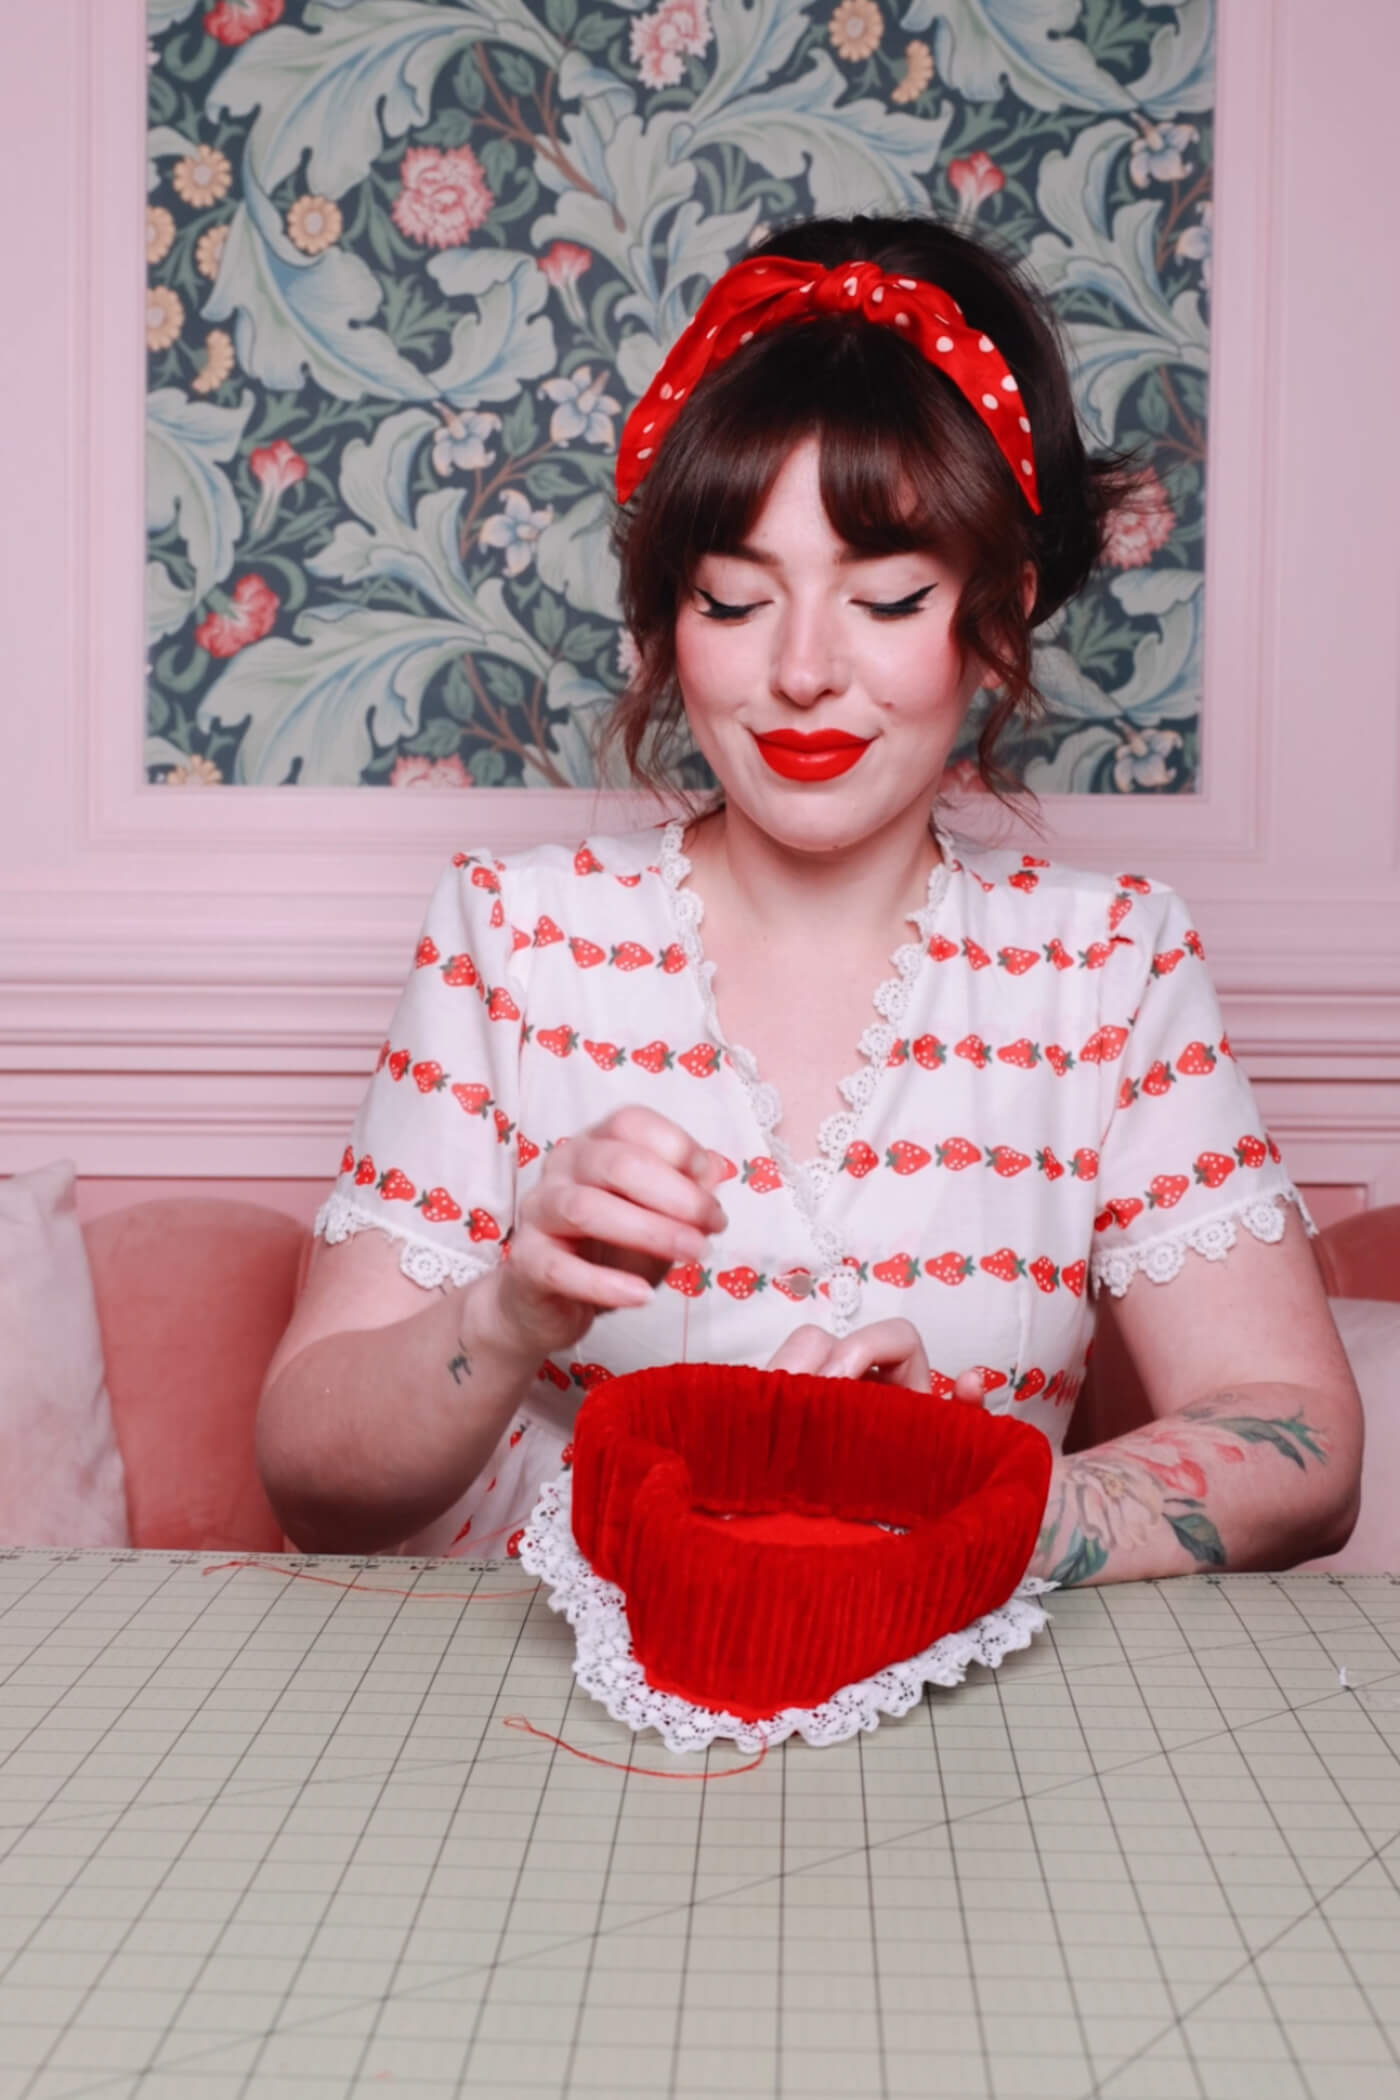
Now it’s time to secure the top to the base of your heart-shaped hat. Then, place the top on the base.
For the no-sew method, glue in place. Otherwise, hand-stitching is preferable and very simple!
Stitch (or sew) it!
I hand-stitched the hat and it took me no time.
The Final Touch
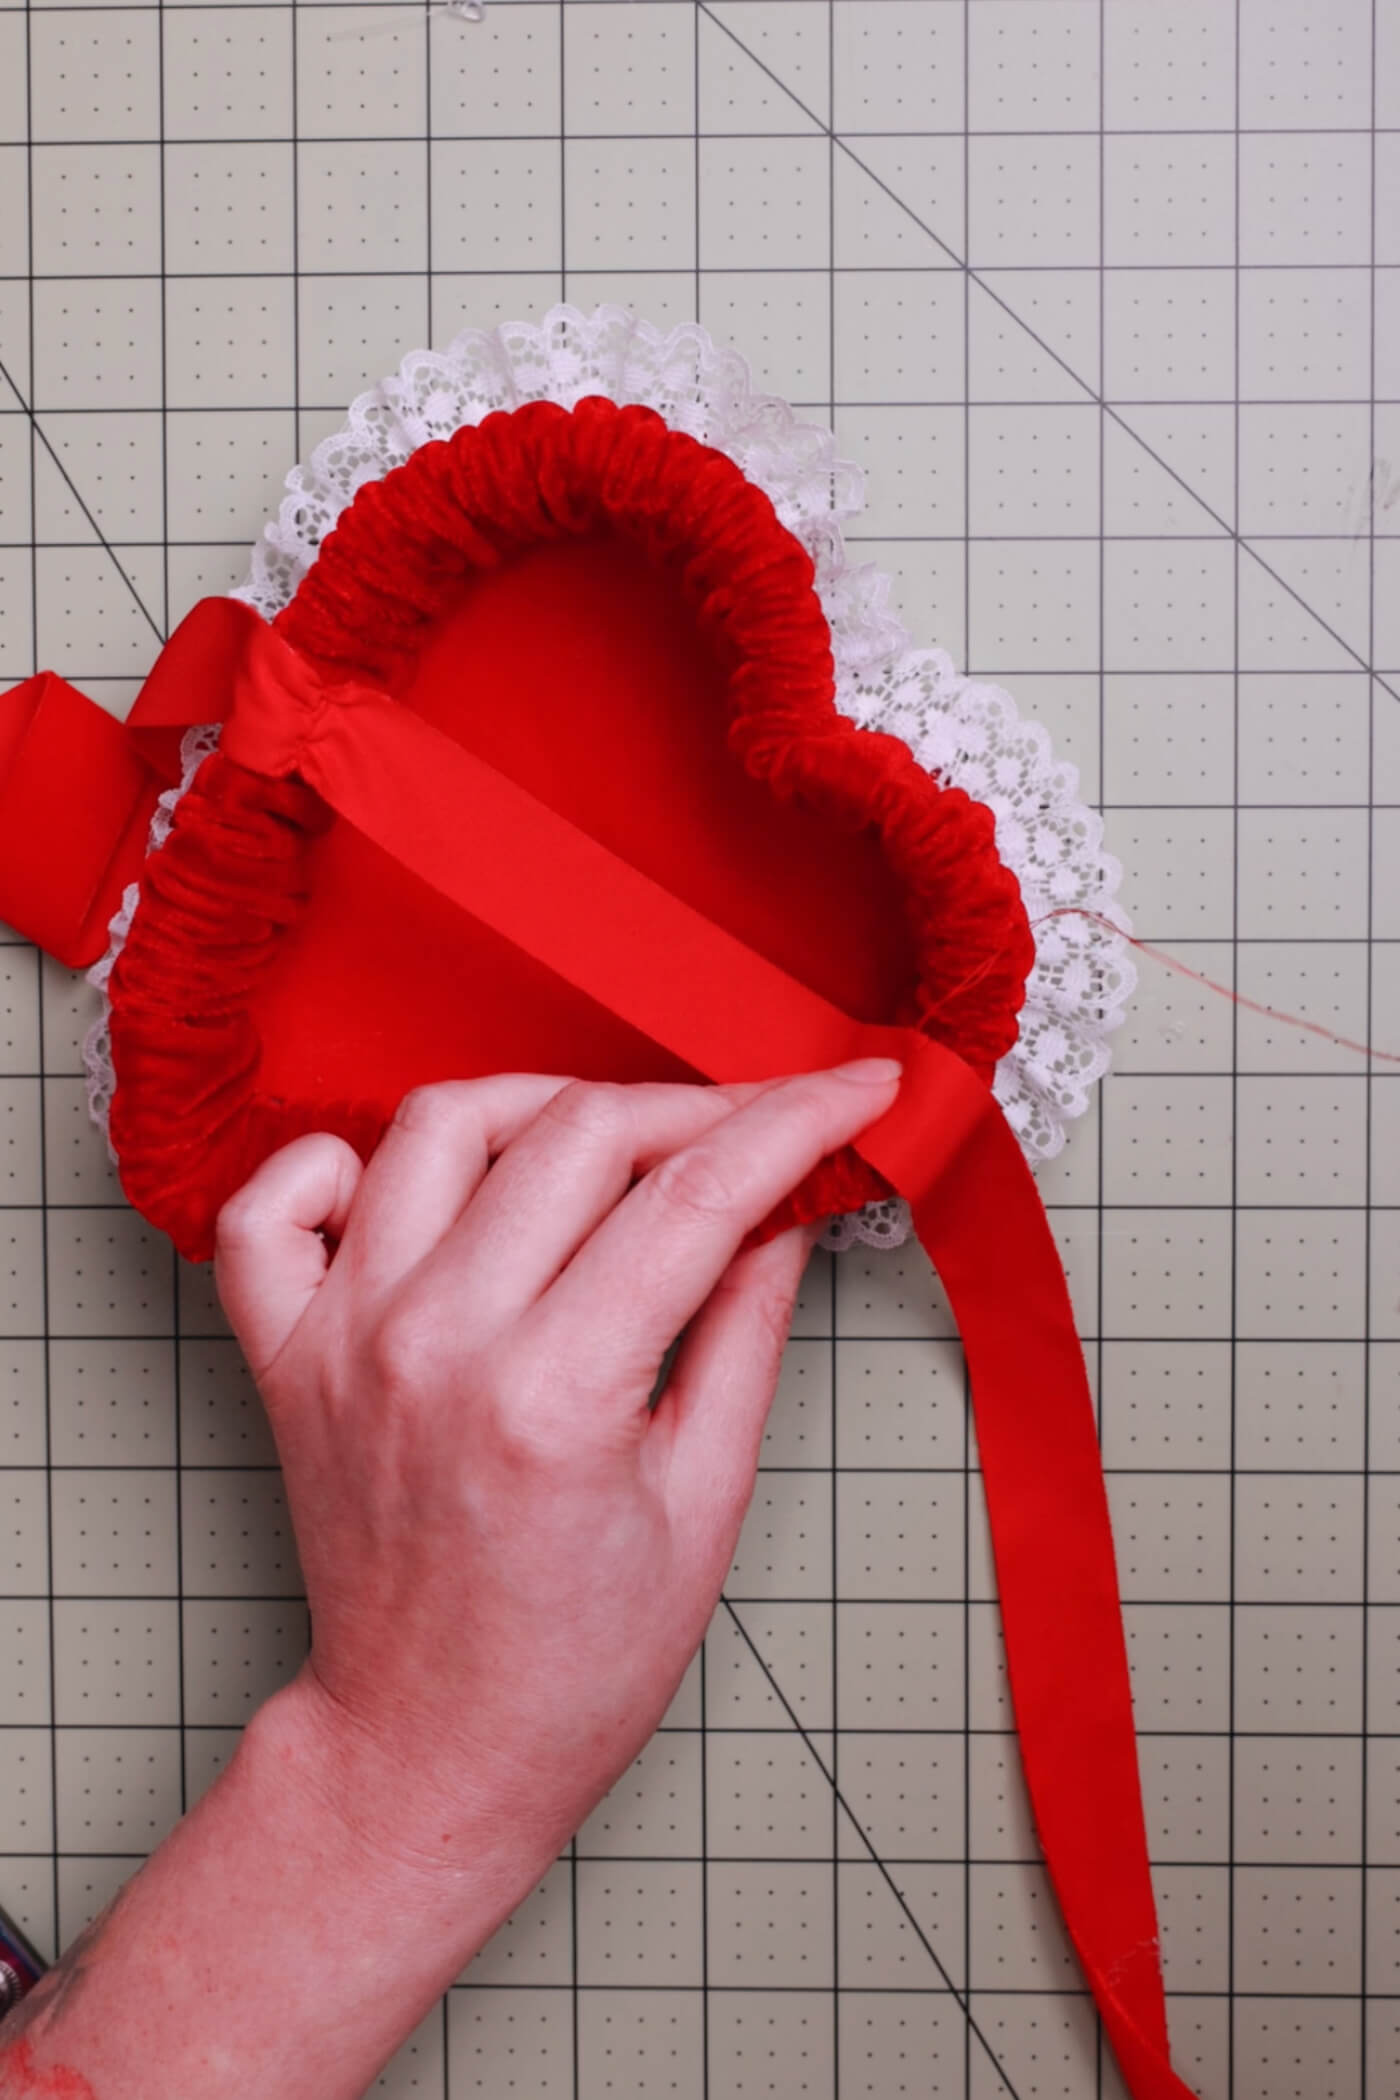
Finish with Ribbon
Finally, stitch (or glue) some velvet ribbon on the base. Alternatively, you can secure it to a headband or clips — anything to secure it to your head. I’ve done all three! I stitched my ribbon at a bit of an angle so it sits on my head at the tilt I desire.
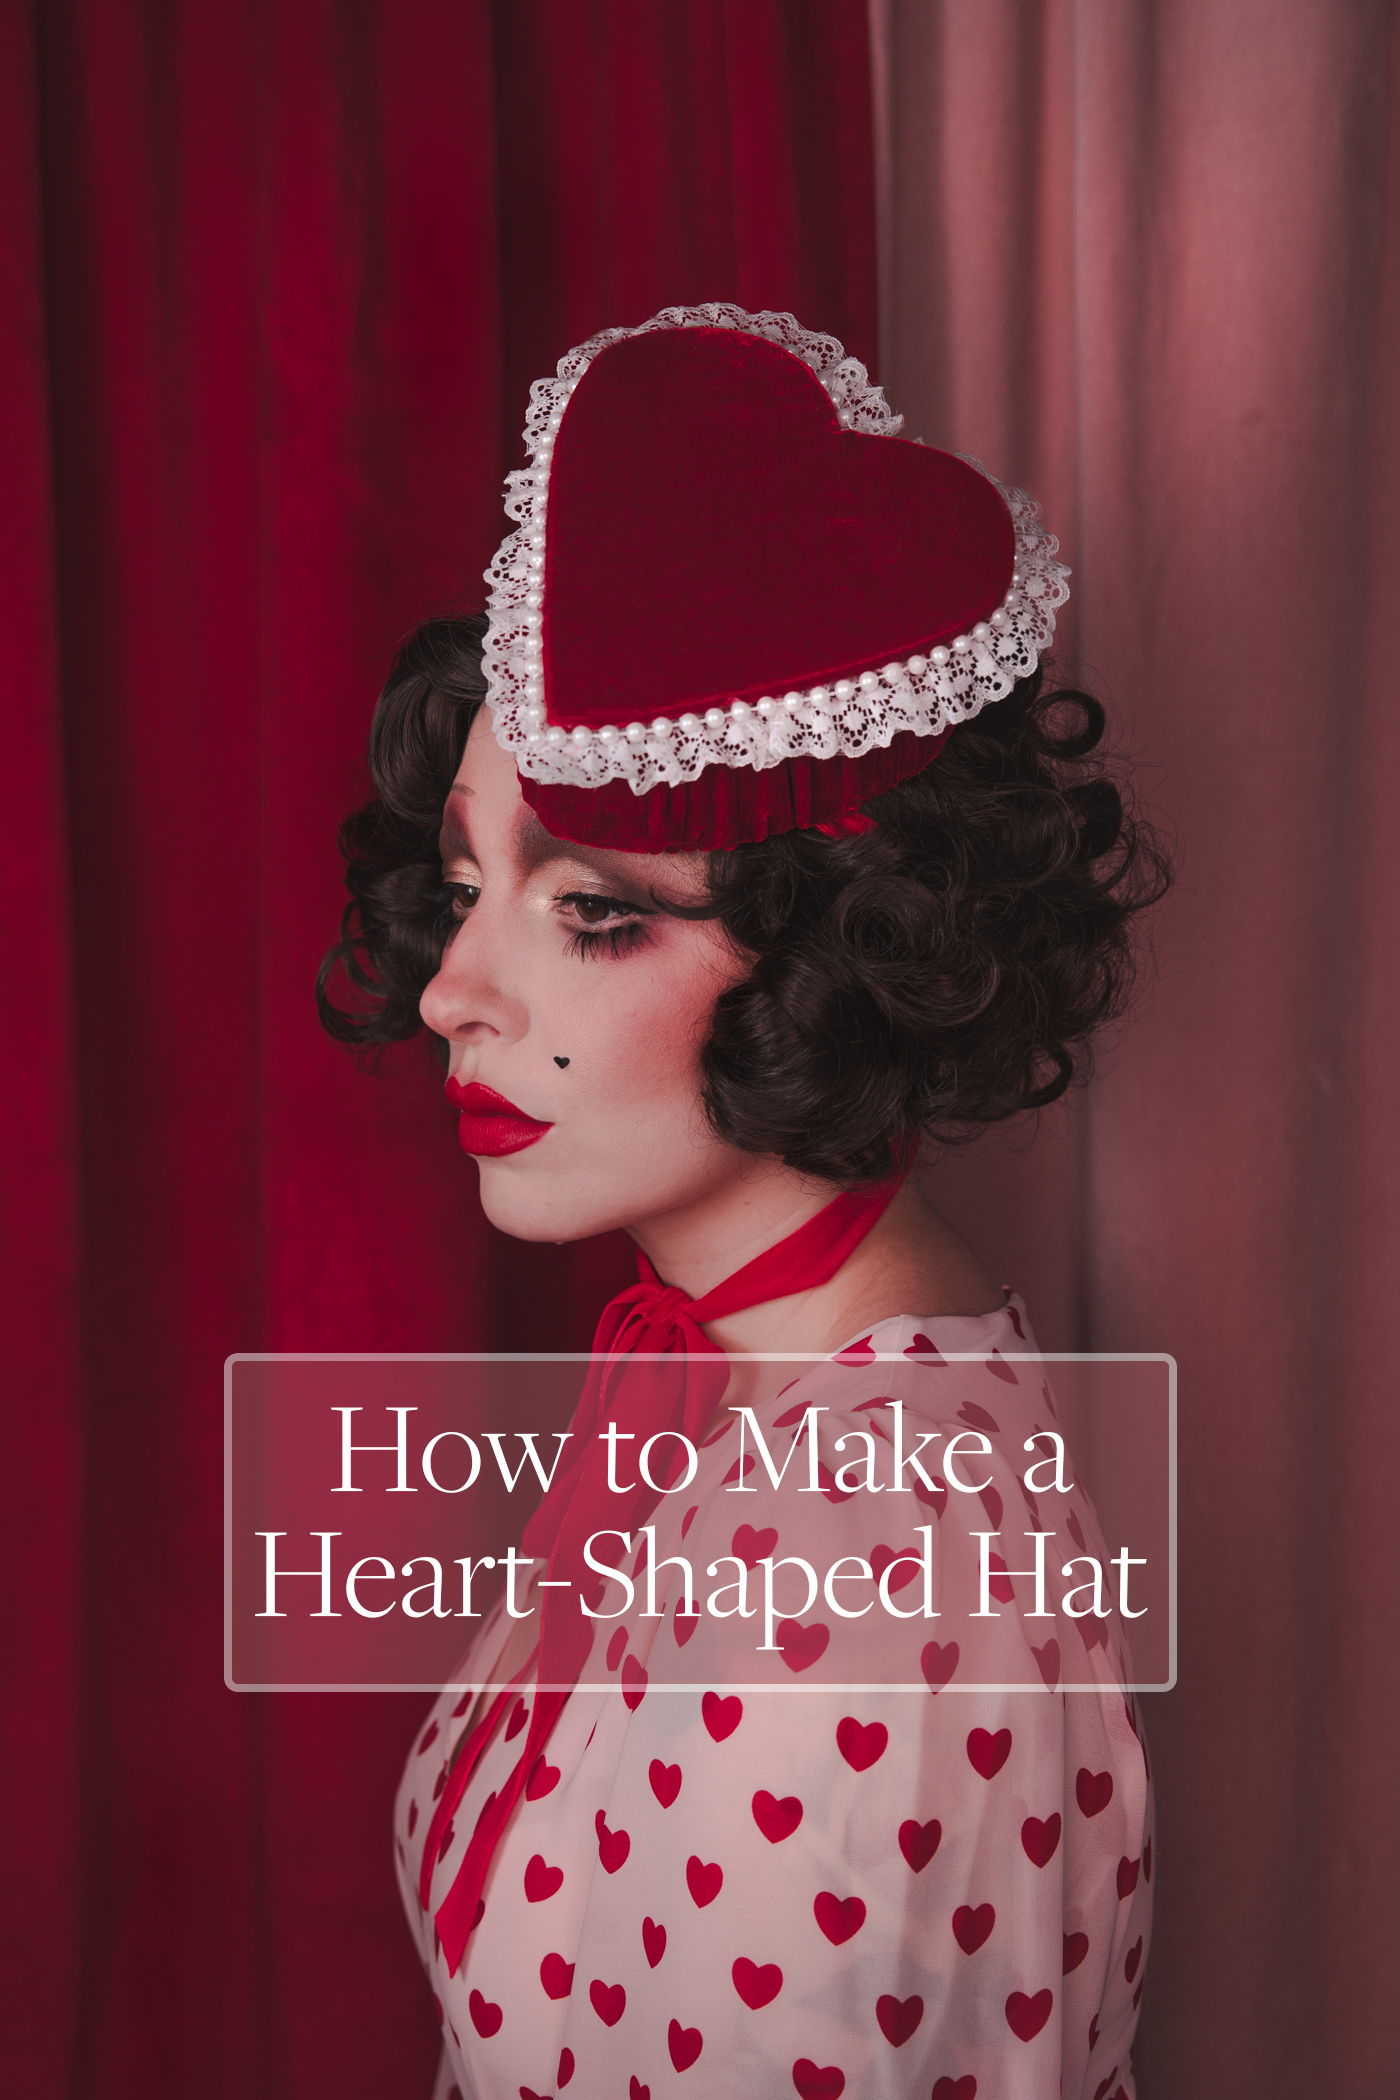
The Final Heart-Shaped Hat
Done! I like to tie it in the back of my head (as you would a headband) and then wrap it around my neck and tie in a bow.
Now you have your own heart-shaped hat. While I made this for Valentine’s Day, I would wear this at any time of year for a vintage-inspired look. I want to make one with a removable top and fake chocolates inside! I might have to make some other shapes, too. Any other ideas?