
Strobe and Sculpt: Contour, Highlight, and Blush Tutorial

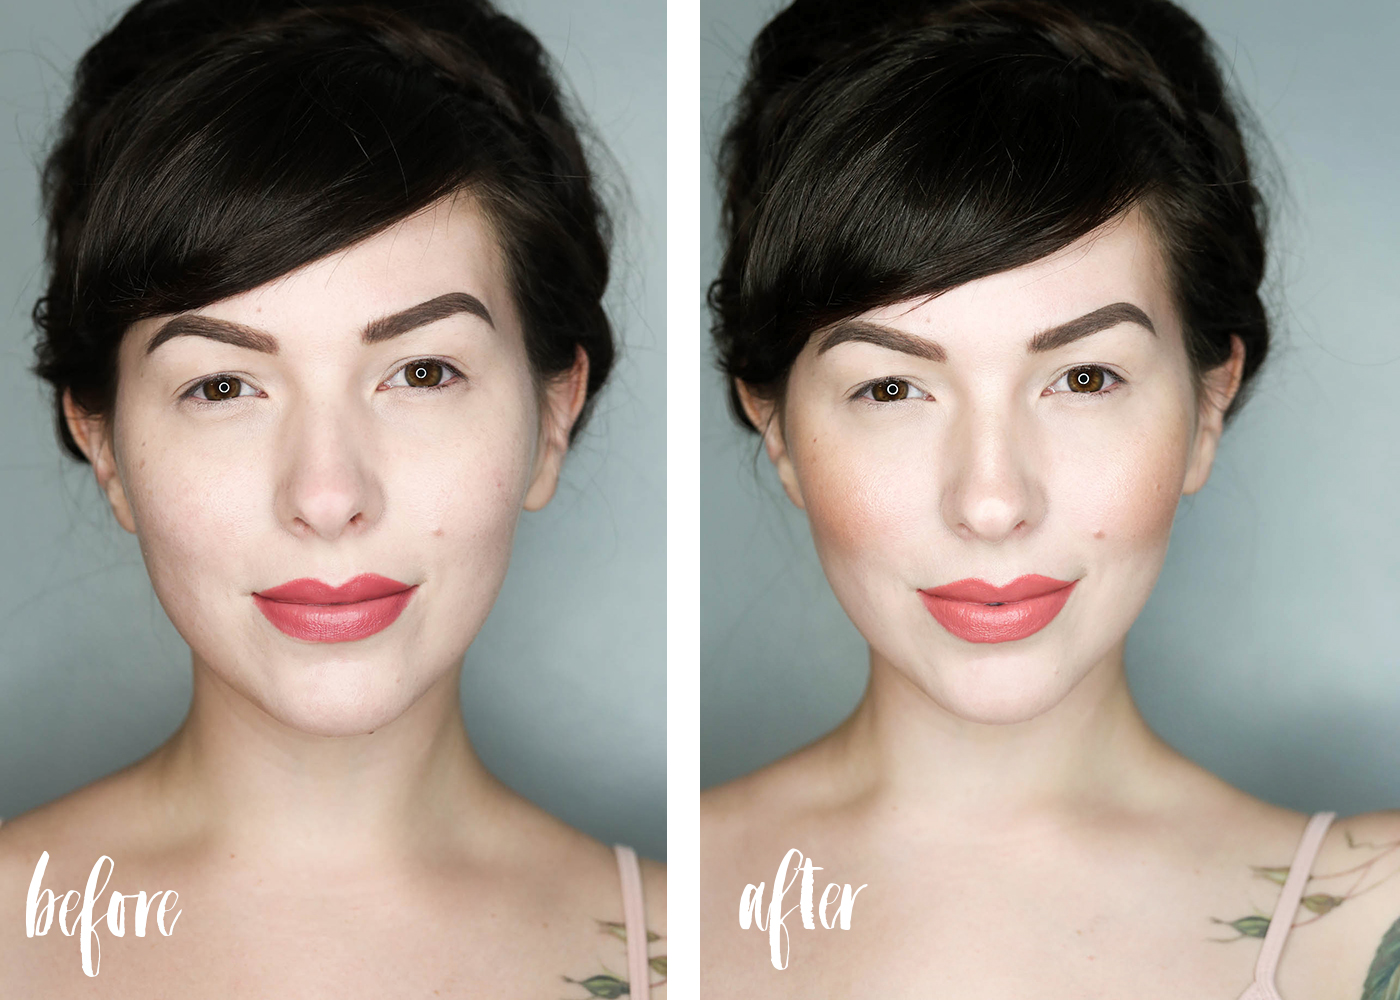
Before and after: Contour, Highlight, and Blush
Lately, my eyes have been extra sensitive, switching between being uncomfortably dry or endlessly watering, thanks to both the windy cold and dry indoor heat. Rather than further irritate them with any makeup, I go without. Only problem is that I have tiny eyes and approximately 10 eyelashes, all short and hopelessly straight. I feel naked without lash extensions or liner, unless I add in some definition and color elsewhere. Enter Pixi + Maryam Maquillage “Strobe and Sculpt” Highlight and Contour Palette, the source of warmth and glow and sculpted cheekbones. As a rule, I go fairly minimal with contouring and highlighting — I don’t want to transform as much as refine. I want my cheeks flushed, my glow to look like it’s coming from within, and my contours to look like I’m in flattering light.
That’s the beauty of contouring and highlighting, and makeup in general: you can be as conservative or wild with it as you like. Go full insta-glam with razor sharp cheekbones and blinding highlight, or take a minimalist approach and just amp up your natural contours. There’s no right or wrong and both can be lots of fun. Just think of your bare face as a blank canvas, and your contour, highlight, and blush are your means of adding depth, light, and warmth.
If you want to see how I went from bare to blushing and sculpted, follow my step by step contour, highlight, and blush tutorial:
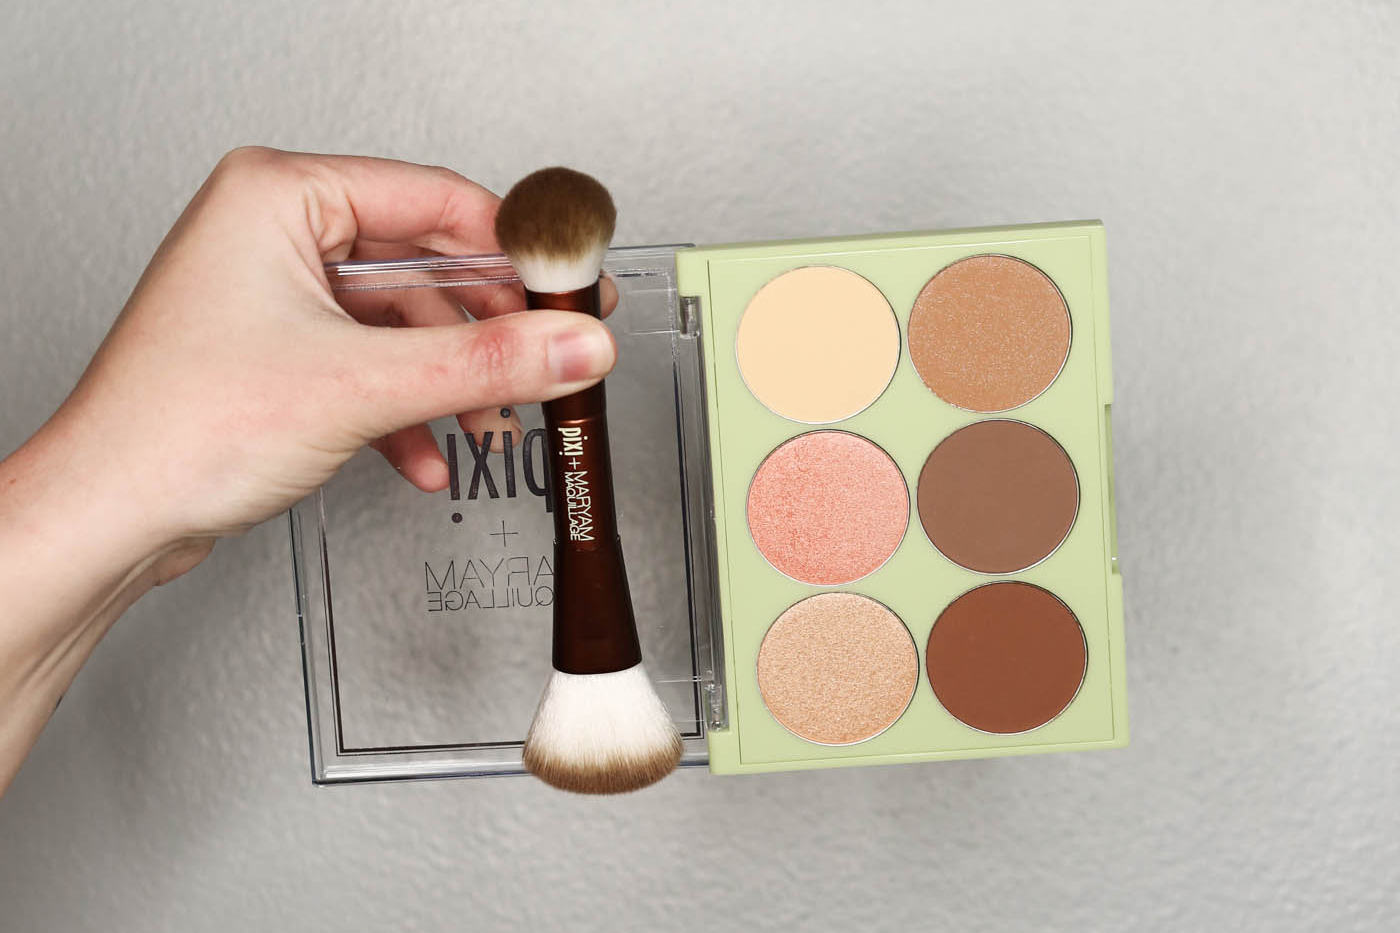
Products used:
Pixi + Maryam Maquillage “Strobe and Sculpt” Highlight and Contour Palette
Pixi + Maryam Maquillage “Strobe and Sculpt” brush
NARS “Brigitte” Audacious Lipstick
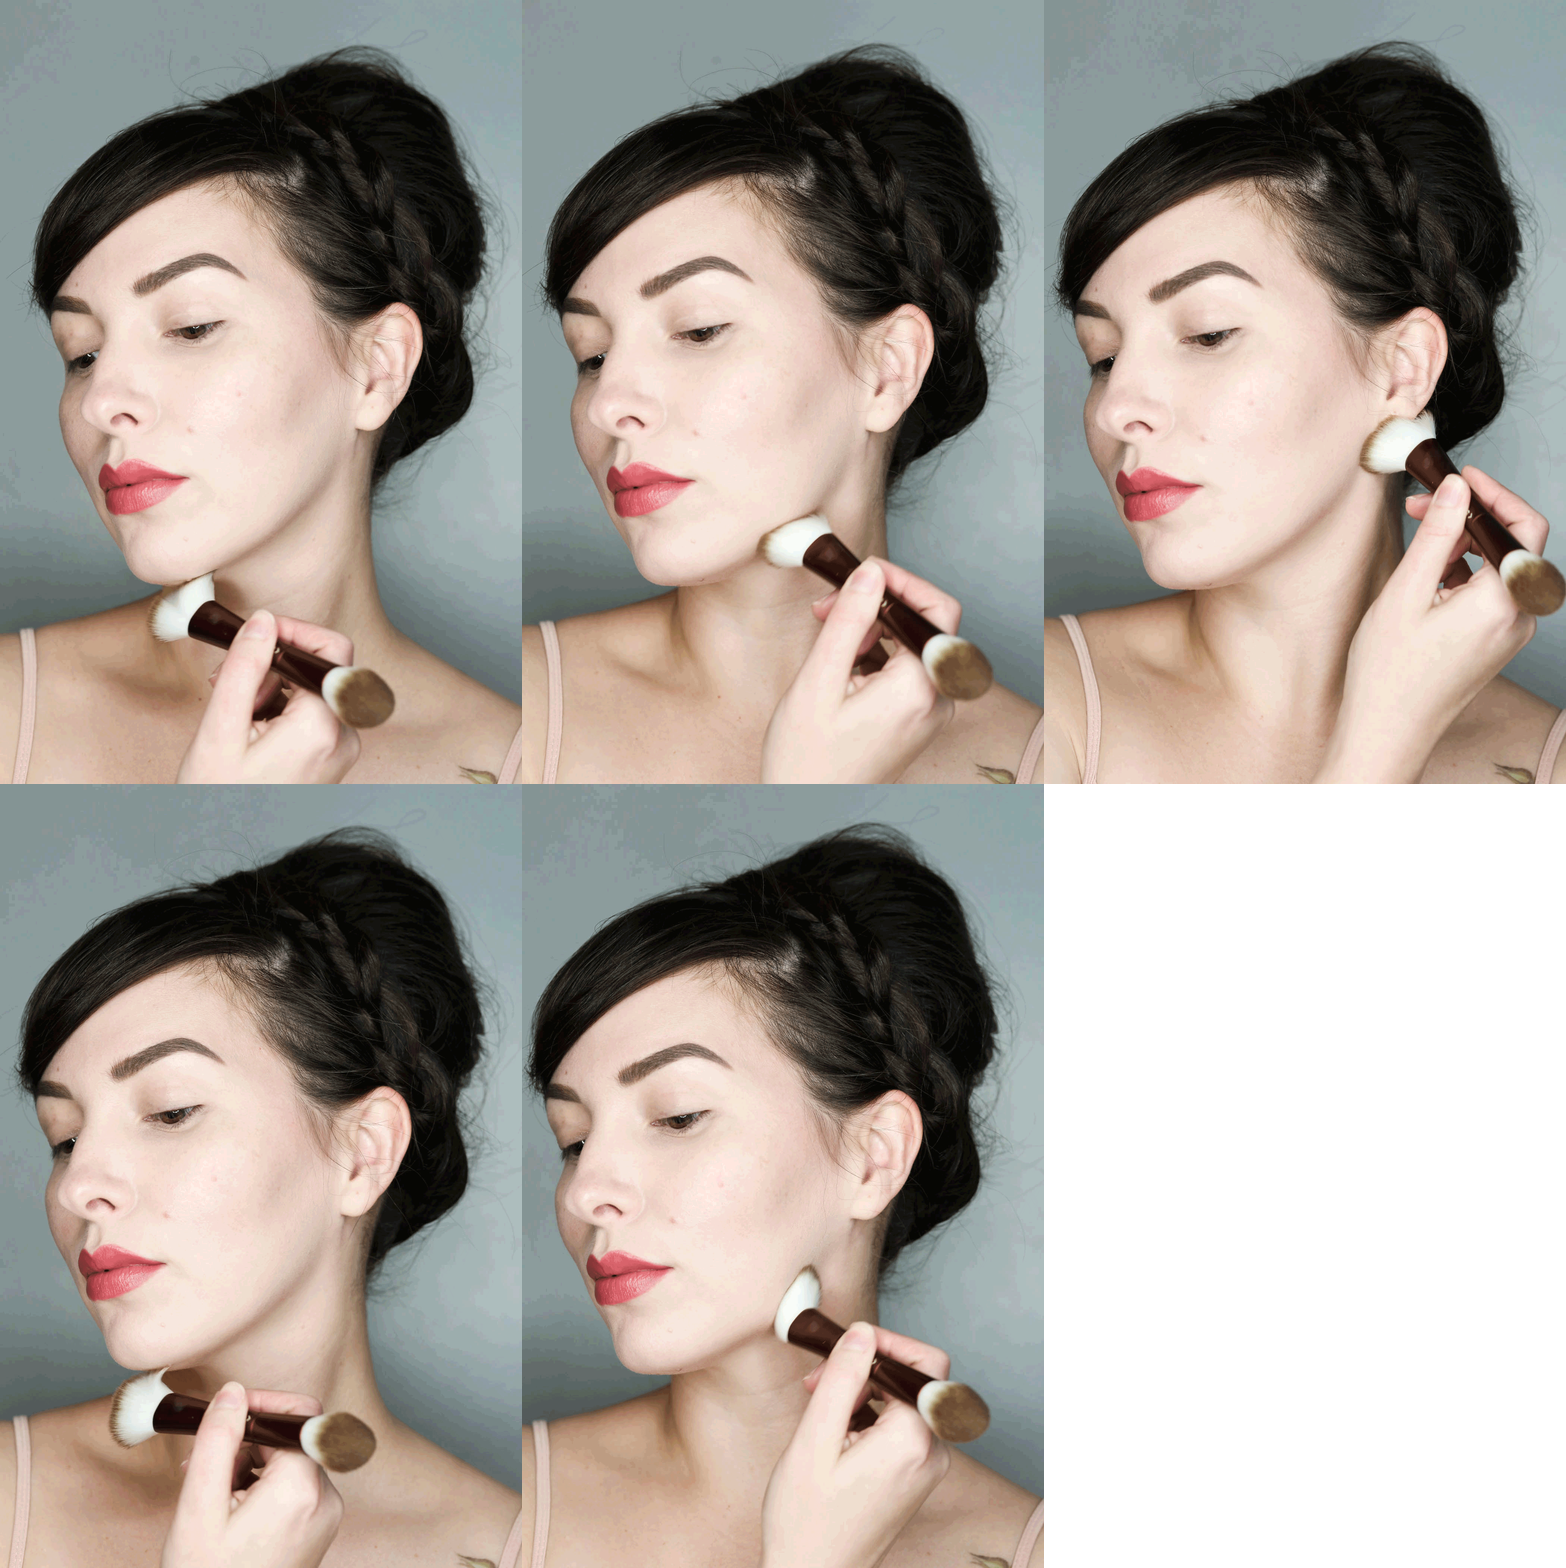
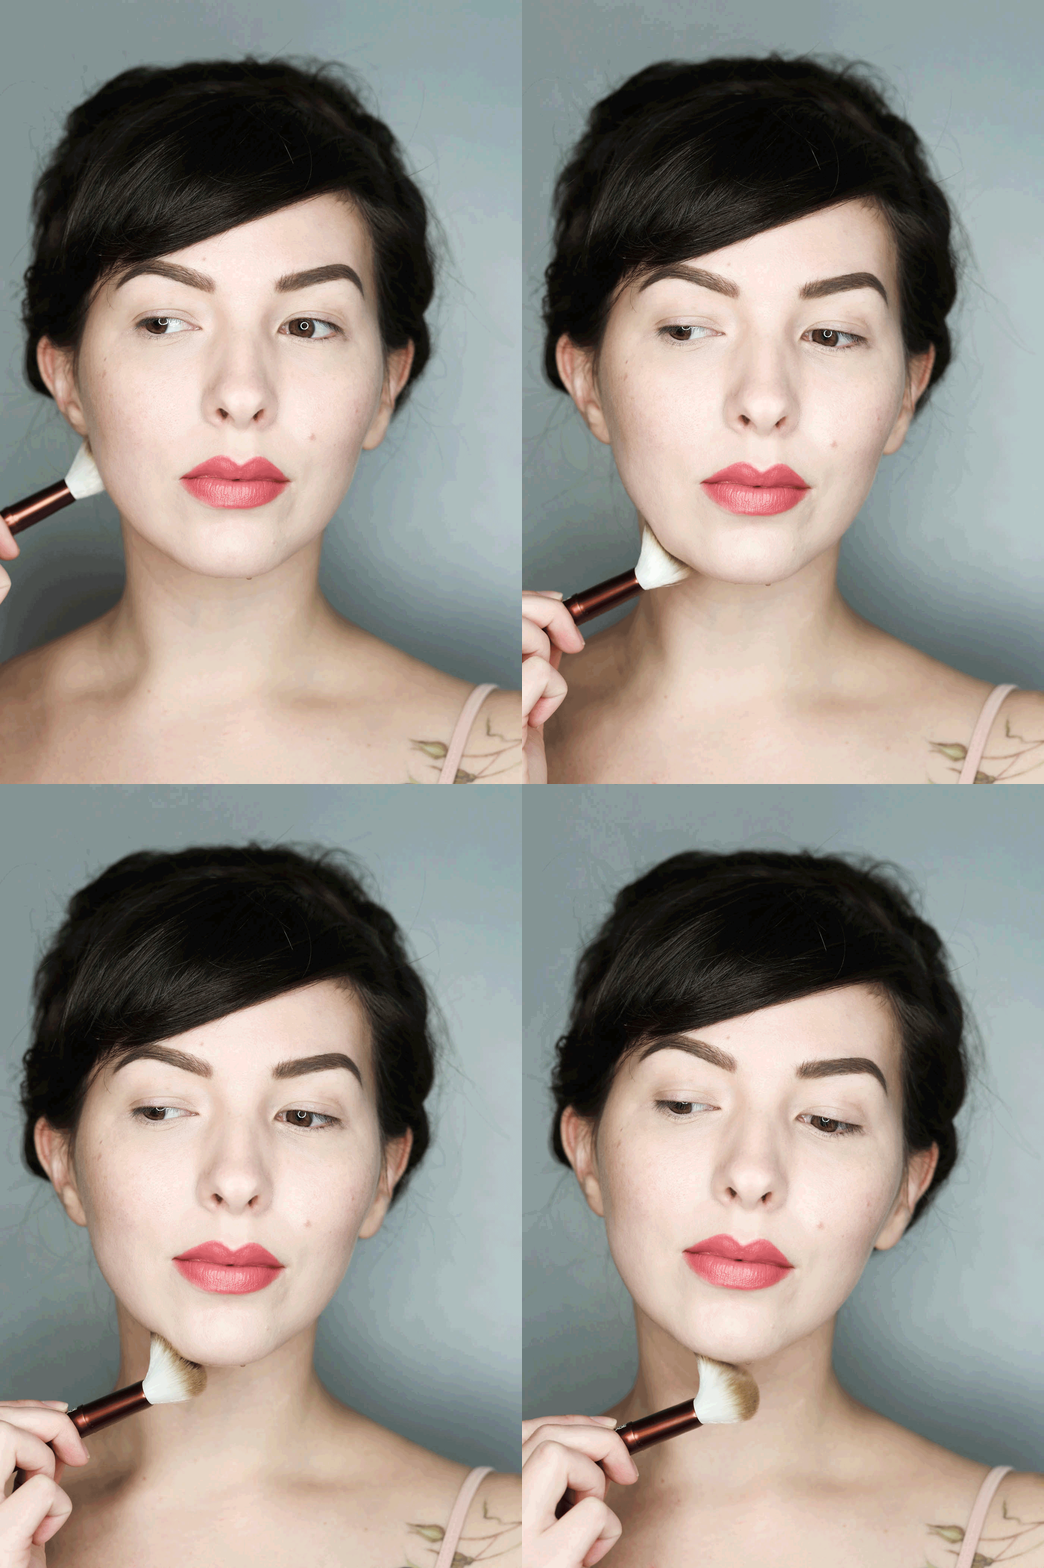
Sweep a matte contour powder (I used the second one down on the right from the Pixi + Maryam Maquillage “Strobe and Sculpt” Highlight and Contour Palette) all along your jawline, and blend downward.
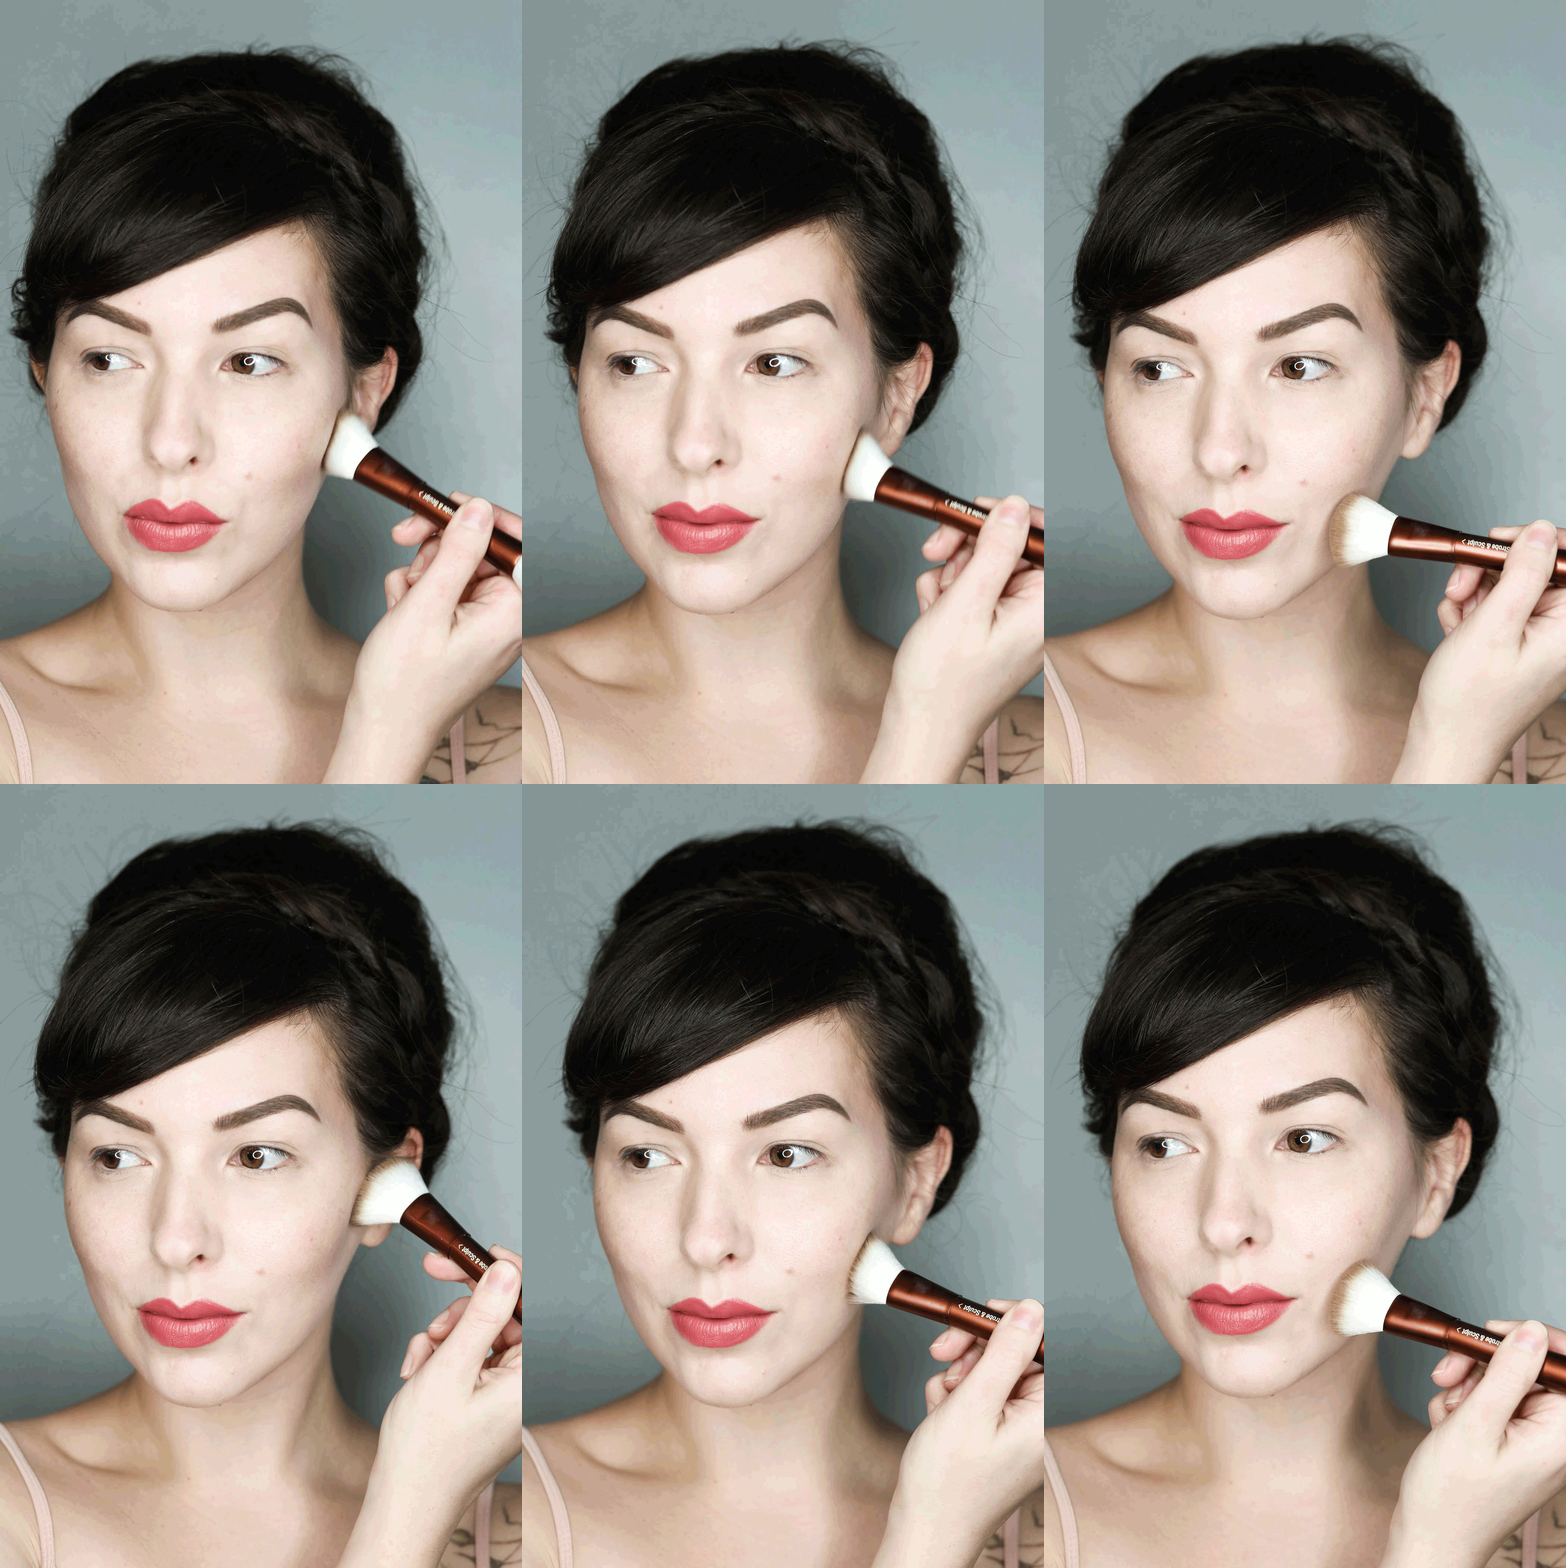
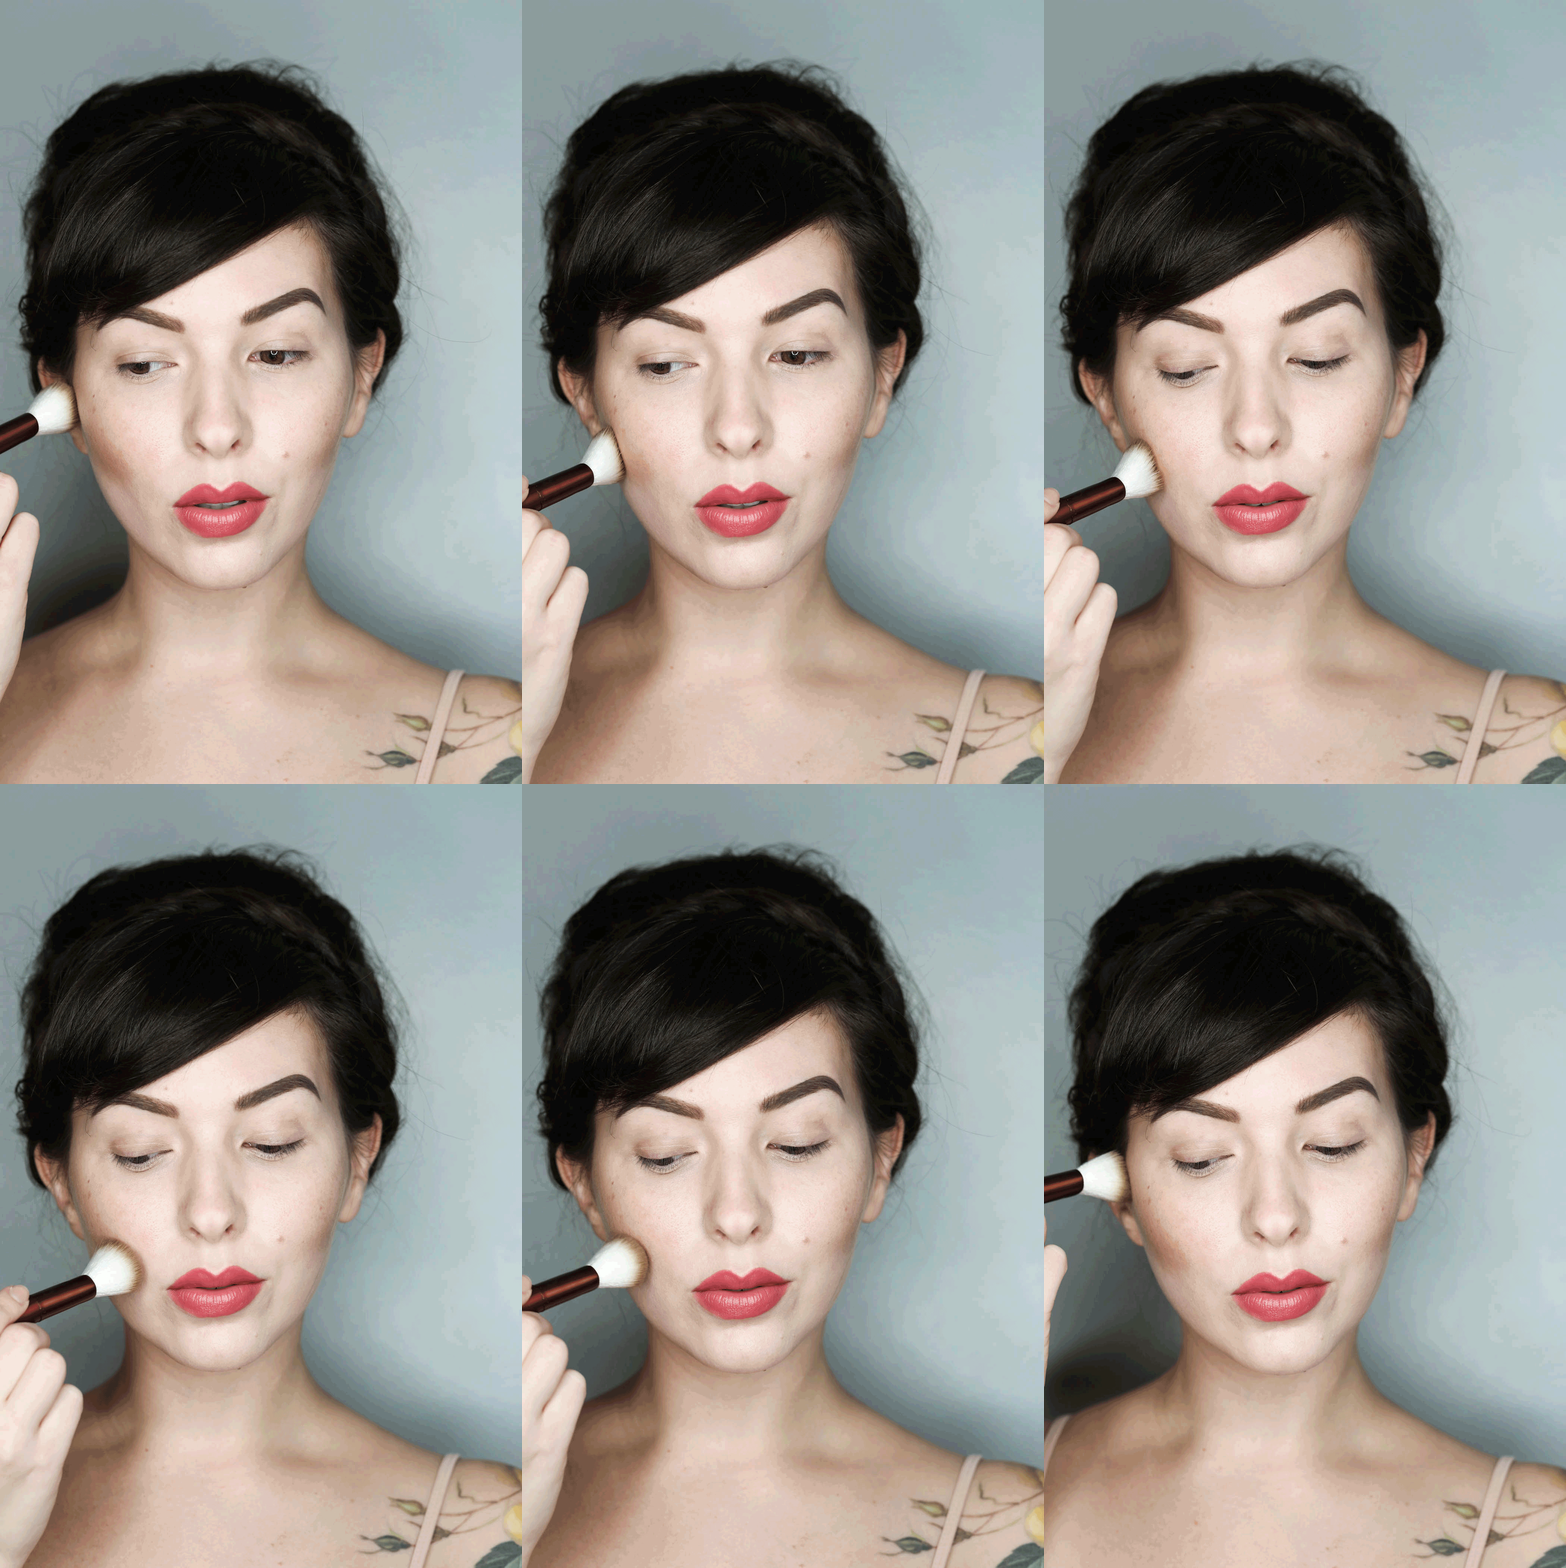
Apply the same contour powder along/under the natural contours of your cheekbone, starting near the temple and sweeping downward toward your mouth. The idea is that you’re adding shadow to emphasize the recessed areas and add more structure to your face. Blend out so there are no harsh edges.
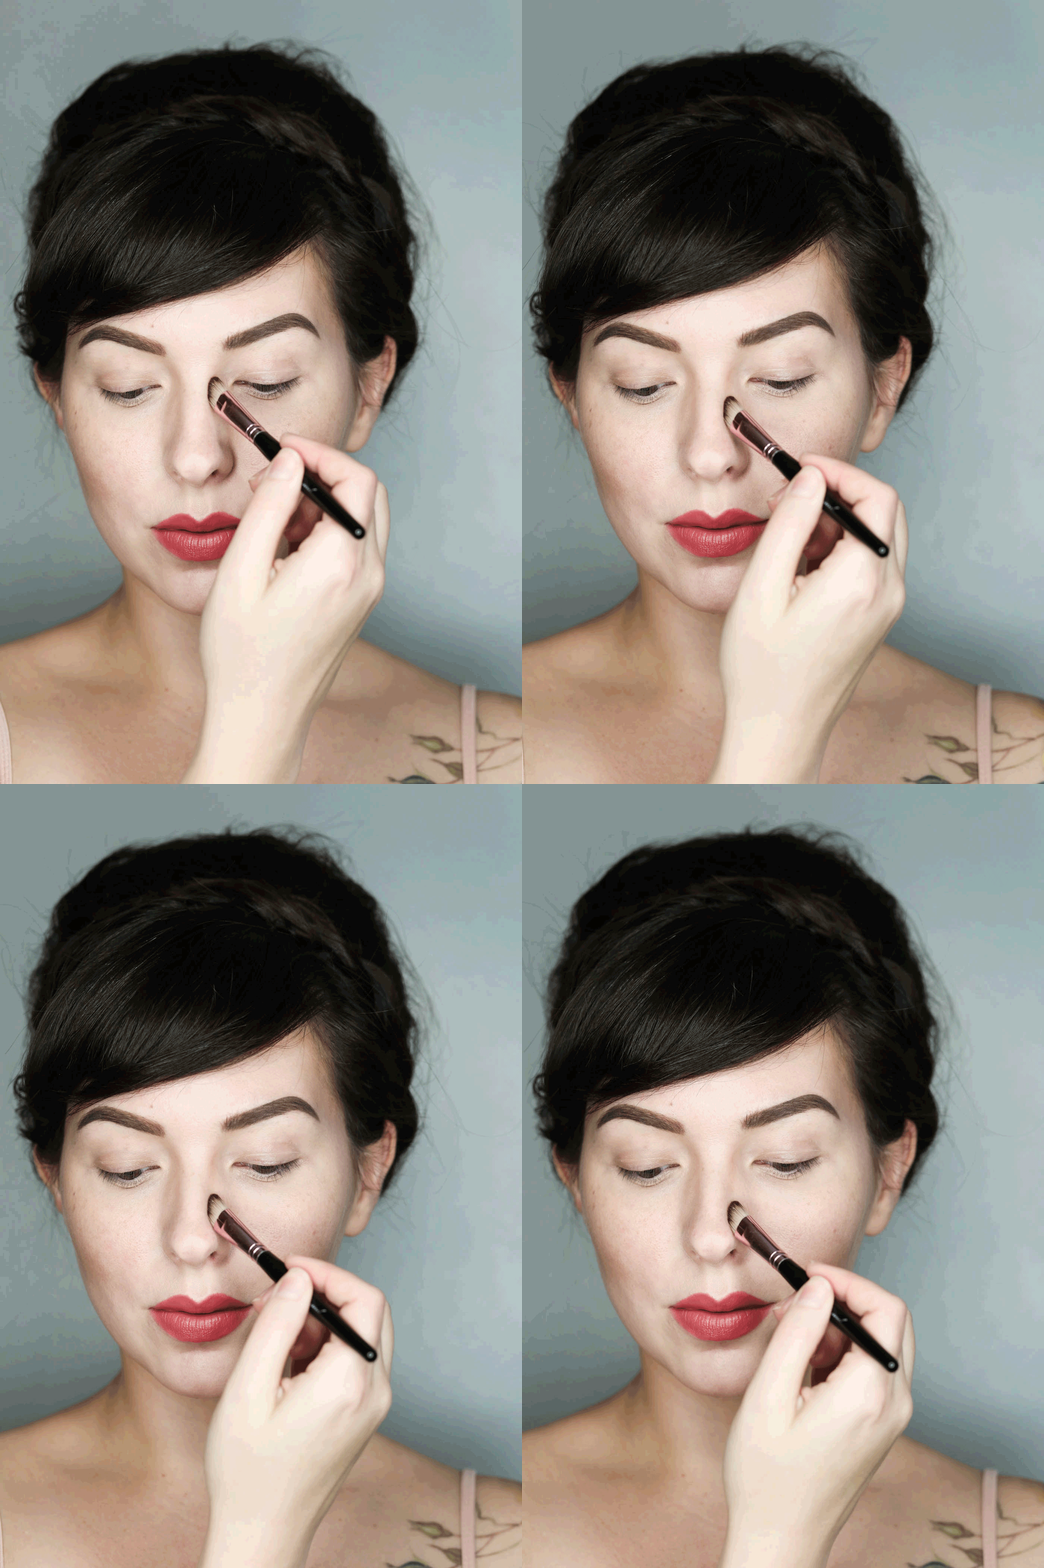
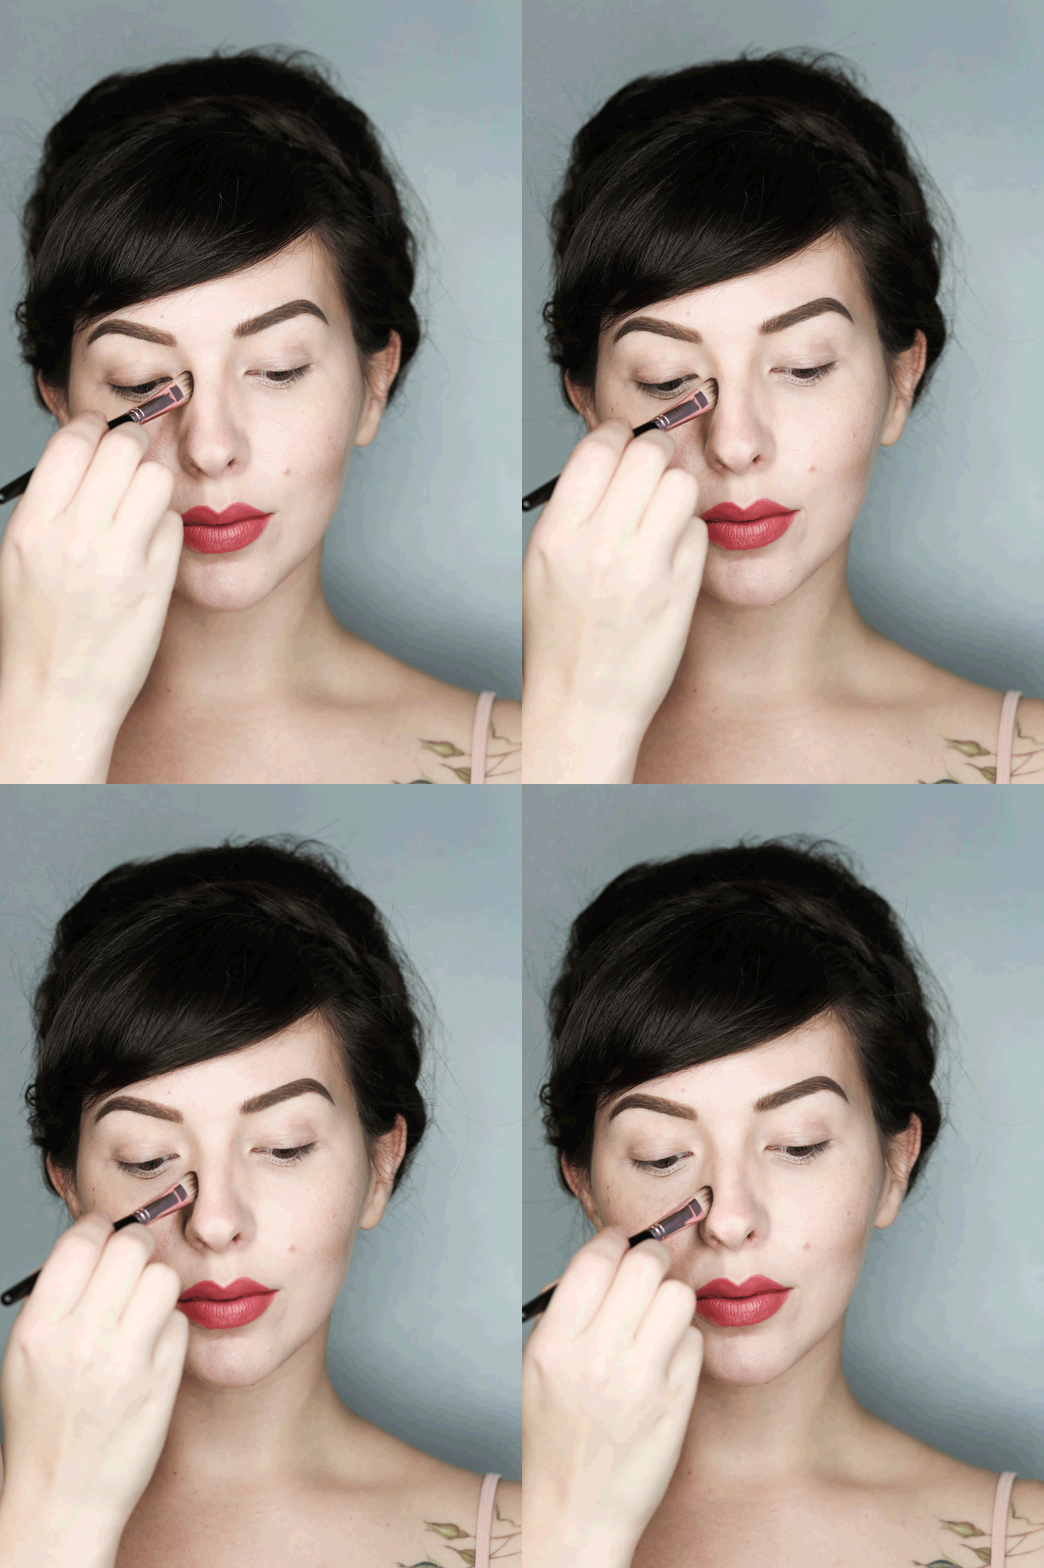
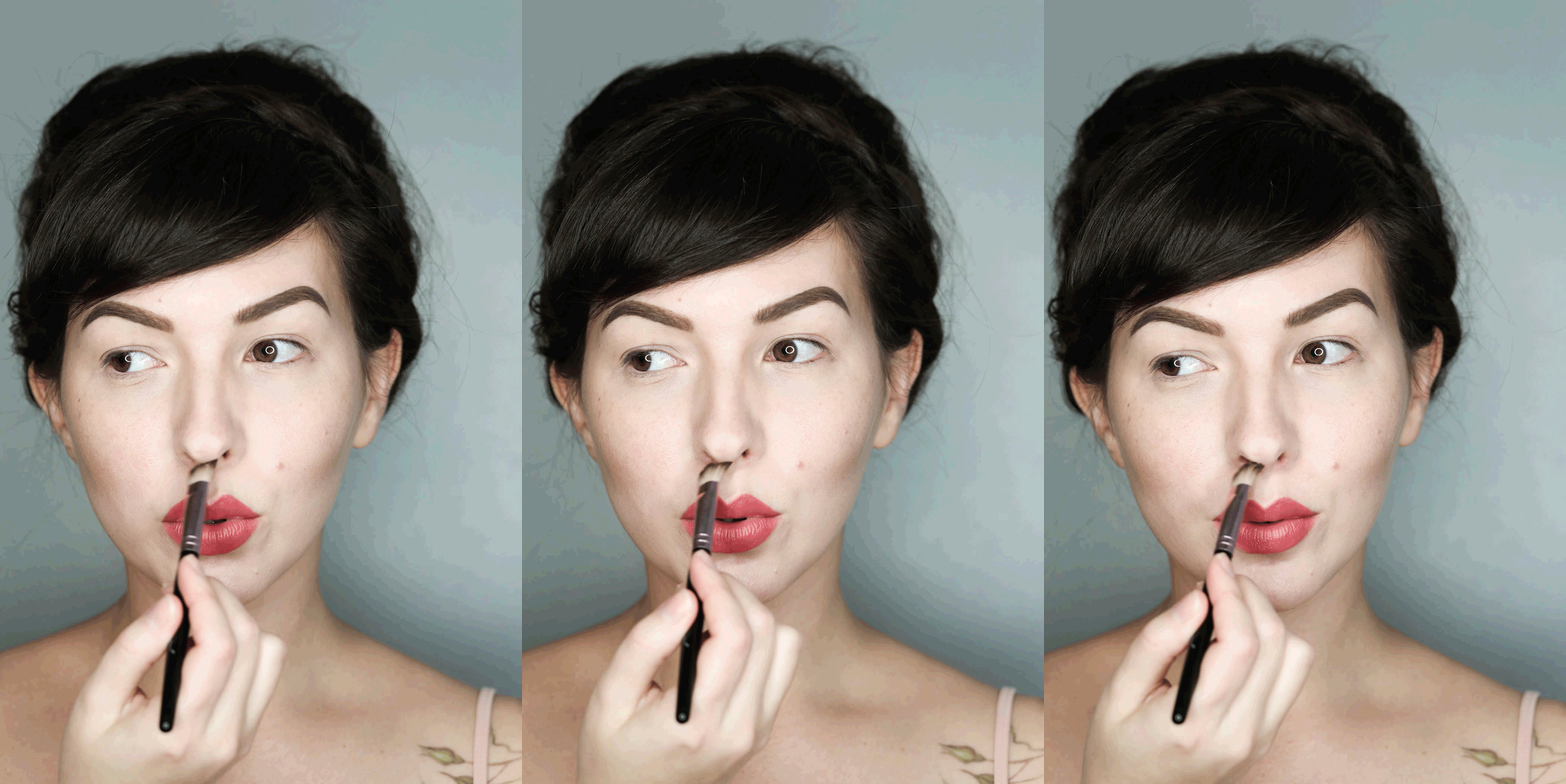
Using a smaller brush, lightly shade the sides of your nose and underneath the tip to create the illusion of a slimmer bridge. I don’t want my nose to look snatched to the heavens, just lightly defined, so I use a very soft hand.
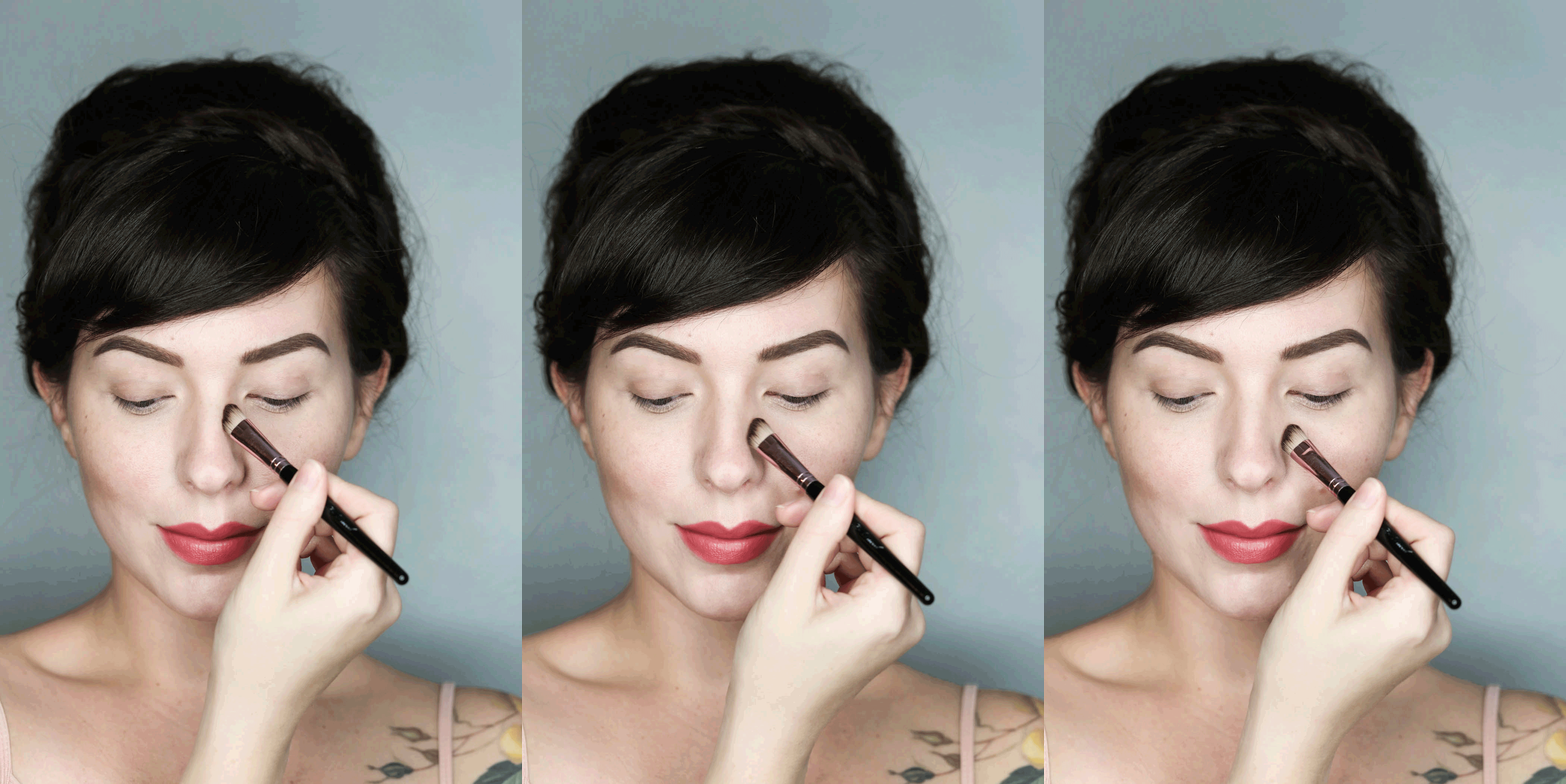 Don’t forget to blend out those edges!
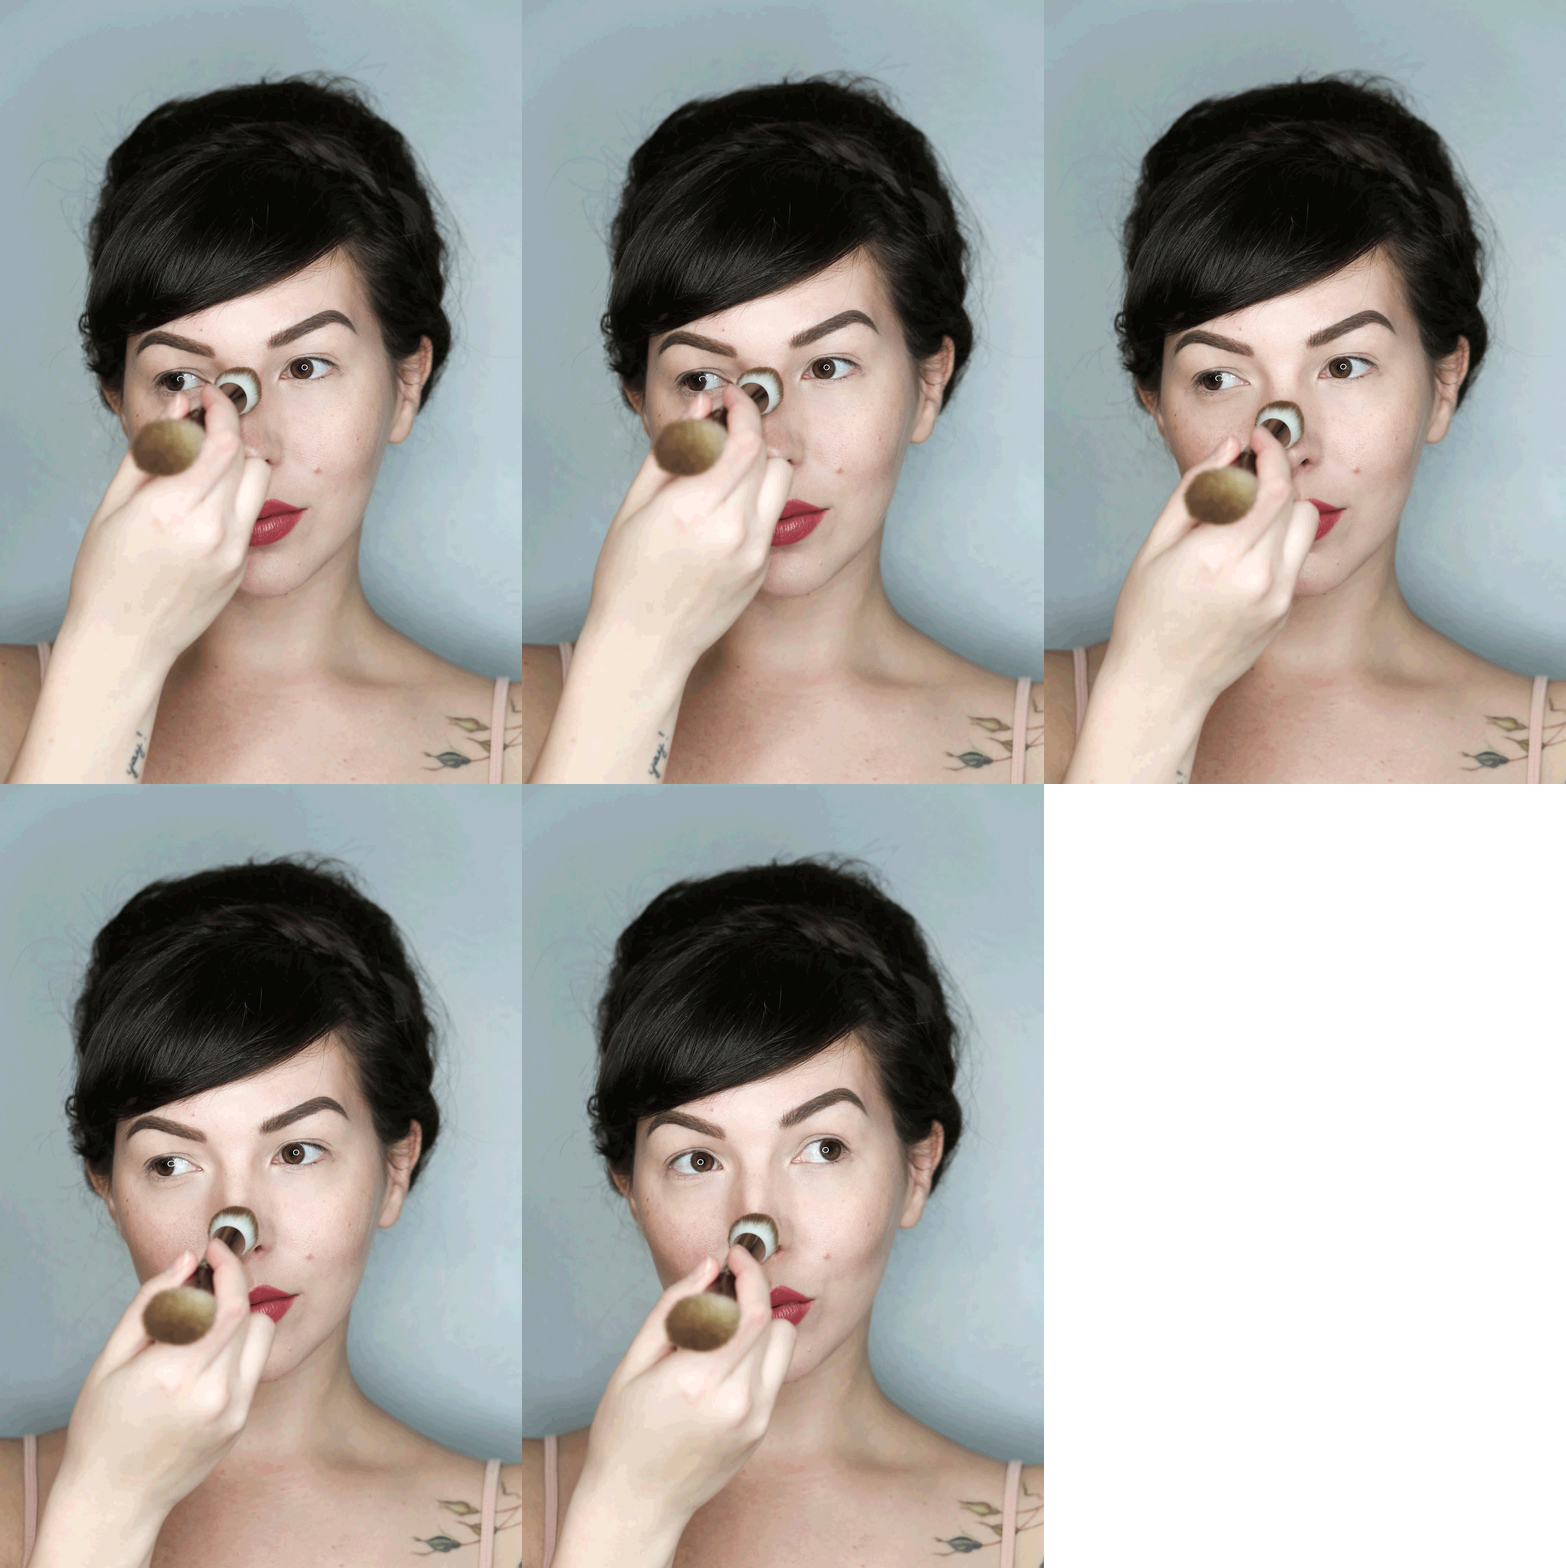 Using the pointed tip of the other side of your brush, lightly apply highlighter (I used the bottom left shade) down the center of your nose.
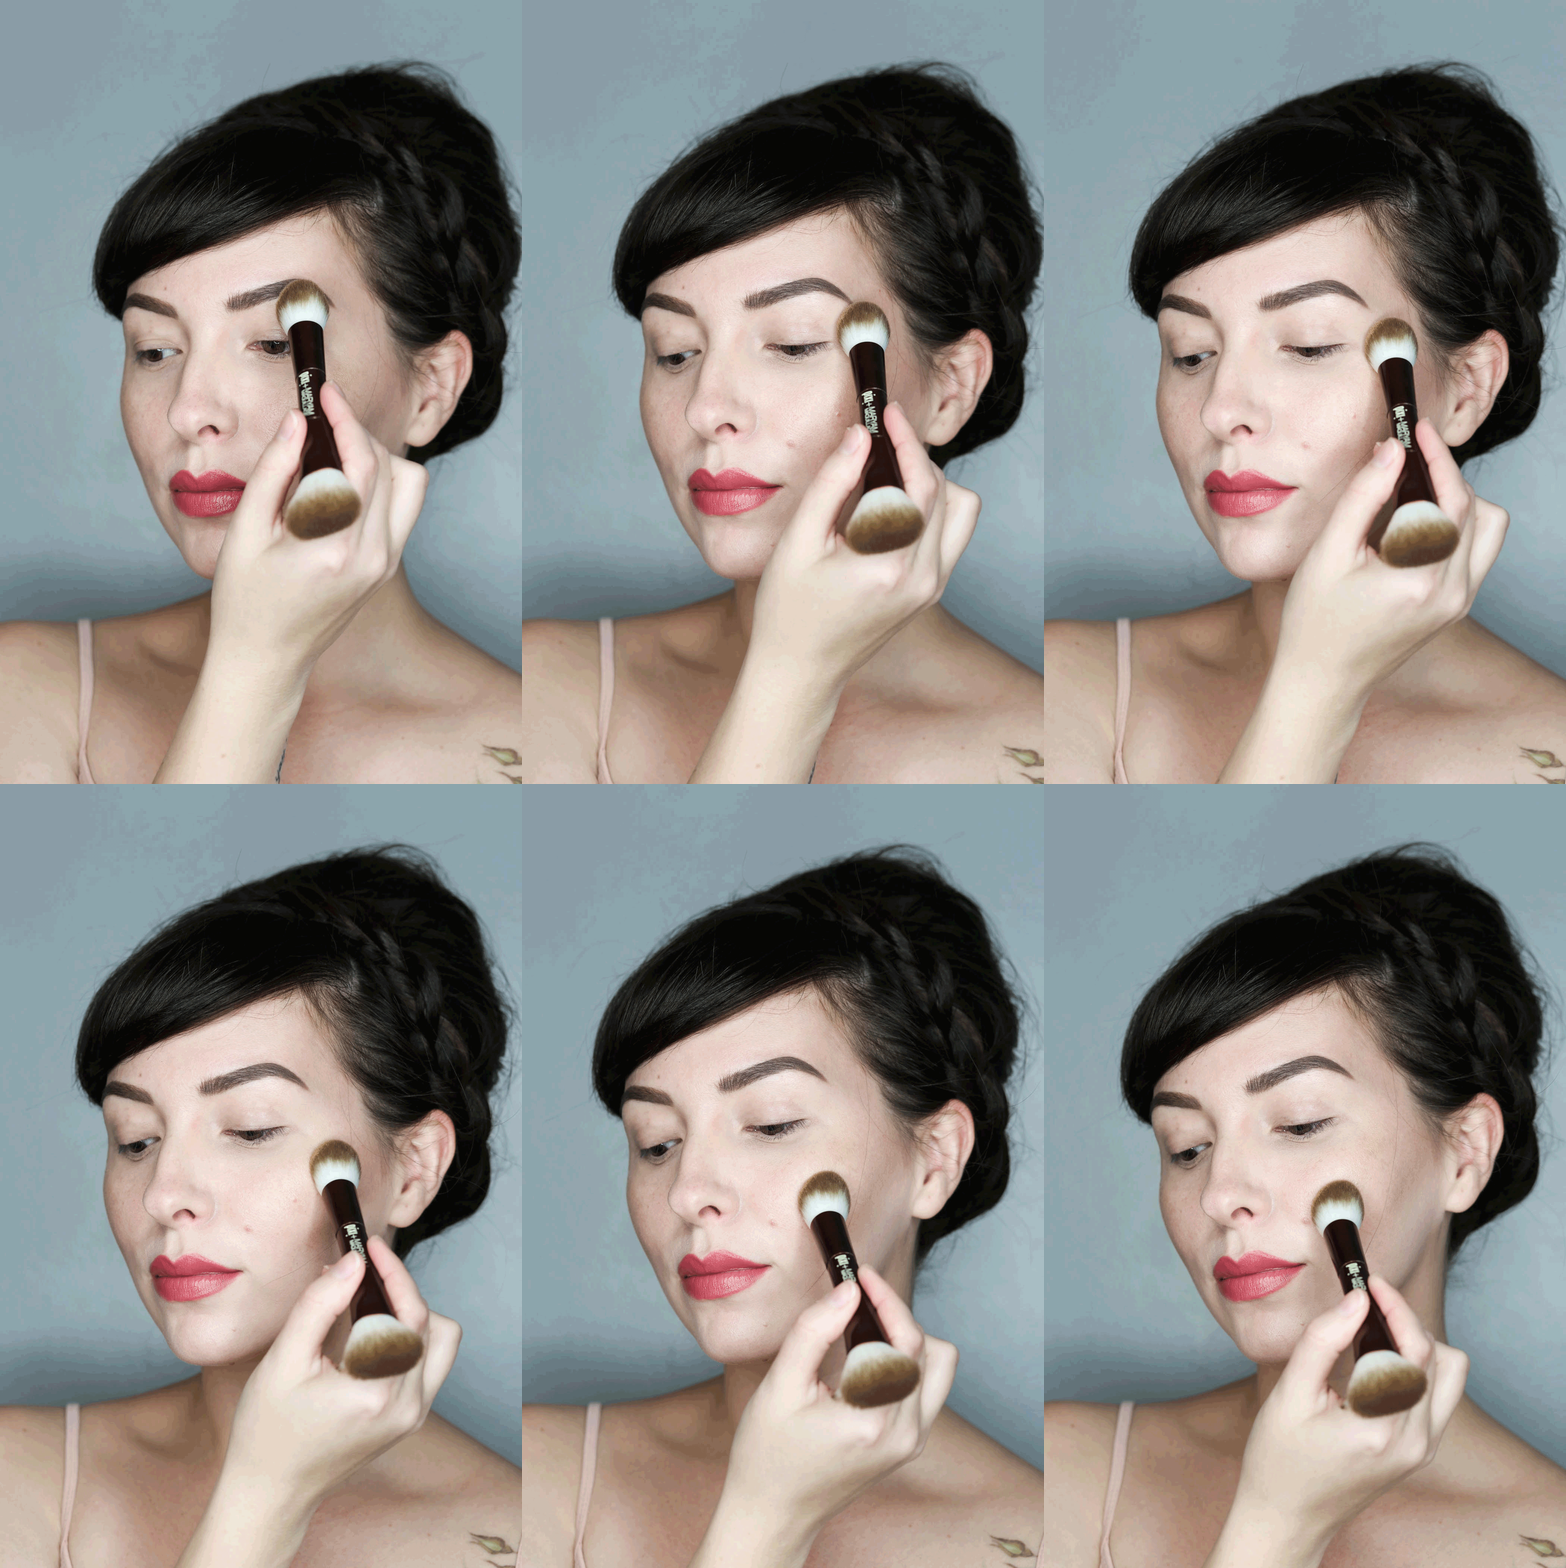 Apply highlighter in a c shape, on your brow bone (under your brows) and around to the tops of your cheekbone.
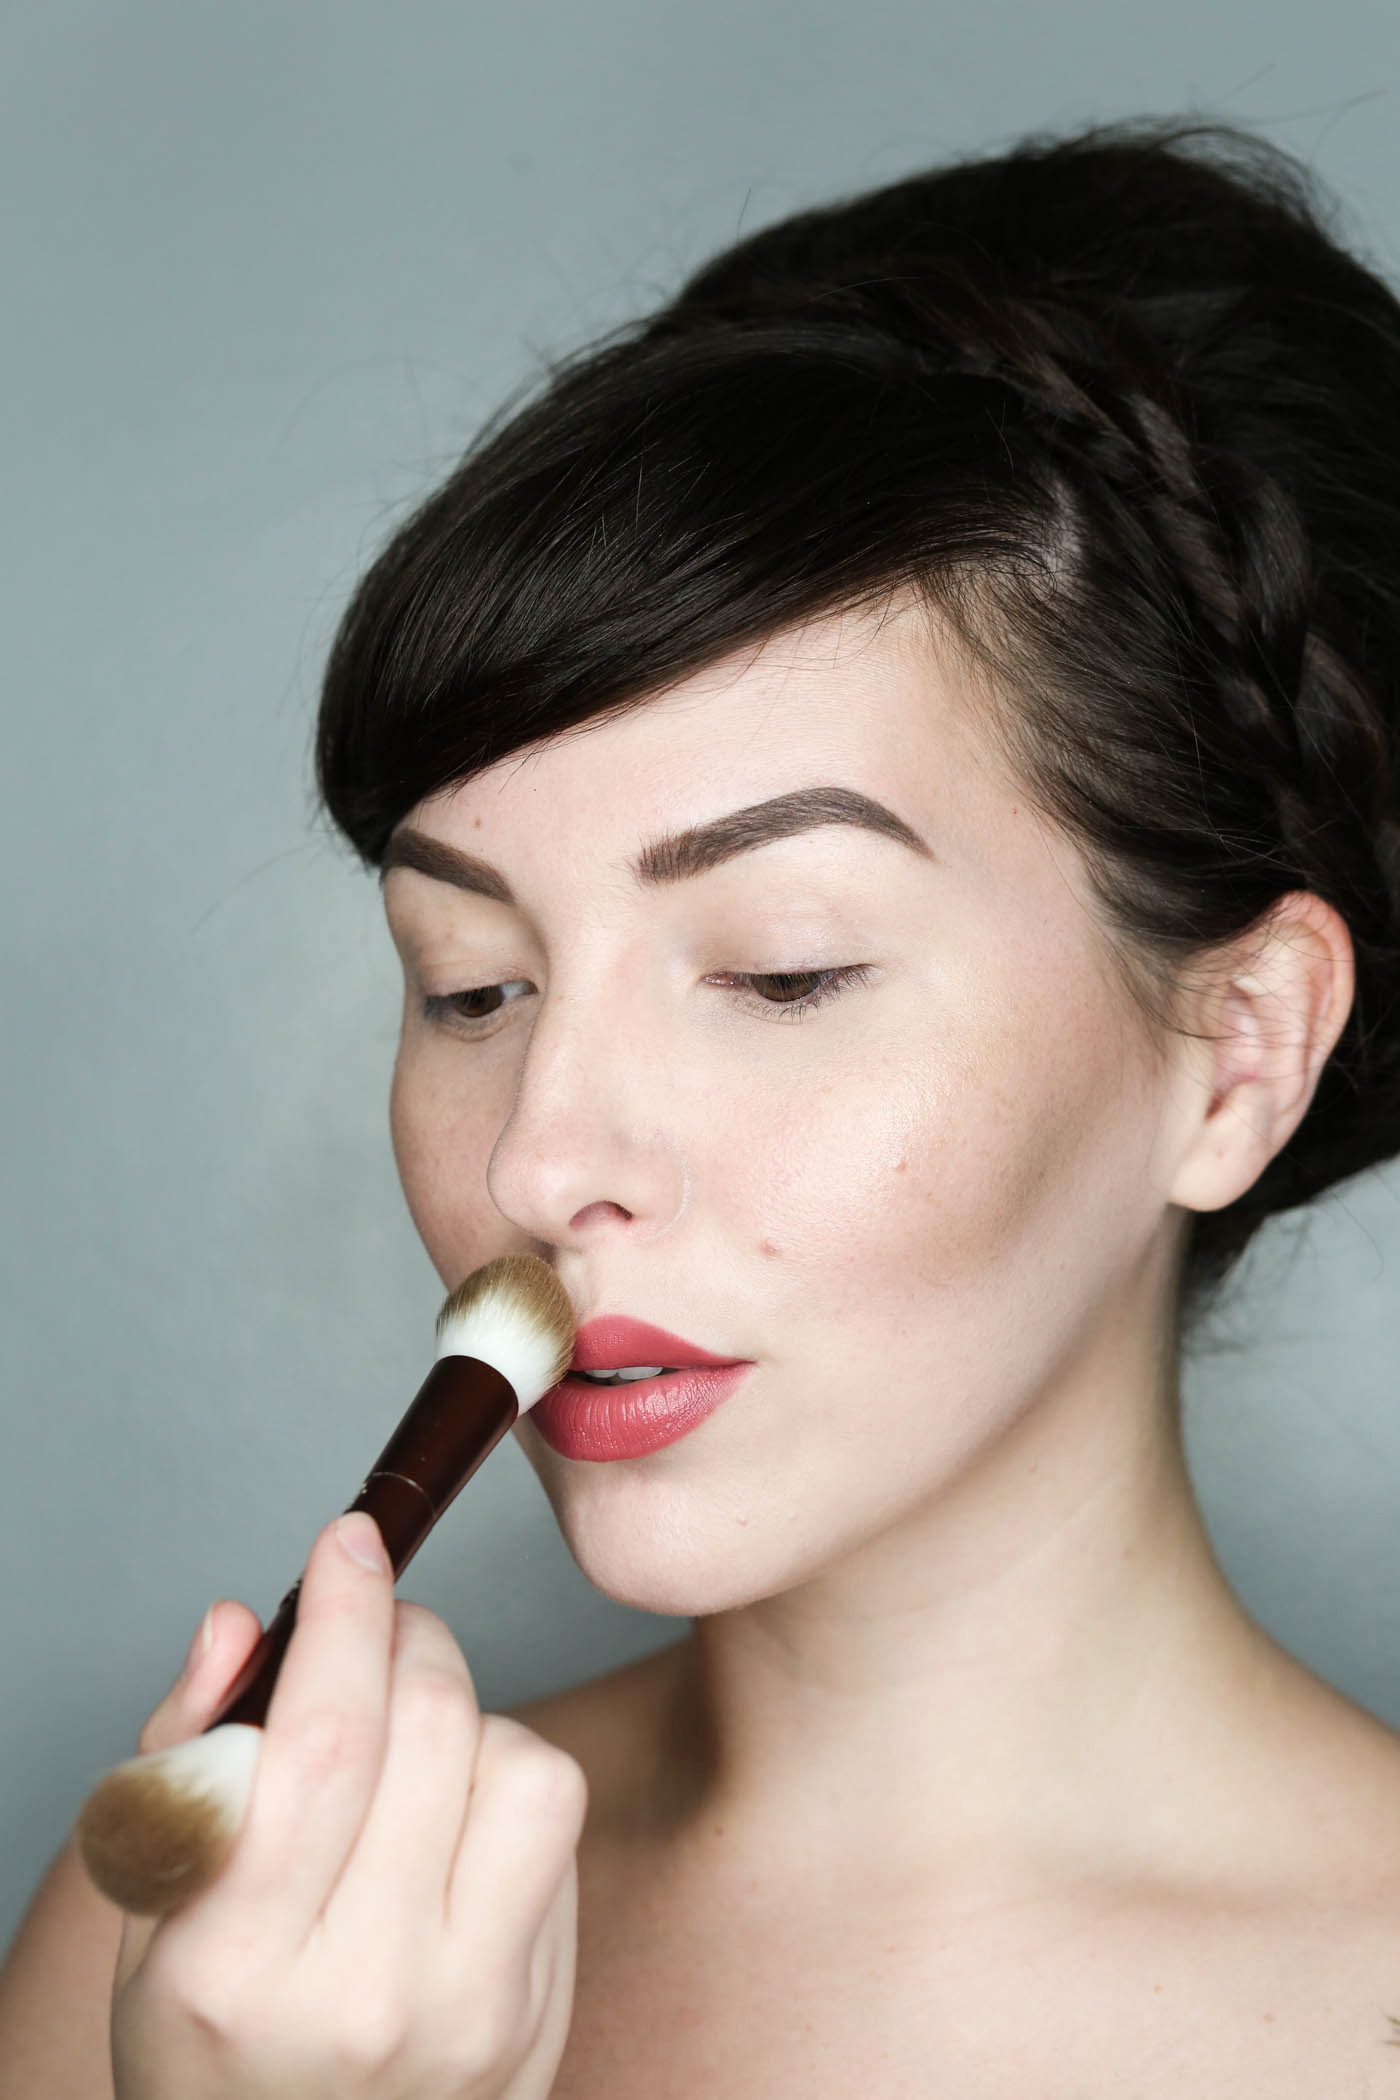 Lightly dust highlighter on your cupid’s bow
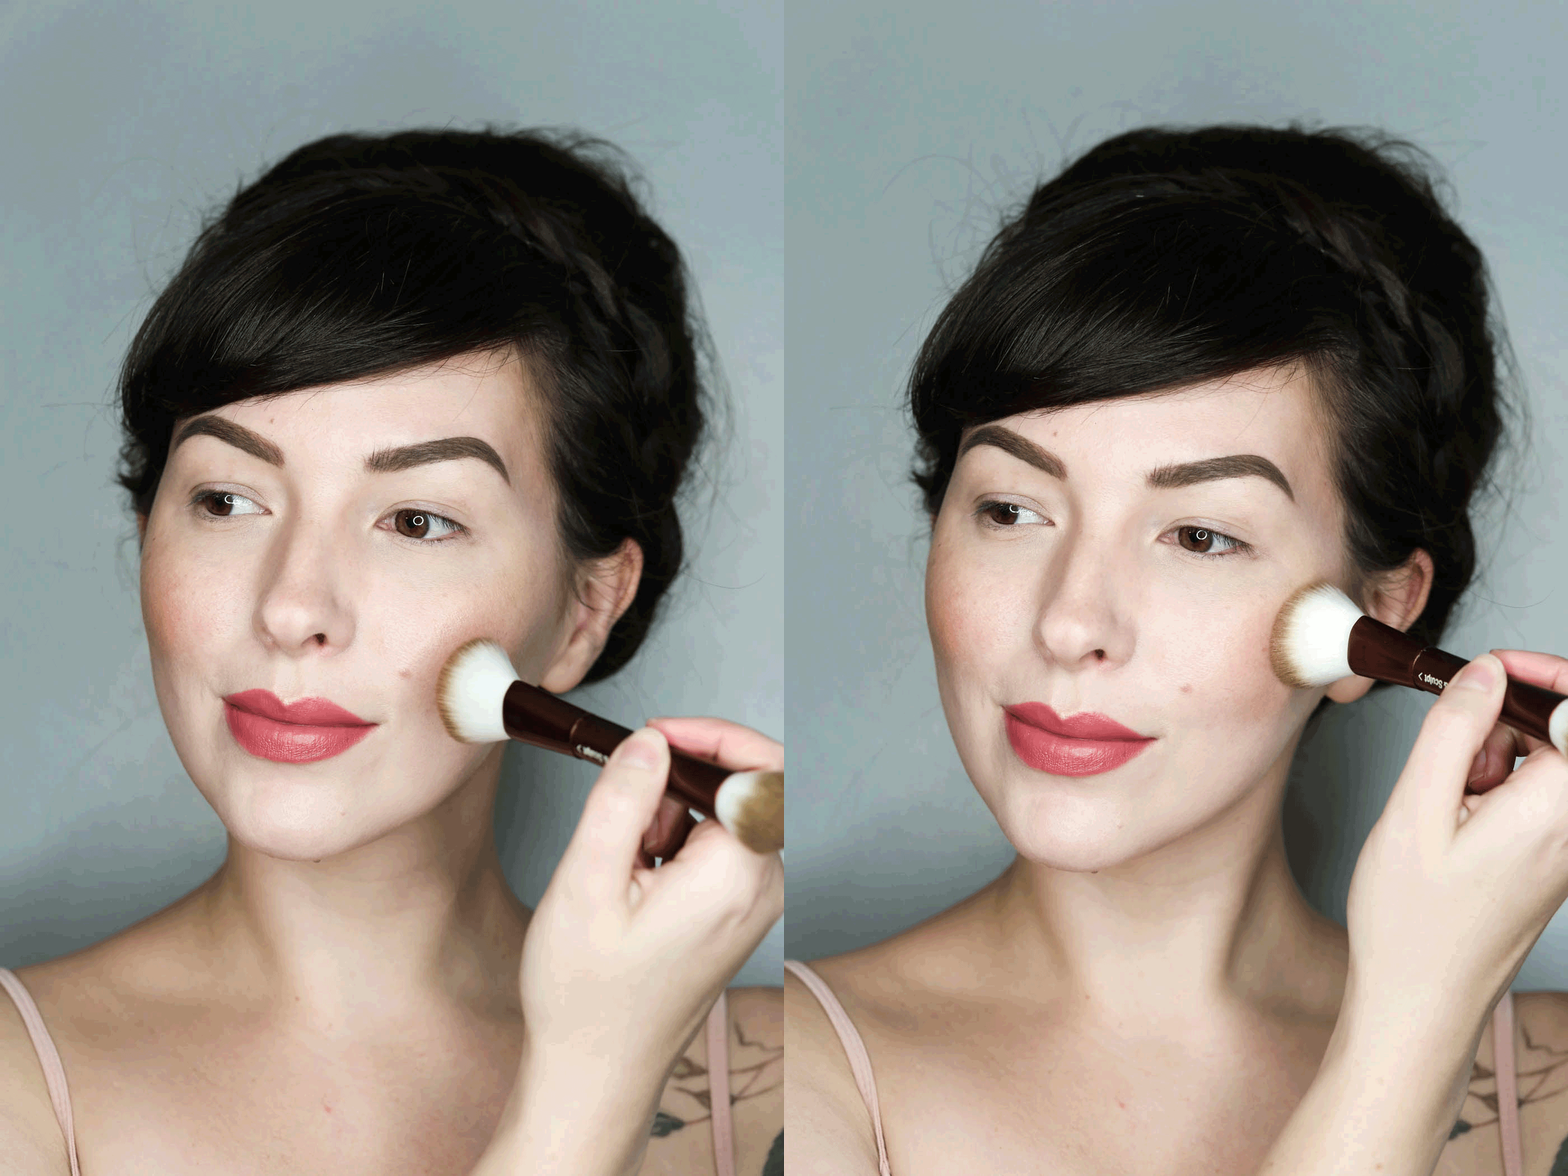 Sweep on blush (I used the middle left shade as a blush). I prefer to do this after contouring and highlighting to marry the two, so the highlight feels like it’s glowing from within. As always, make sure you blend!
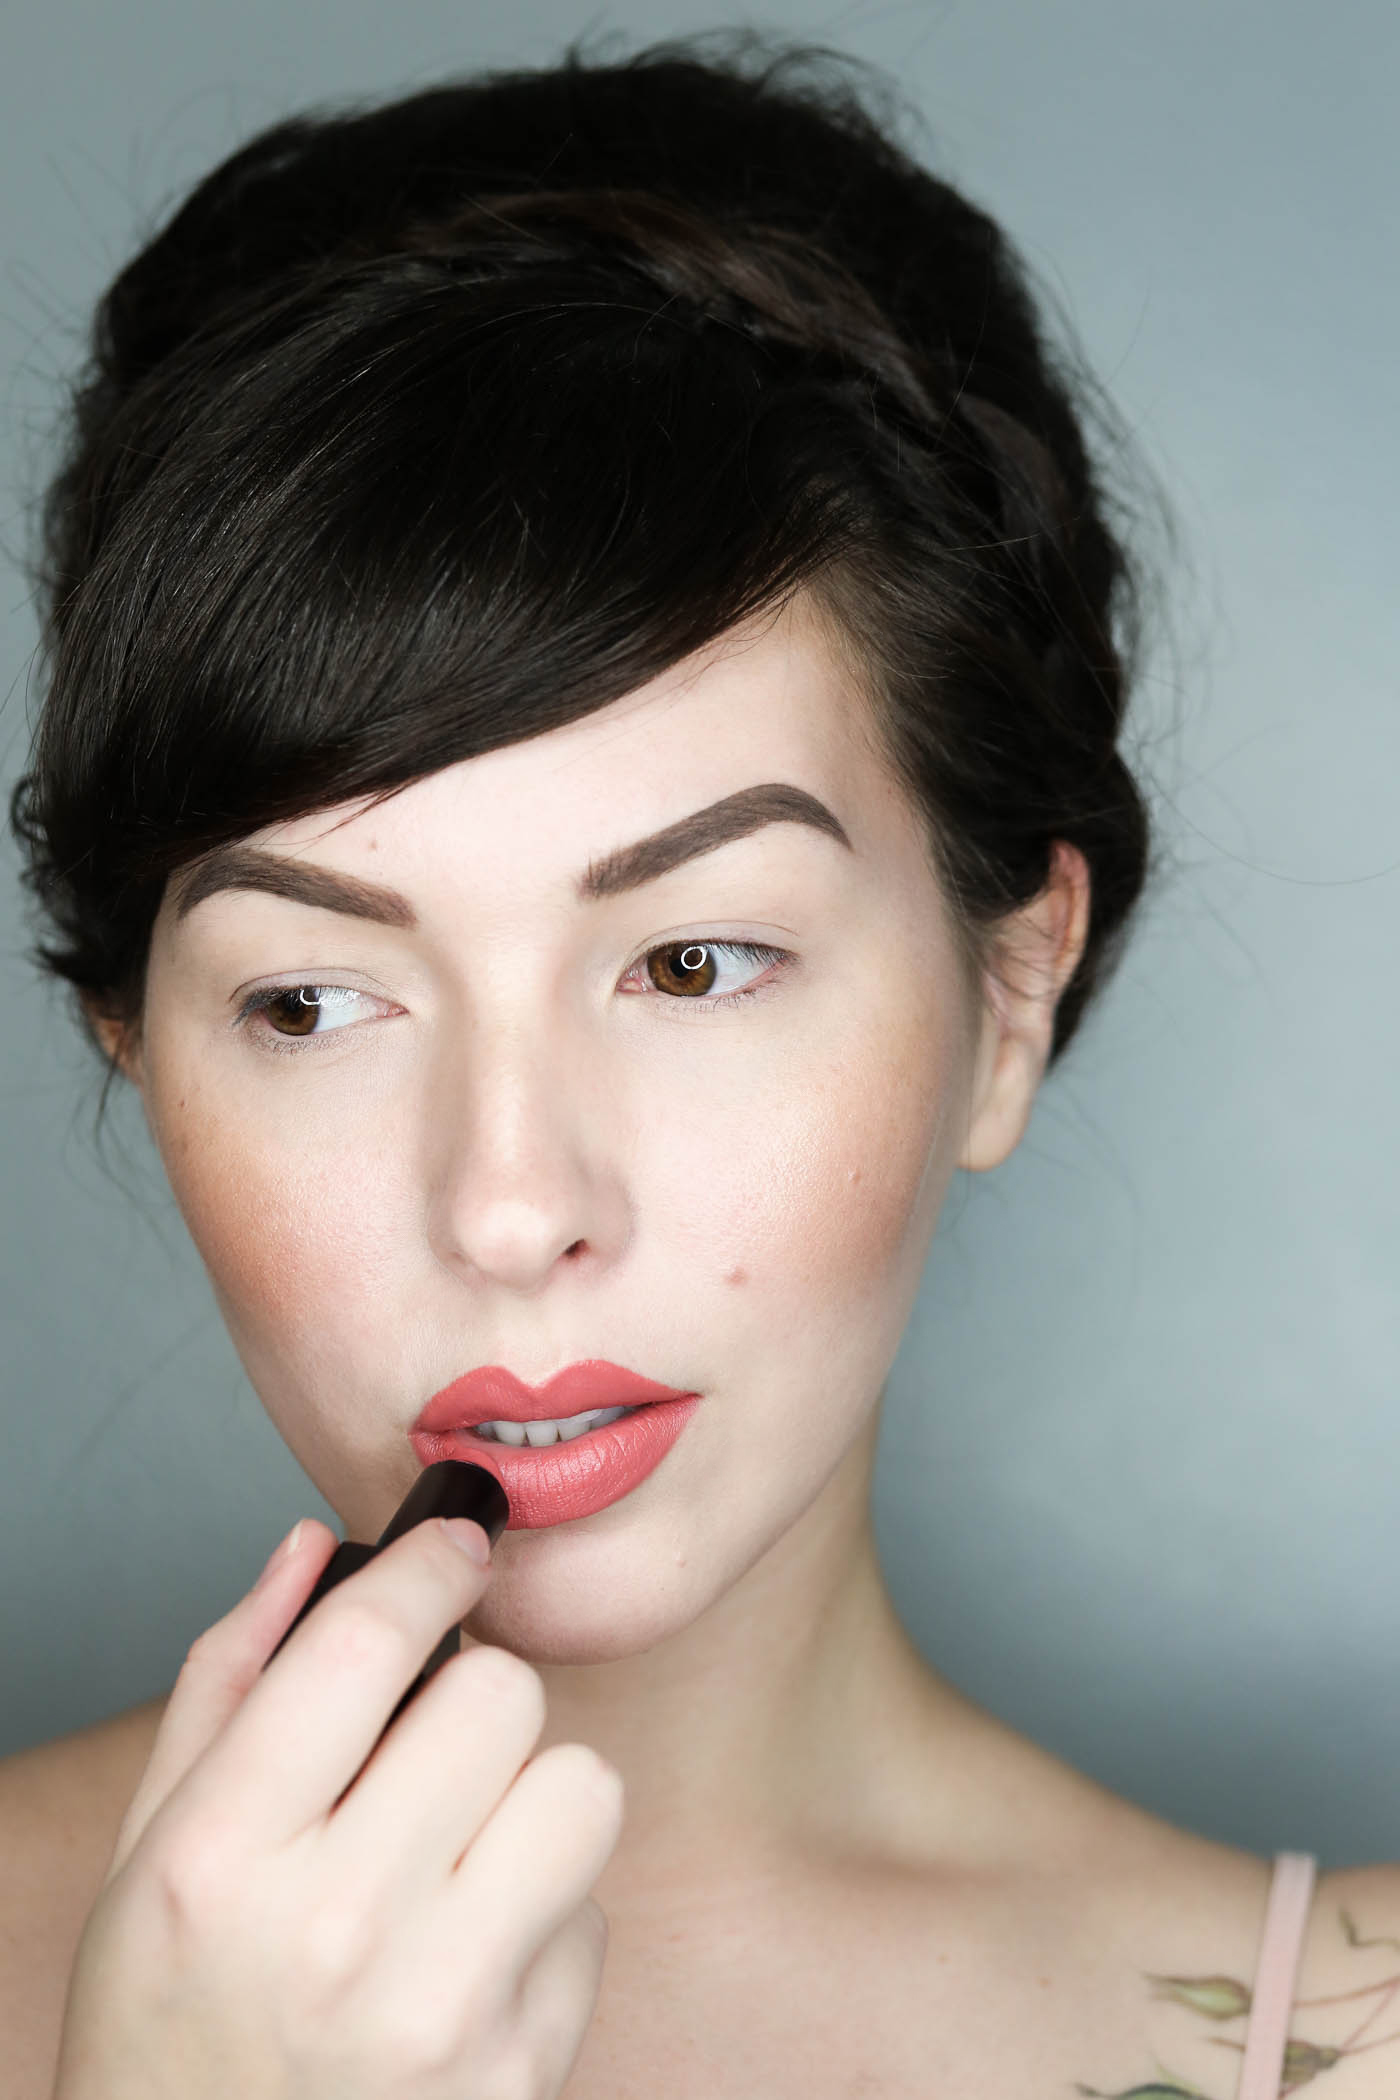 I finished with peachy pink NARS “Brigitte” Audacious lipstick. It’s one of my absolute favorites!
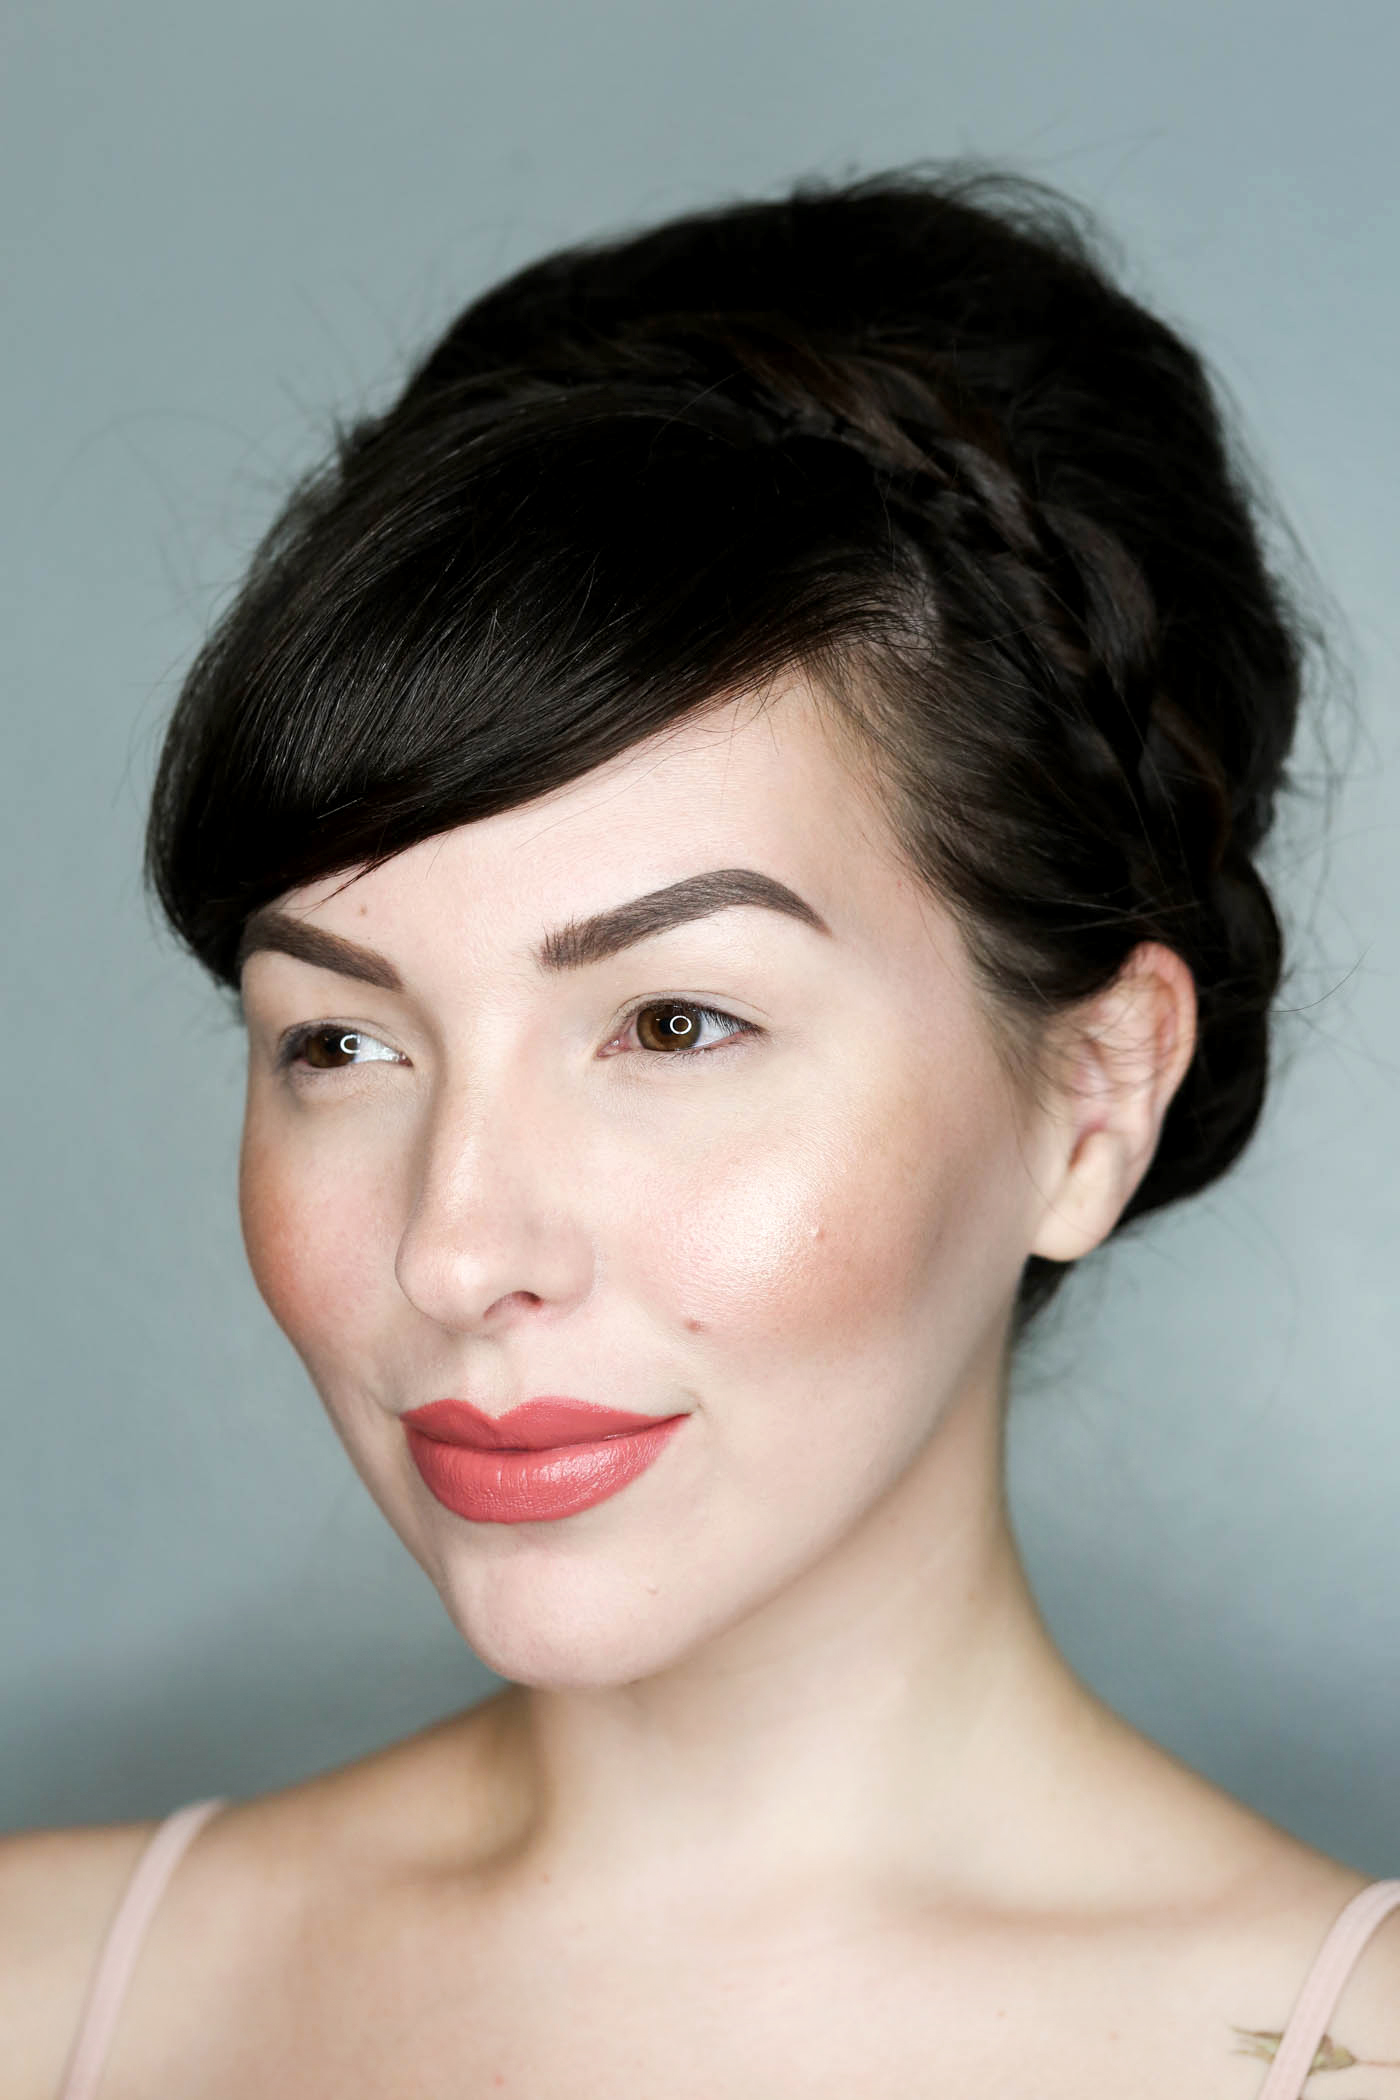
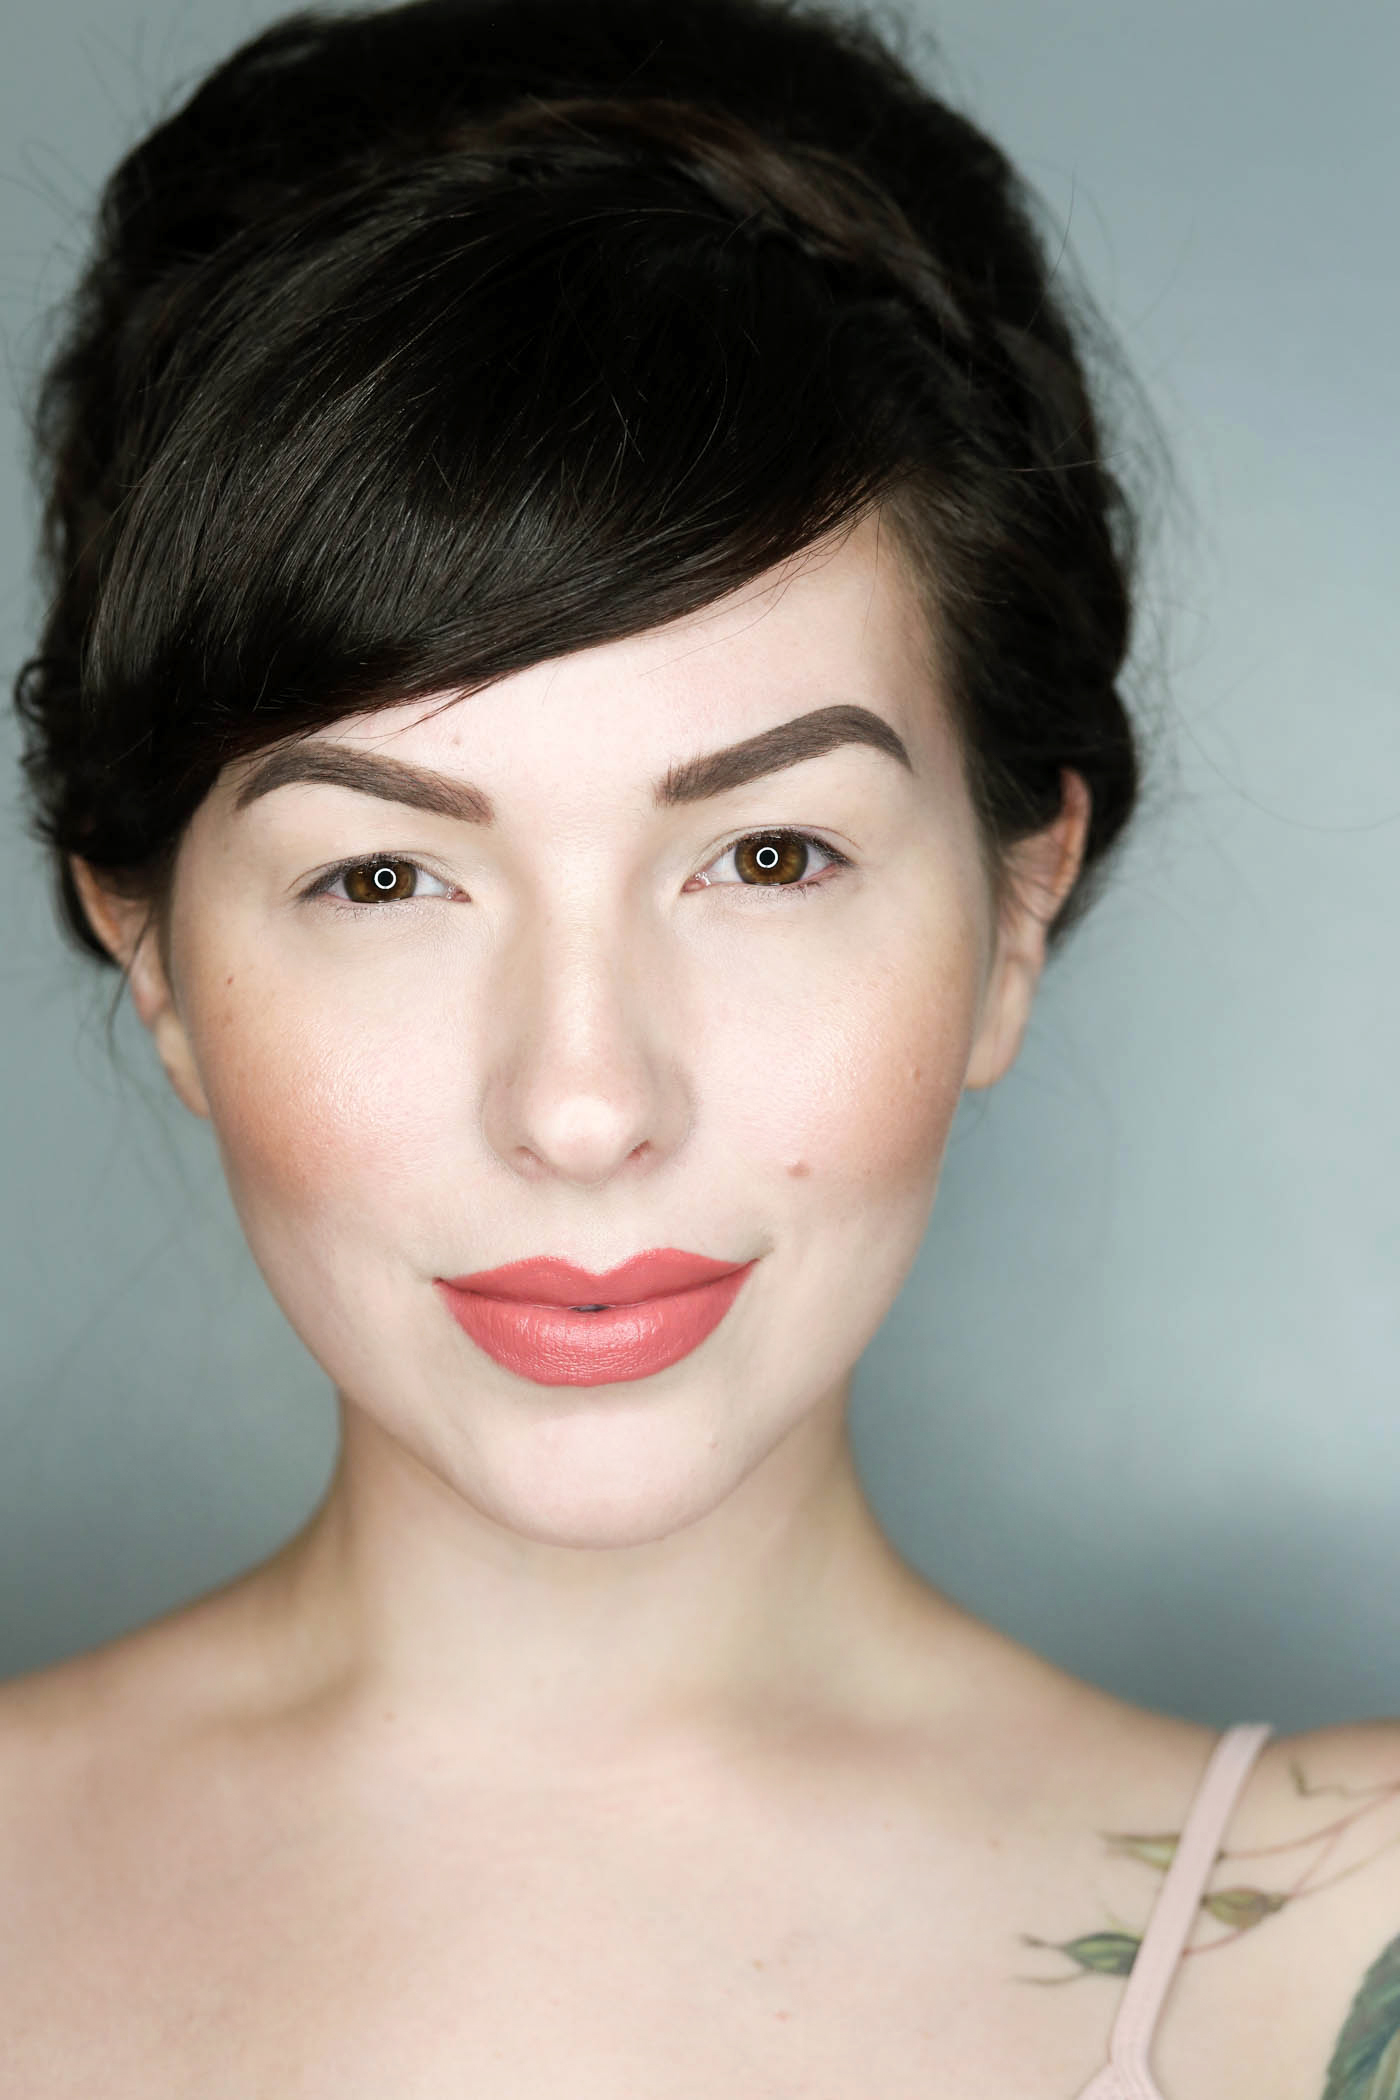
Done! I completely skipped eye makeup, because my eyes were feeling a little too sensitive. But you can feel free to do any eye makeup you want whether it’s just mascara, liner, or a smoky eye (check out that tutorial if you need help). I hope this simple contour, highlight, and blush tutorial was helpful. As always, please let me know if you have any questions or need product recommendations and I’ll do my best to help!

