

Makeup Monday: How To Get The Perfect Brows (Full Tutorial)
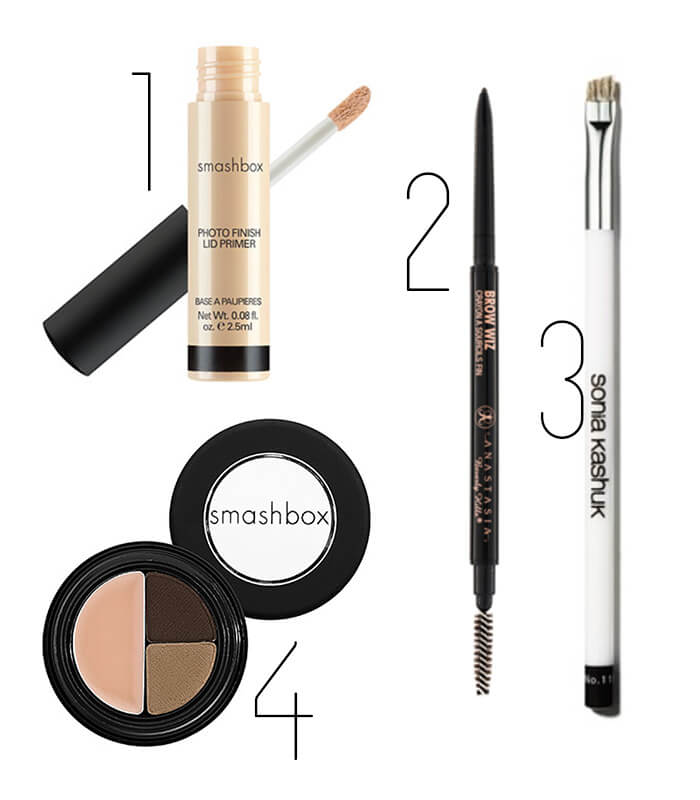
Products used to create the perfect brow: 1) Smashbox Lid Primer, 2) Anastasia Brow Wiz, 3) Sonia Kashuk stiff angled brush, 4) Smashbox Brow Tech (I also love this Too Faced Brow Kit for an all-in-one)
Pssst! I posted more brow product suggestions on my latest Westfield Style post.
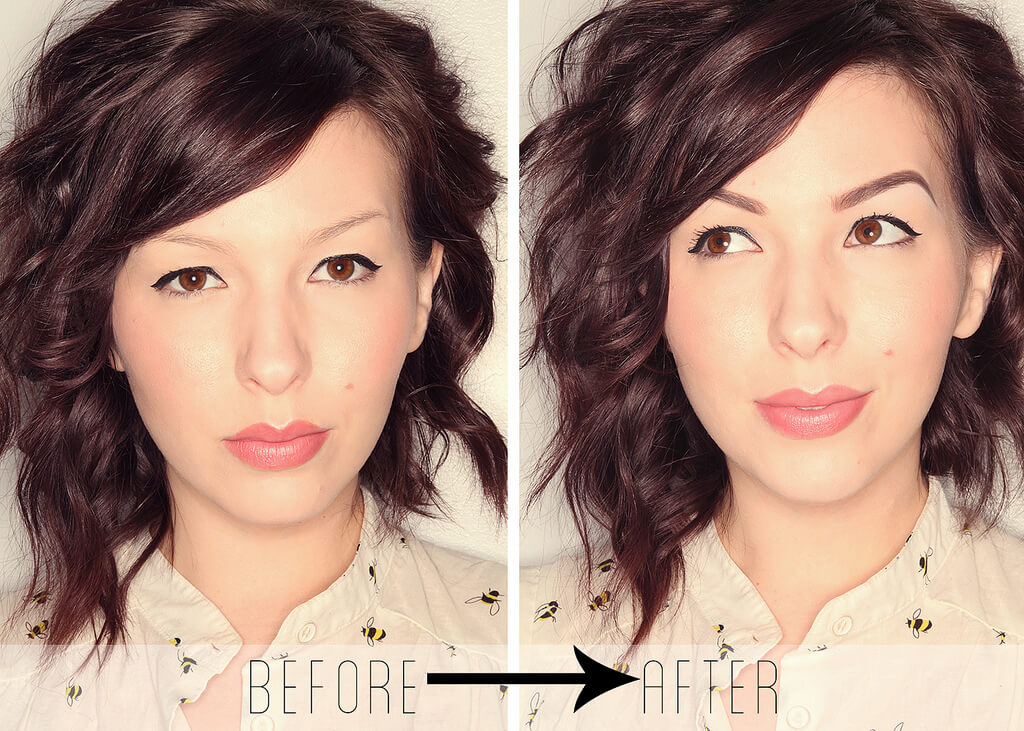
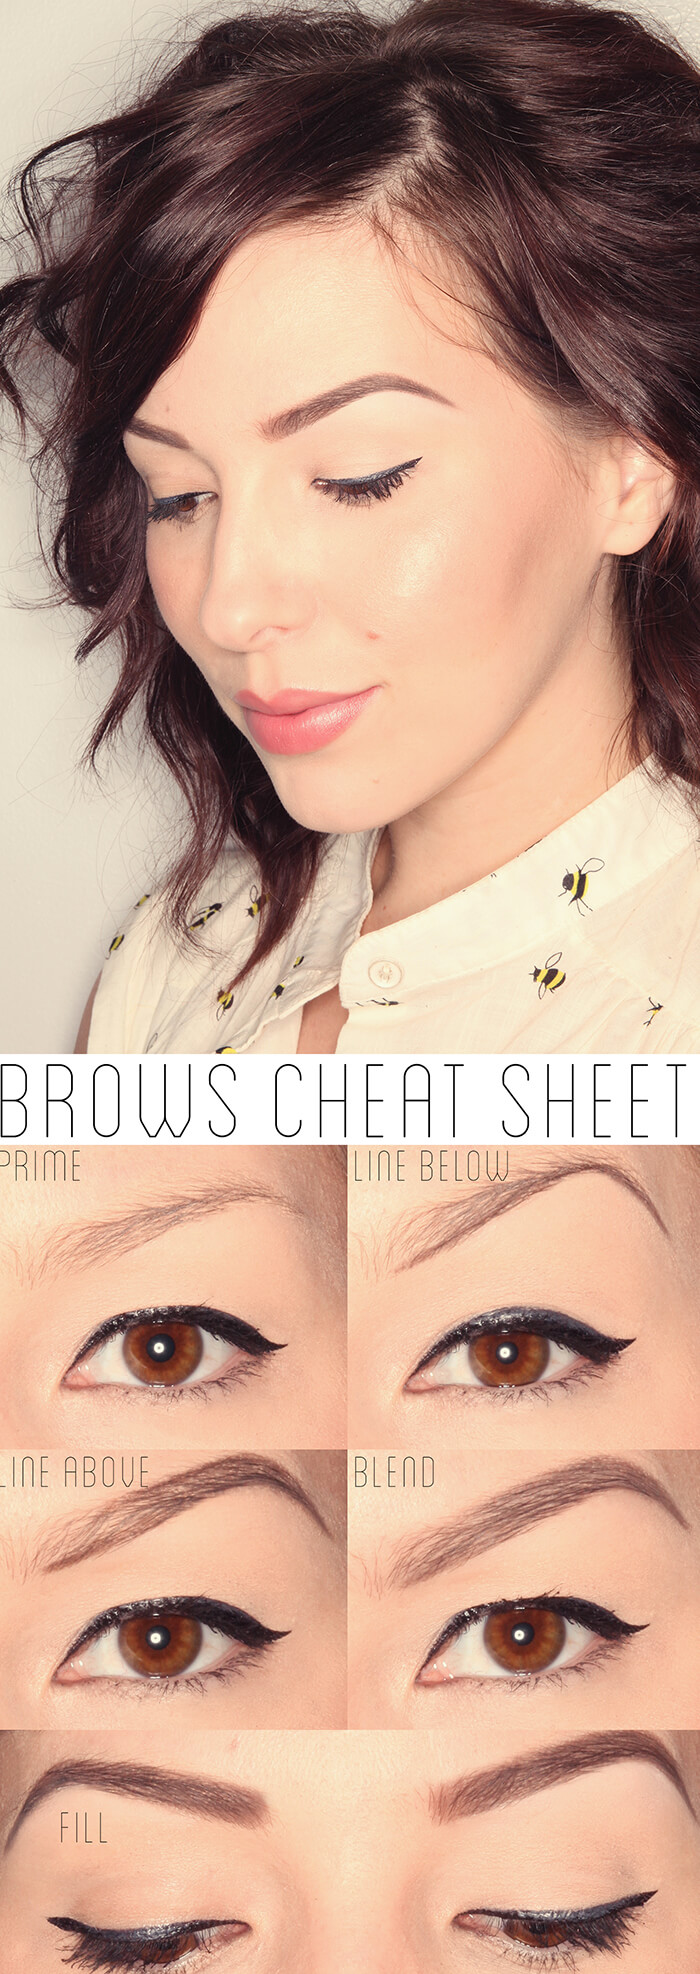
Today’s tutorial is about – you guessed it! – brows. I wax poetic about how important brows are, how they frame your face, how I won’t leave home without them. It’s an obsession – but did you see the “before” picture? It really does make a huge difference. I’ve done a few brow tutorials over the years, but my routine is ever evolving. The past year or so, I’ve been steadfast in my current brow technique (though I sometimes switch up the products) – and with the many inquiries I receive on a daily basis, I figured it was high time for a new tutorial. I made a cheat sheet (above) for future reference, but the full tutorial with demonstrated steps is after the jump. Keep reading to learn how I take my brows from blahhhh to yayyyy!
Before we get started, please refer to this diagram if you have questions on where your brow should start, arch, and end.
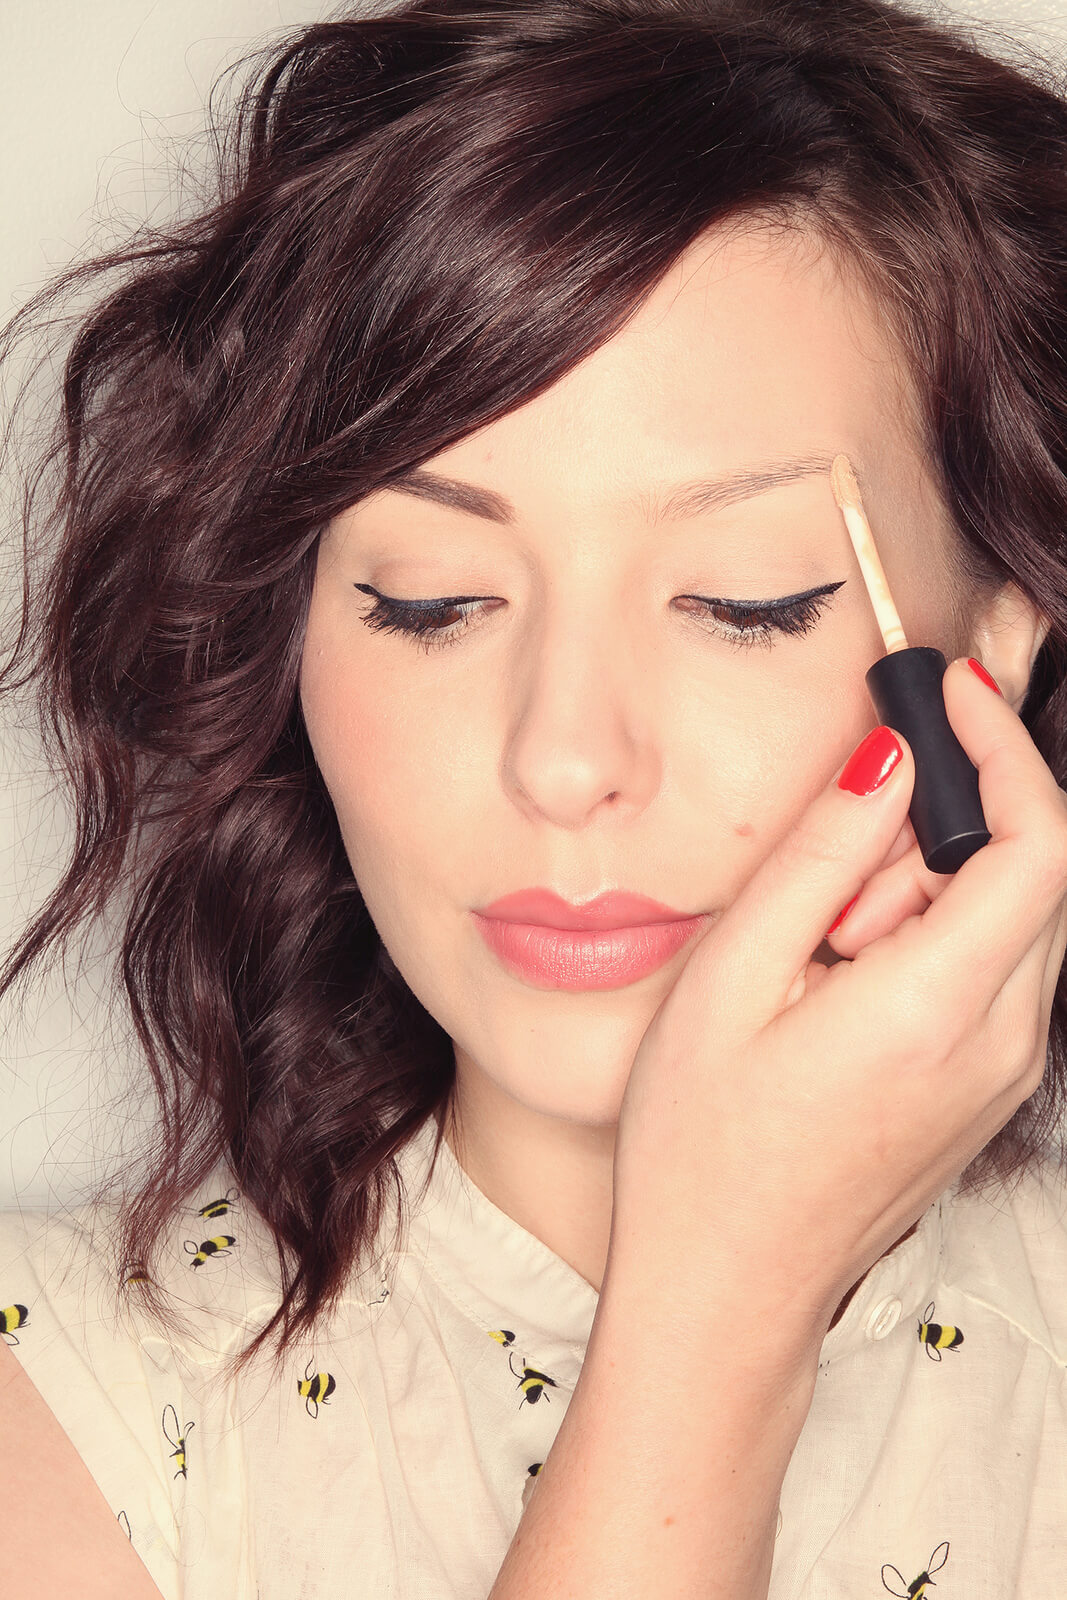
Apply primer. People usually skip this step, but it will help keep your brows from slipping off your face! It’s really important if you’re like me and rely on a lot of filler, especially on the tail end.
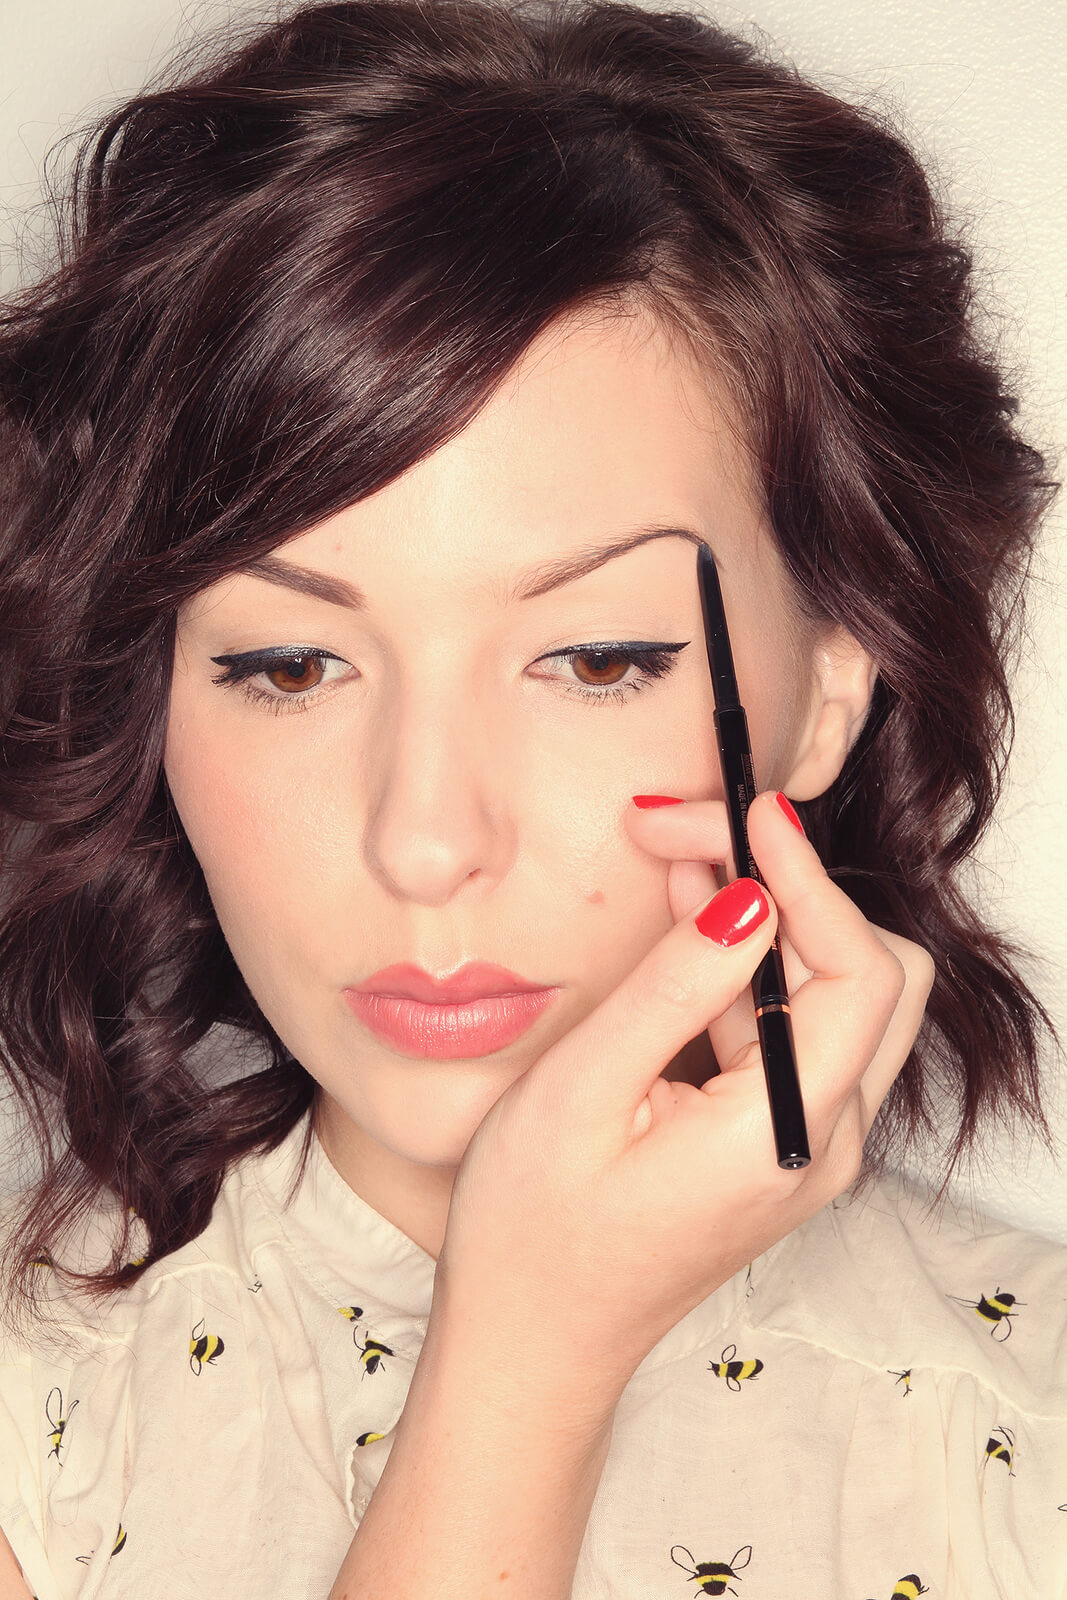
Use brow pencil to draw a defined line underneath your brow.
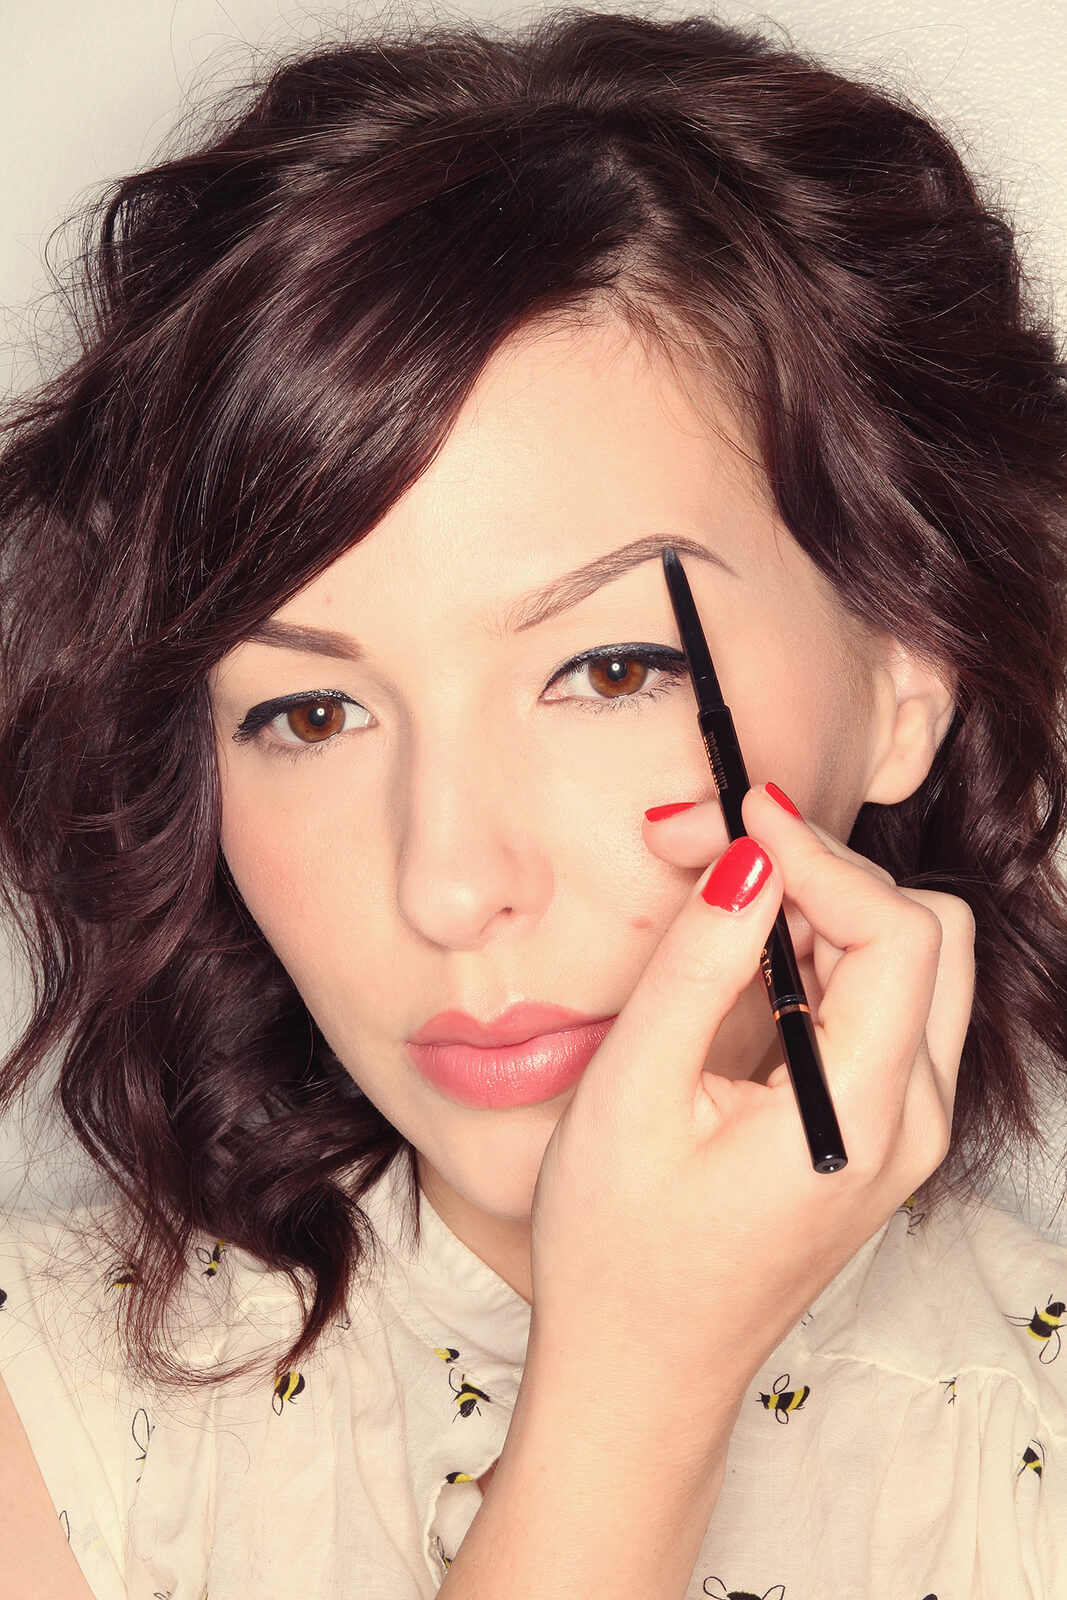
Do the same for the top of your brow, but only on the outer 3/4. Concentrate on defining the tail end of your brow.
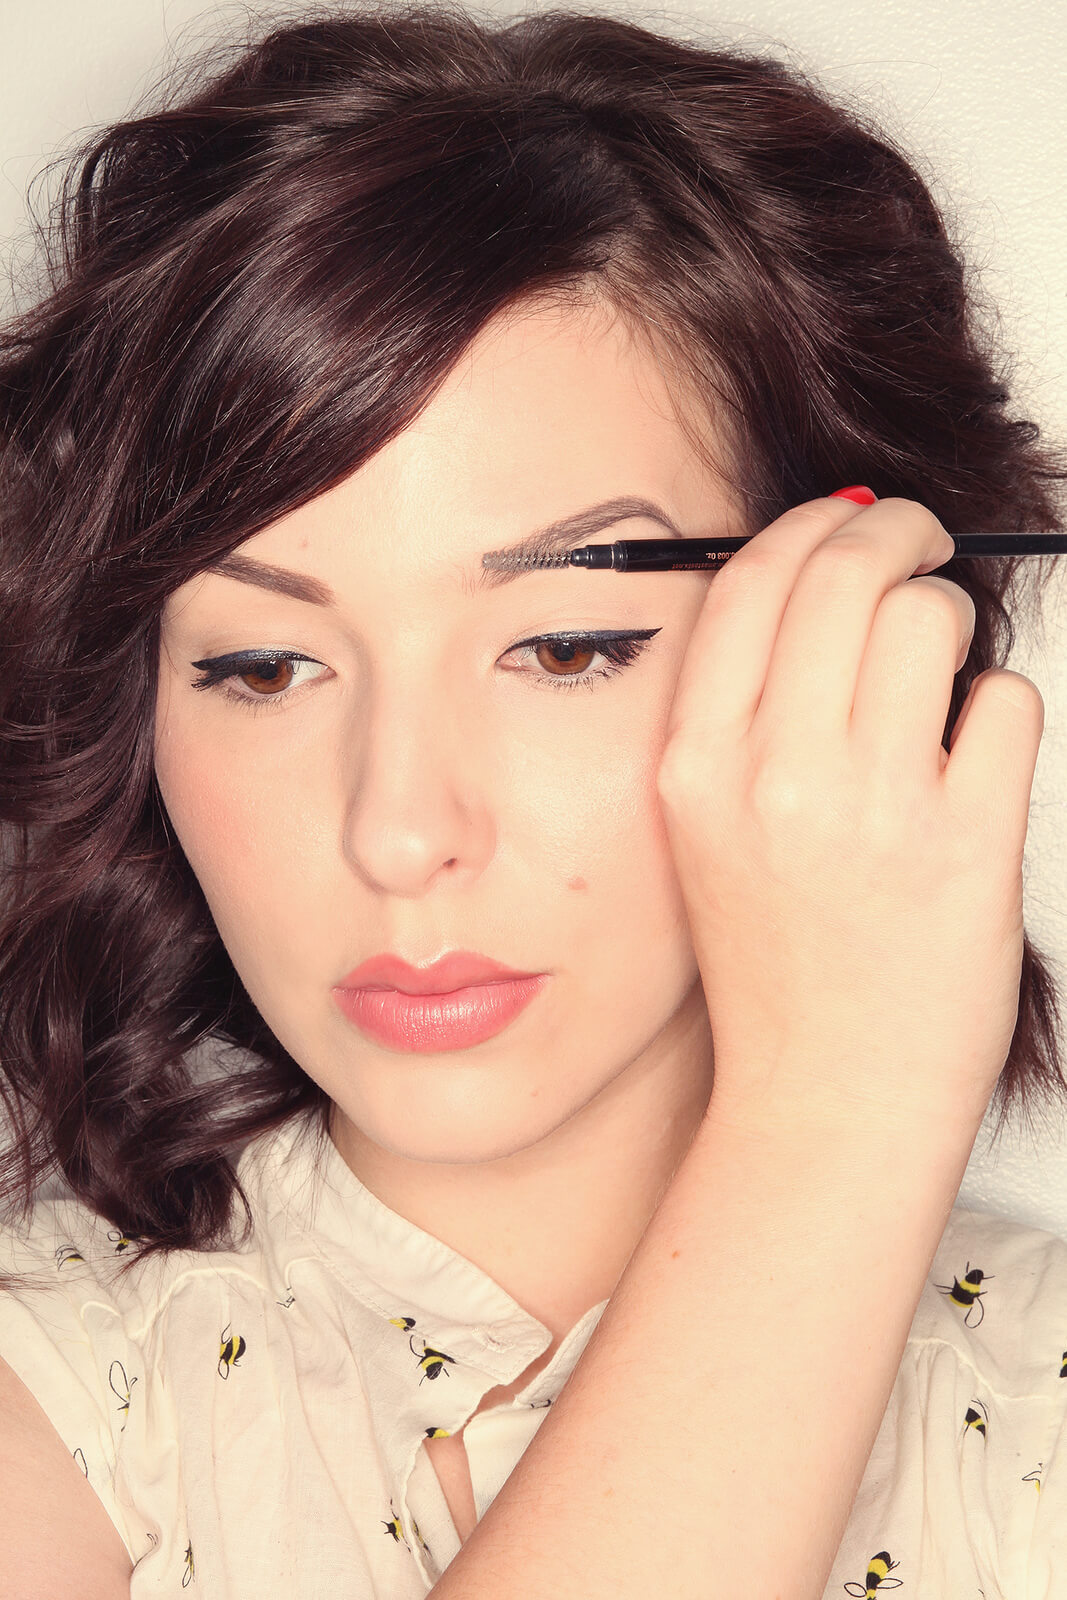
Use the spoolie end of the pencil (or a clean mascara wand) to pull the color up and through the brows. This will also blend any harsh lines, but if you want a really defined lower line, you can always go back in and add it!
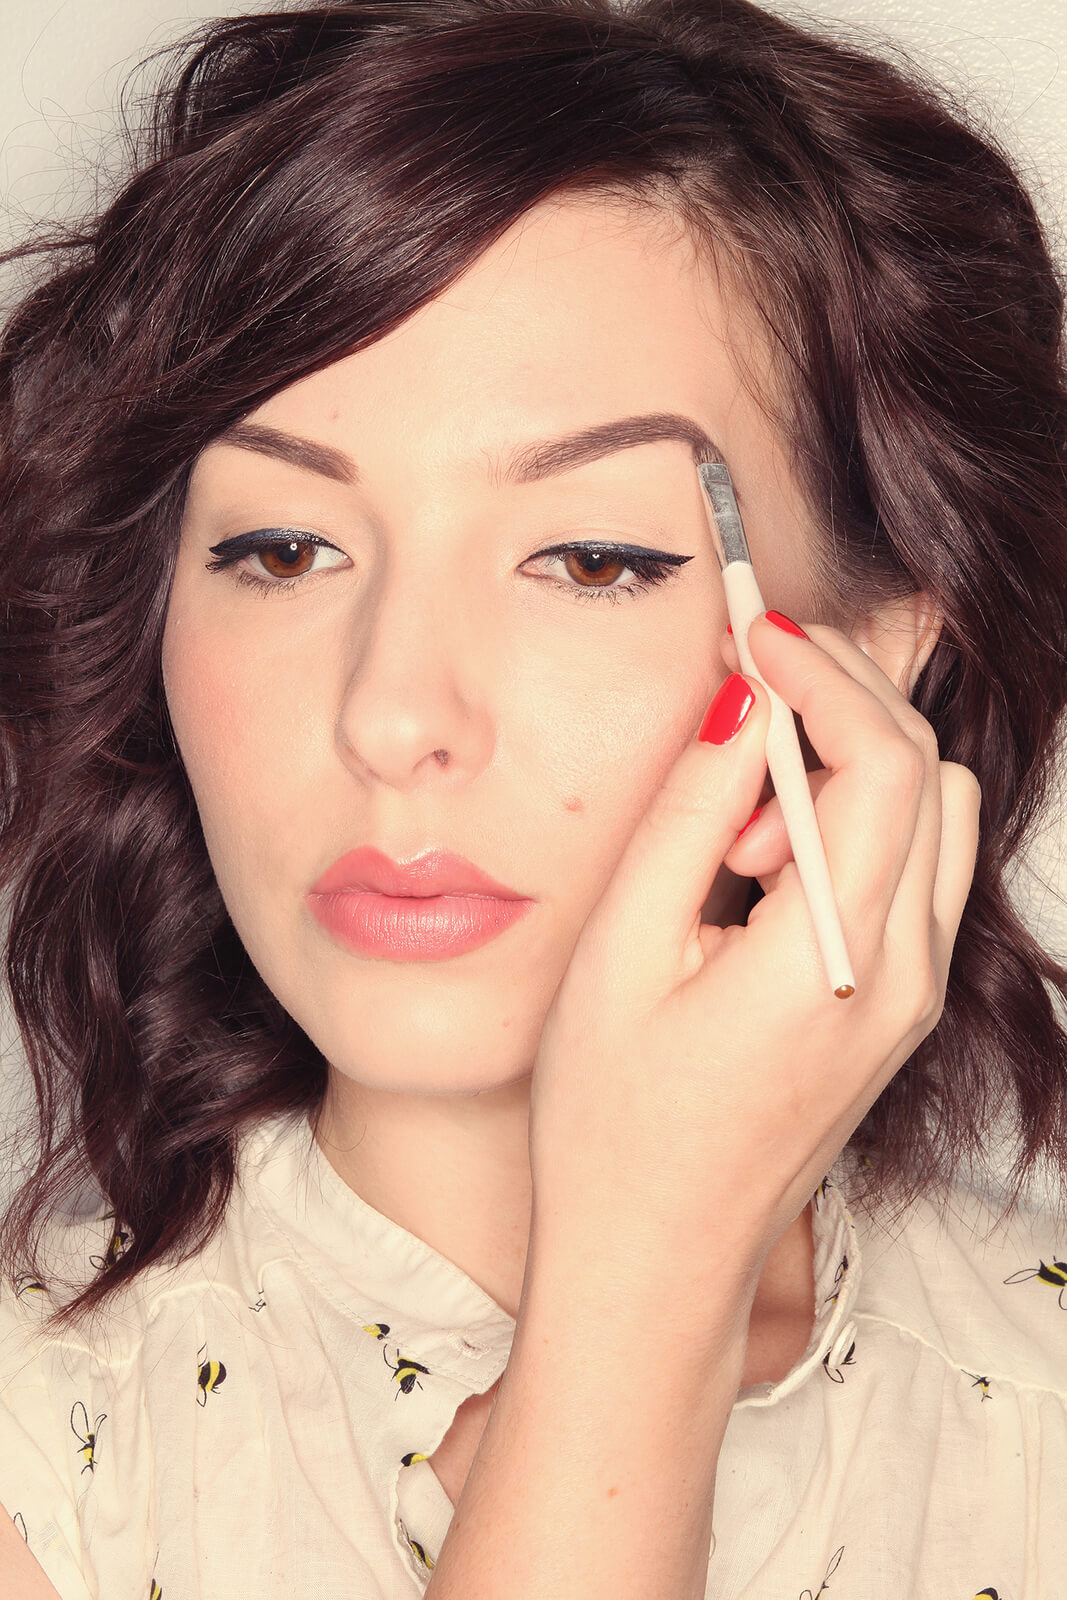
Pick up some brow powder on a stiff angled brush and fill the outer 3/4.
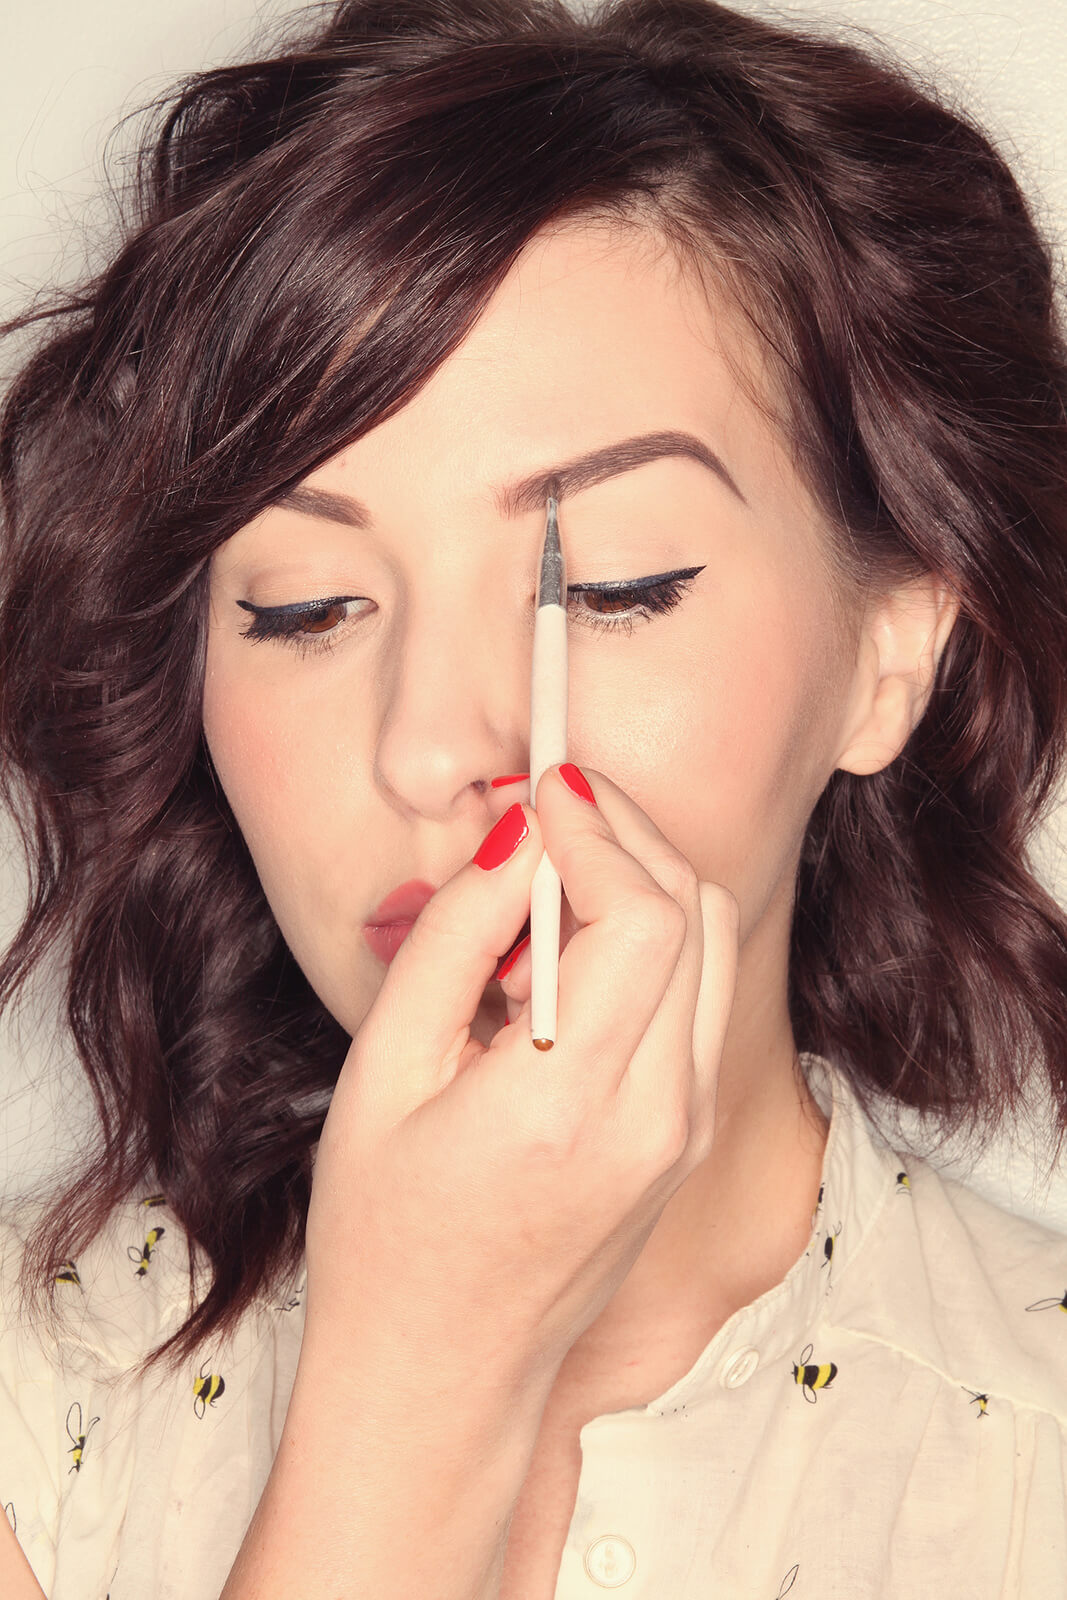
Without using any more powder (just use what’s left on the brush), wiggle the brush back and forth on the inner brow. This will keep them from looking painted on.
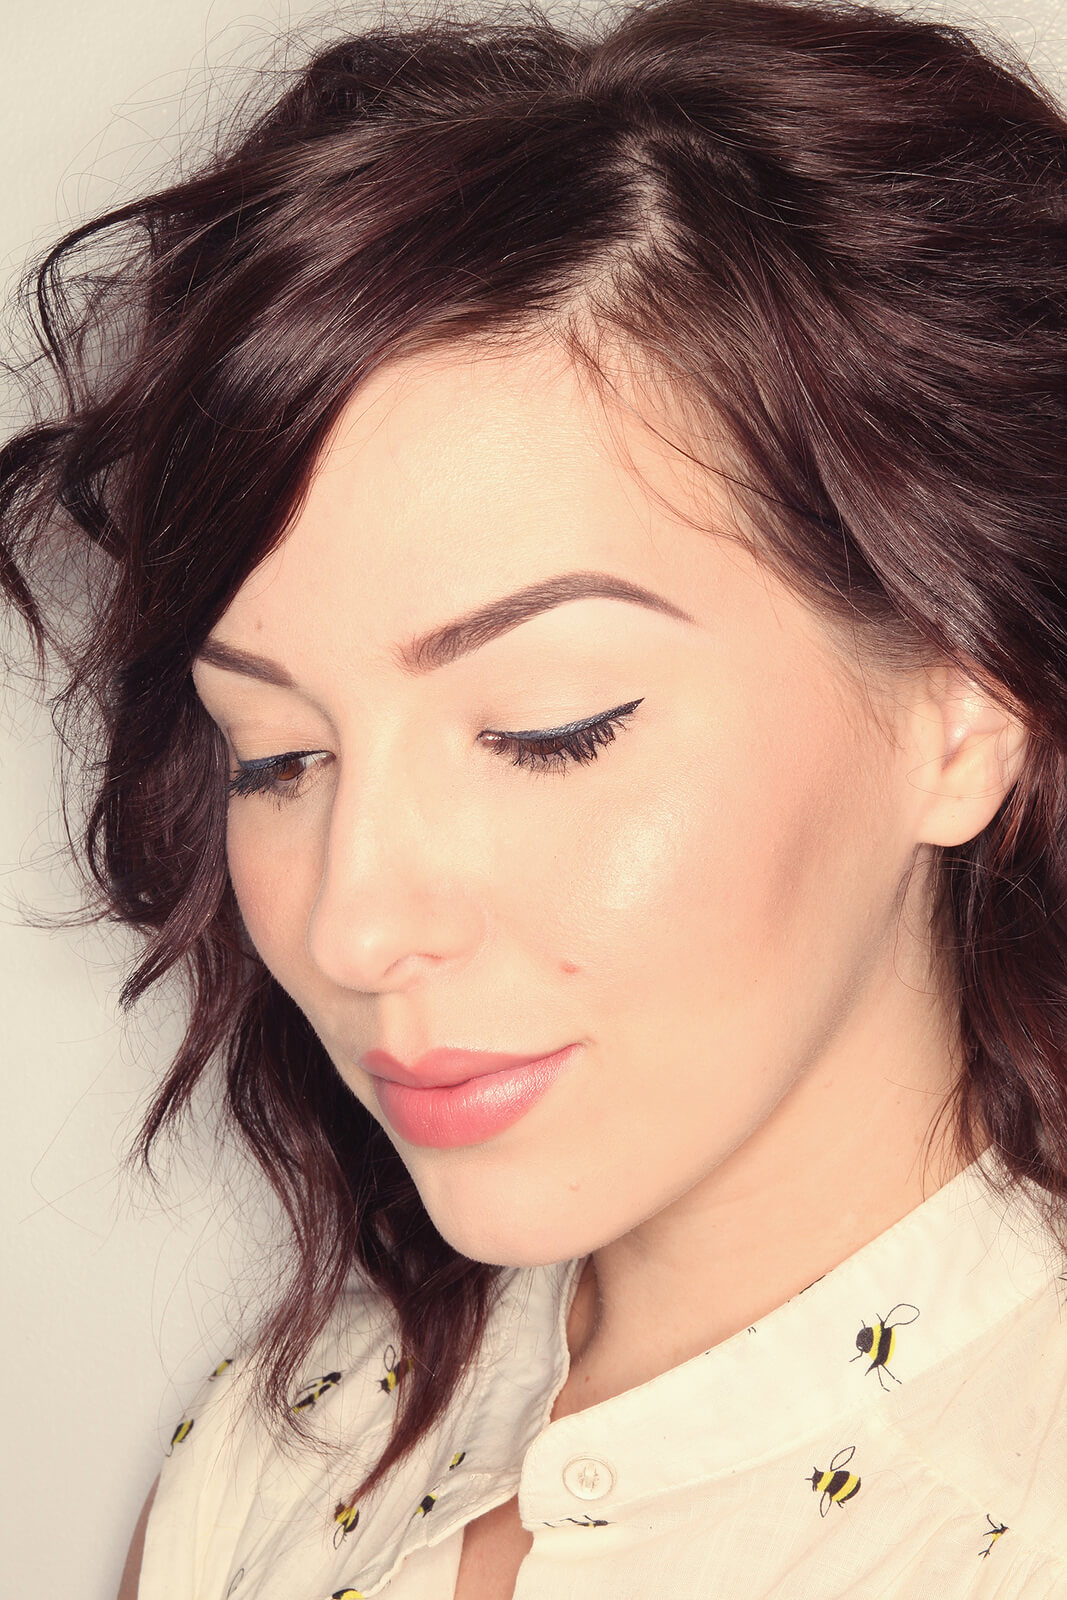
That’s it! You’re done. You can finish with brow gel, if you want – I usually skip it unless it’s going to be a long night. Please let me know if you need any alternative product suggestions!


