December 2, 2013

Makeup Monday: How to Get the Perfect Red Lips (Updated Tutorial)


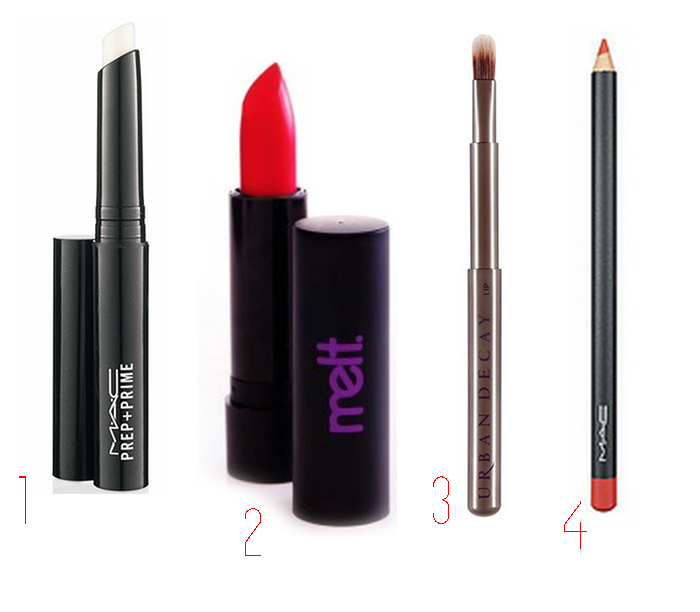
Products used: 1) MAC Prep + Prime Lip, 2) Melt Cosmetics “Belladonna 2” Lipstick, 3) Urban Decay retractable lip brush, 4) MAC “Redd” lip pencil. See this post for more of my favorite red lipsticks.
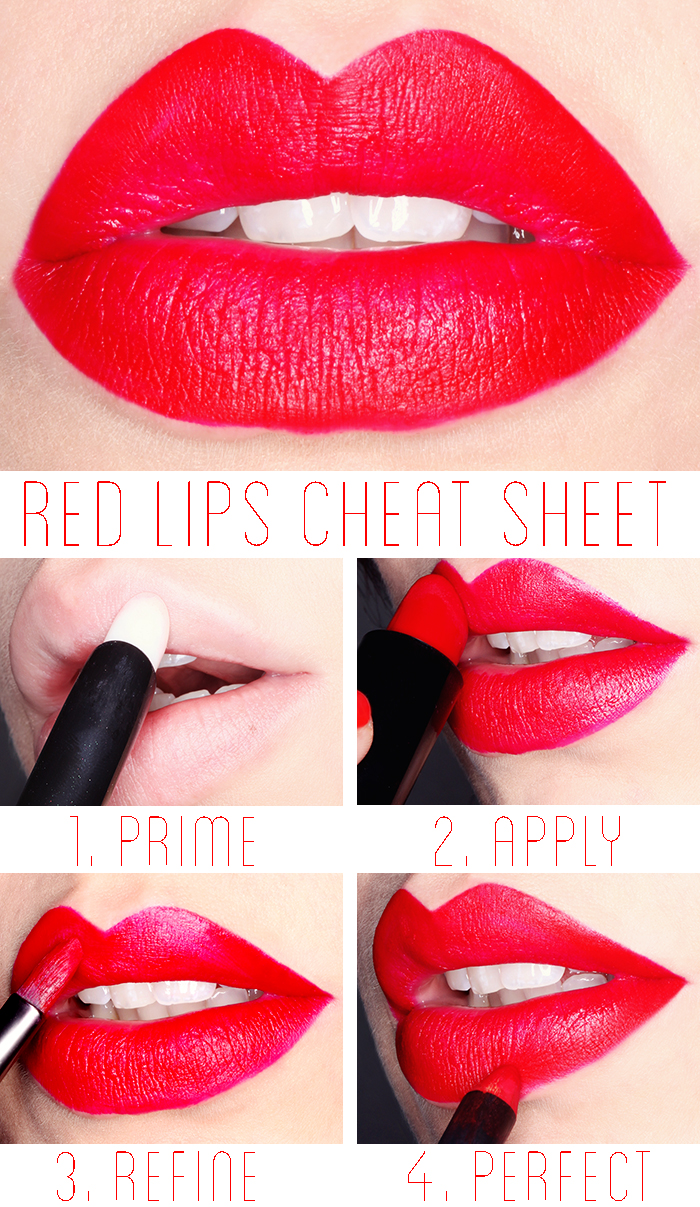
I’ve done a red lip tutorial before, but just as I updated my brow tutorial, I felt it was time to do the same for the perfect red lip. It’s pretty similar, but with reversed steps. Instead of lining first, I’ve found that saving the liner for last greatly increases precision. I made a cheat sheet (above) for reference of these four easy steps:
- PRIME: Apply primer to well-hydrated and exfoliated lips (I like to exfoliate with a mixture of honey, sugar, and a little bit of Aquaphor). Make sure to prime just outside the perimeter of your lips, too – this will keep it from feathering.
- APPLY: Straight from the tube. This will give you the most concentrated color. It doesn’t have to look perfect; that’s what the next steps are for.
- REFINE: Pick up some lipstick with your lip brush and start fine-tuning. I like the retractable lip brush because I can carry it with me, for touch ups!
- PERFECT: Go in with your lip pencil and perfect those lines. It’s always best to step away from the mirror and come back with fresh eyes, to make sure you’re keeping everything relatively symmetrical. If you have any issues, just dip a concealer brush in a bit of makeup remover (or concealer) to clean up your mess.

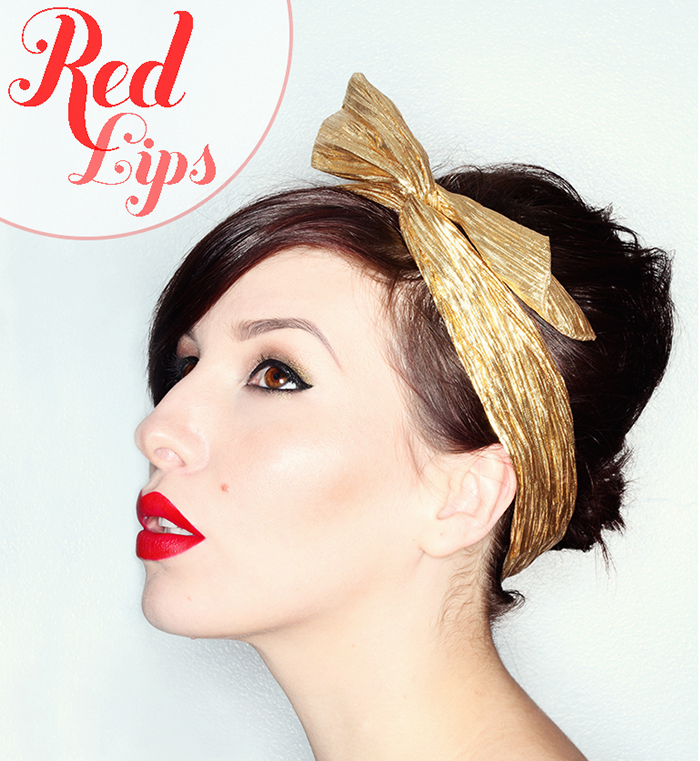
p.s. I’m wearing a ban.do twist scarf, and the eyeshadow is MAC Carbon with Too Faced Glitter Glaze in “Goldie Rocks” on top.

