
Makeup Monday: Flawless Skin With TEMPTU

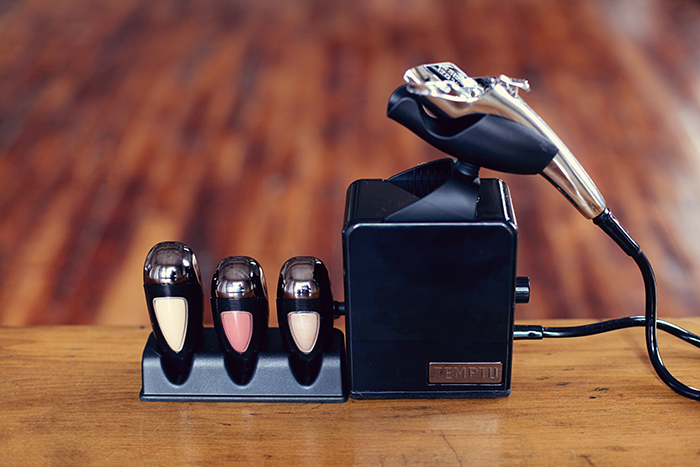
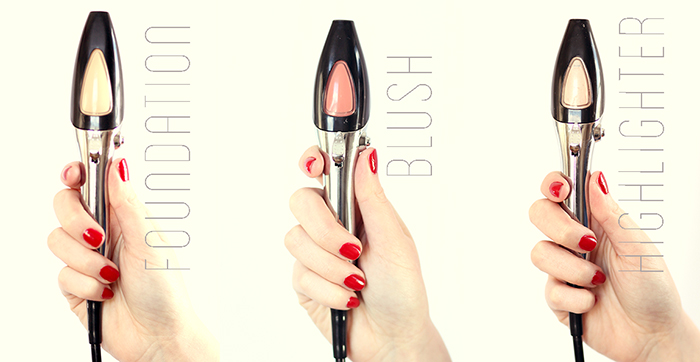
Products used: TEMPTU Warm Ivory Foundation, Washed Rose Blush, and Champagne Highlighter. Get 25% off with code KEIKO25.
I’ve always been fascinated by airbrushing, so I was excited when TEMPTU asked me to try out their at-home airbrush system and share the results with you. My sister has it, but I never got around to trying it. Since I’m new to the technique, I stopped by the studio to get a quick lesson on the basics of airbrushing. After a brief tutorial by one of their talented artists, I headed home to try it for myself. To my surprise, it was incredibly easy to use; the only learning curve (for me) was how much to pull back on the trigger. I liken it to learning how to sew or drive: you have to get a feel for how much pressure to put on the pedal. Turns out, my magic amount was about halfway, and the trick is to keep your hand in continuous motion to avoid any streaks. Once you have that down pat, it’s easy breezy. For this post, I kept things super simple: taking my bare skin up a notch with a flawless finish, added dimension, and a little bit of color.
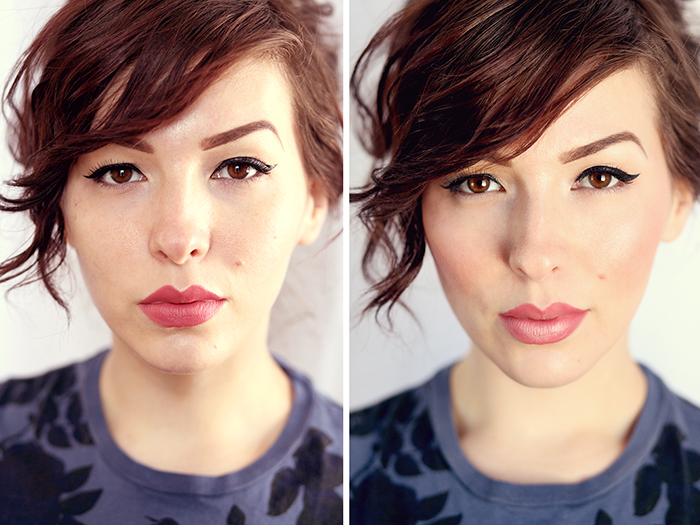
(Before and after using TEMPTU makeup)
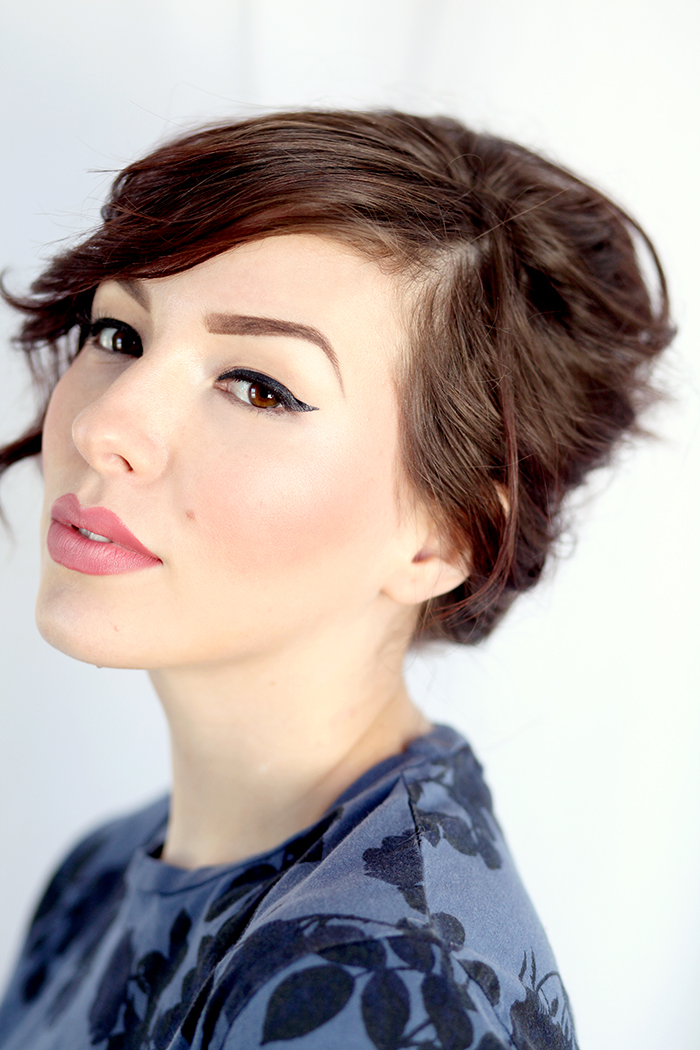
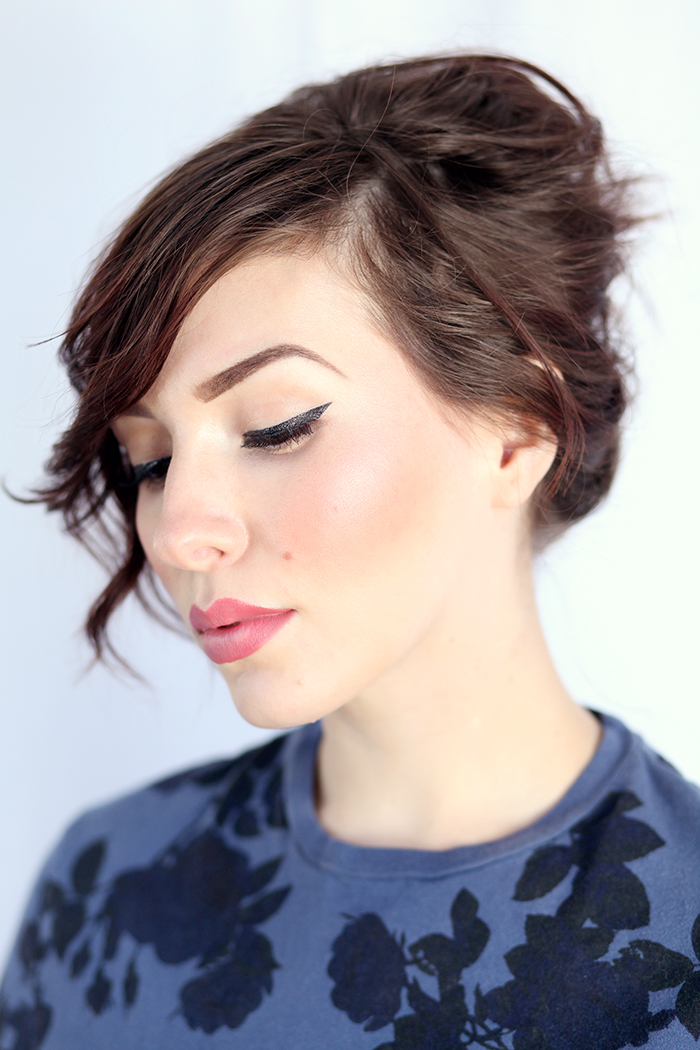
In the before photo, I’m wearing liner and lipstick, but no foundation. You can see that there are some minor blemishes, blotchiness, and shine that need to be taken care of. With TEMPTU’s airbrush foundation, I can perfect the look of my skin – but without anything else, it would still fall a little flat. By going back in and adding color to my cheeks and subtle highlights, I created dimension and helped sculpt my face. Even without contouring, it made a huge difference in defining my facial structure, don’t you think?

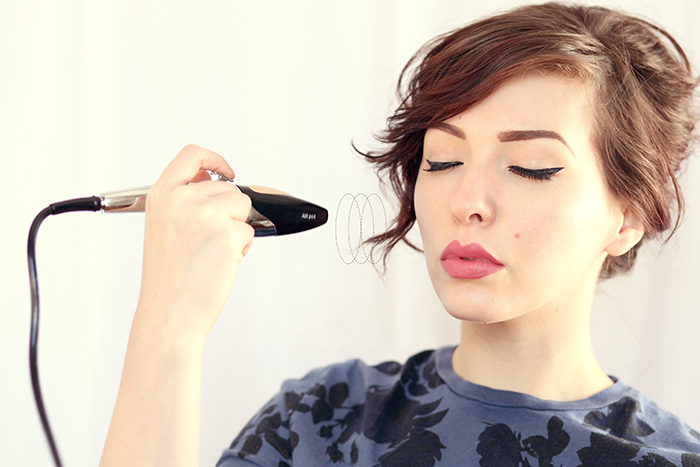
With the dial turned to 3 o’clock (their recommended flow for foundation) and the airpod about a hand’s width away from my face, I pulled the trigger halfway to get a steady stream of foundation, moving in continuous circular motions. Here’s what I learned: It’s best to start with a sheer layer, and build as necessary. If you have any blemishes, dial back to 12 to get a concentrated flow, and aim at the blemish (closer to your face). Then go back over it with the dial at 3 o’clock (pulling back at a hand’s length, again) to blend seamlessly.
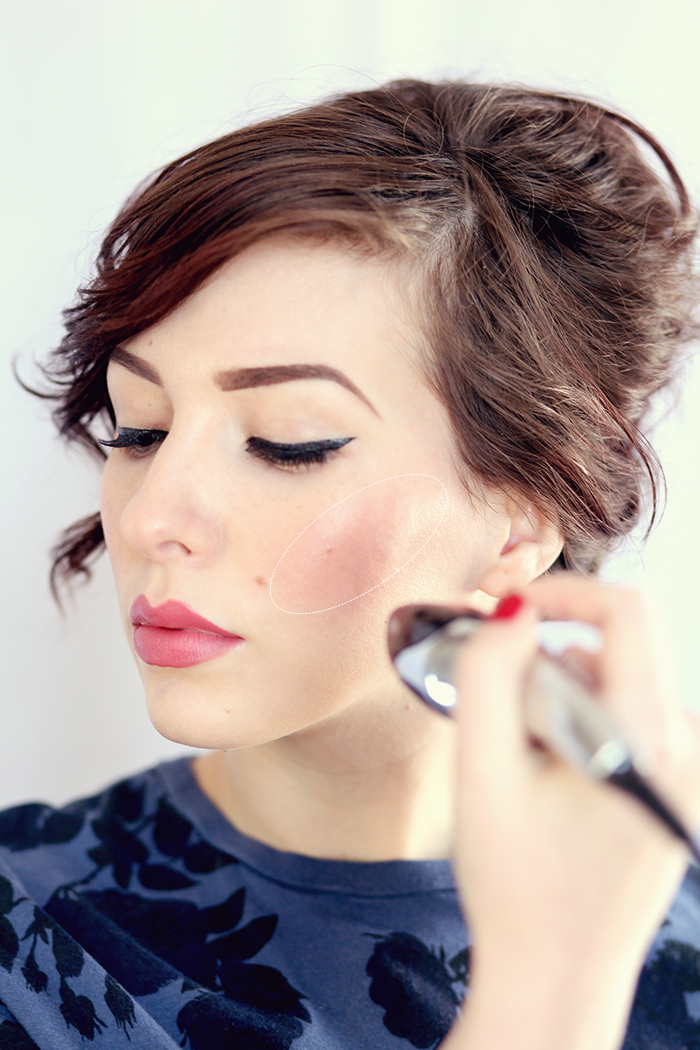
I wanted a wash of color on my cheeks, so I chose an aptly named blush: Washed Rose. Using the same method as foundation, I concentrated the color on the apples of my cheeks and pulled upward, in the direction of my cheekbones. (Tip: Make sure you shake the pod and remove the plug before use. I was wondering why no color was coming out, and realized I had forgotten to unplug it!)
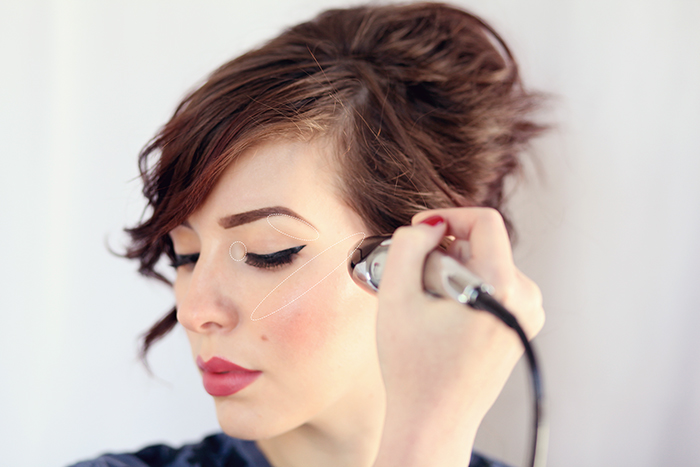
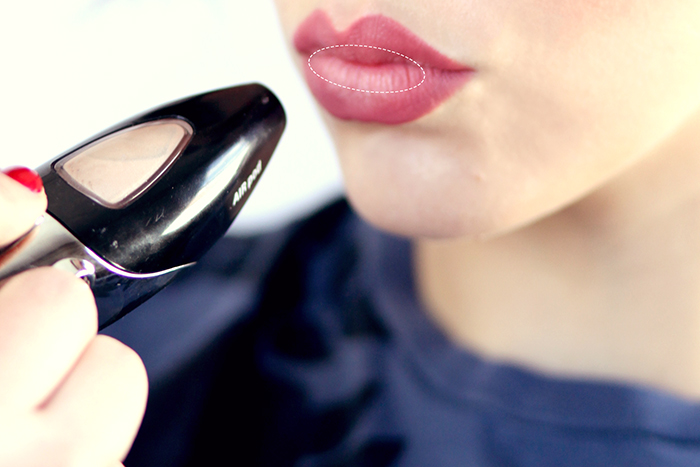
I applied Champagne Highlighter on the tops of my cheekbones, and with the dial back at noon, concentrated on my brow bone and the inner corners of my eyes. I then decided to airbrush Champagne on the center of my lips, to give them more dimension. And that’s all! Here’s the final look, completely in a few easy steps:
