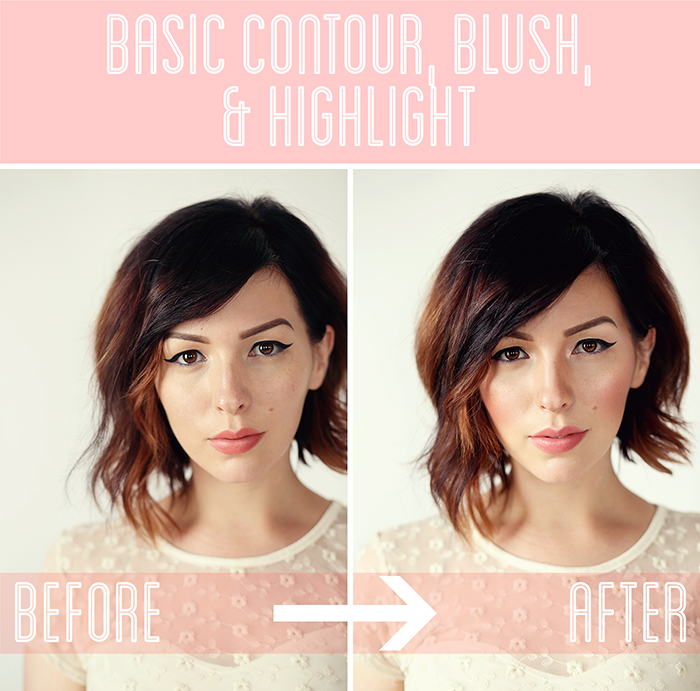

Makeup Monday: Basic Contour, Blush, and Highlight Tutorial.
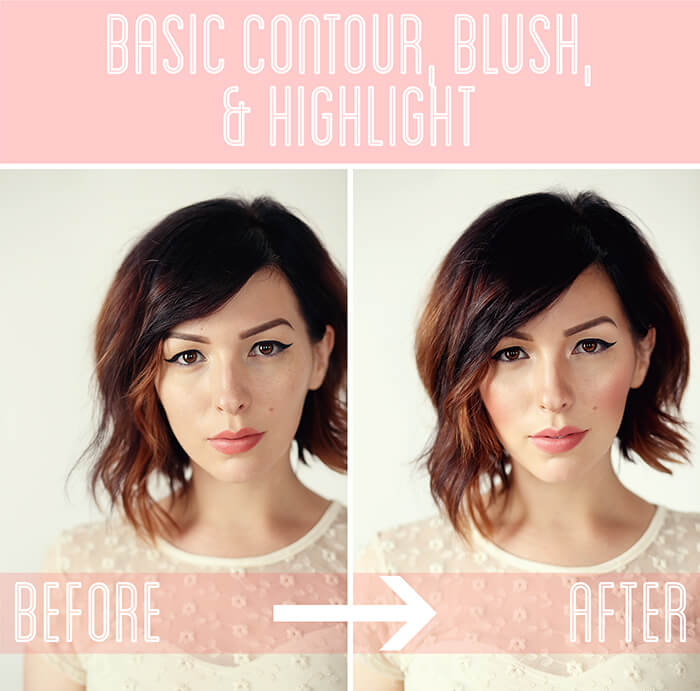
How to contour and highlight:
Contouring seems to be all the rage, lately; it’s one of the most popular tutorial requests I receive. I’ve always incorporated contouring and highlighting into my routine, but not in so much of a transformative way – just subtle enhancements.
Think of it this way: when applying foundation, you’re essentially erasing the details and creating a somewhat uniform base. Contouring, highlighting, and adding blush will put only the best details back in – a flush to your cheeks, hollowed out cheekbones, that inner eye glow – and enhance your features in the best way possible. Many of the [extremely well done] tutorials I’ve seen on instagram, and that ubiquitous Kim Kardashian contour demo, cater to dramatic transformations.
You can completely change your features with contouring; it’s incredible what makeup can do. But while it photographs well and can be great for special occasions, it might be little much for everyday life – and if you’re not as skilled as some of the ladies and gents out there who have mastered the craft (and I most certainly am not), you risk looking like you’re wearing a very thick mask. So, here’s what we’ll do: take those same principles of creating shadows and highlights, but dial it back a few notches.
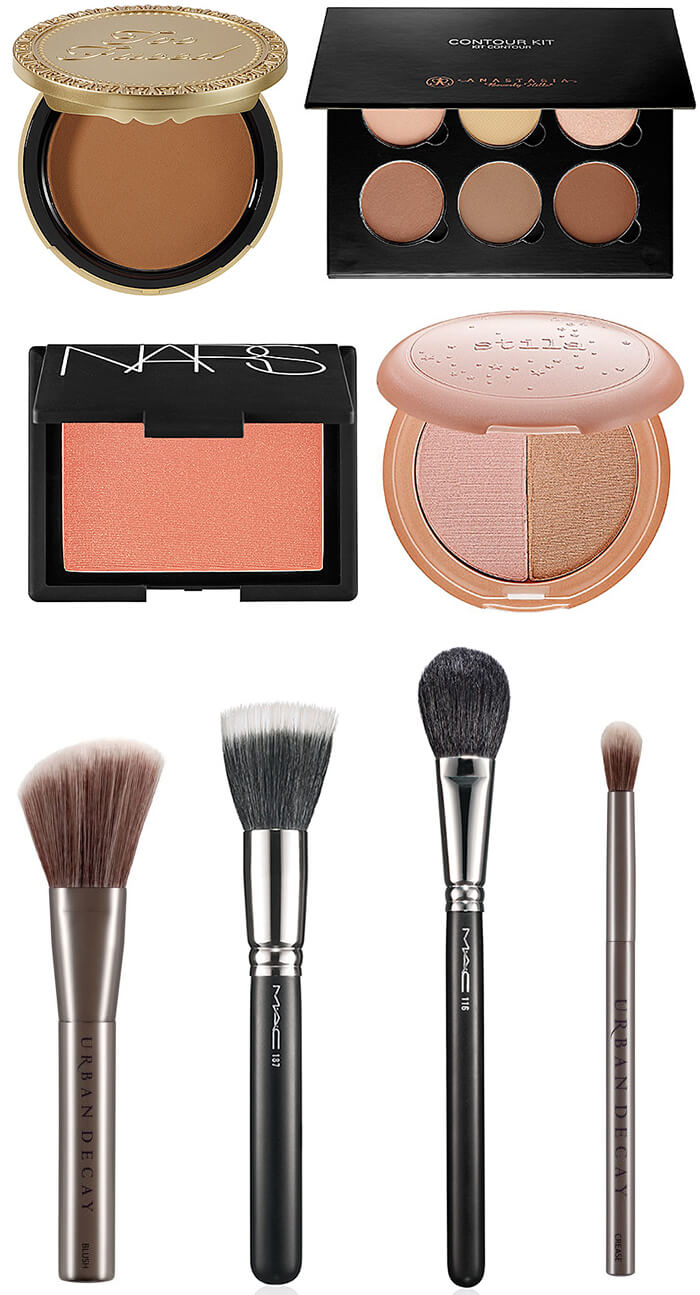
Products and brushes used: Too Faced Chocolate Soleil Medium/Deep Matte Bronzer, Anastasia Beverly Hills Contour Kit (I only used the matte highlight, since the kit was sold out online), NARS Deep Throat Blush, Stila “Kitten” Allover Shimmer Powder (I used the lighter side), Urban Decay Blush Brush (for contouring), MAC 187 Duo Fiber Brush (for blending – this is also great for blush, foundation and loose powders), MAC 116 brush (for precise blush application and highlights), Urban Decay crease brush (for small contours and highlights). On the lips: Julie Hewett Cheekie in “Peachie”
Basic Contour, Blush, and Highlight Tutorial
I might be the only person in the world who prefers using powder instead of cream for contouring (though I love creams for highlights), but that’s just a personal preference for my skin type. You can use whichever you like! Just remember that when mixing creams/liquids with powders, powders should go on last. Otherwise you’ll end up with caked, blotchy bits of makeup.
Pick a shade that’s a few shades darker than your natural skin tone. I usually use the lighter shade of Too Faced’s Matte Bronzer for a more subtle contour, but went darker for the sake of showing detail in the photos. For contouring, go with a matte finish: the point is to carve out your features by creating shadows, and light-reflecting particles will do the opposite of that. Shimmer works well for highlighting (though you can also go matte). Now that you have your products ready, let’s get started!
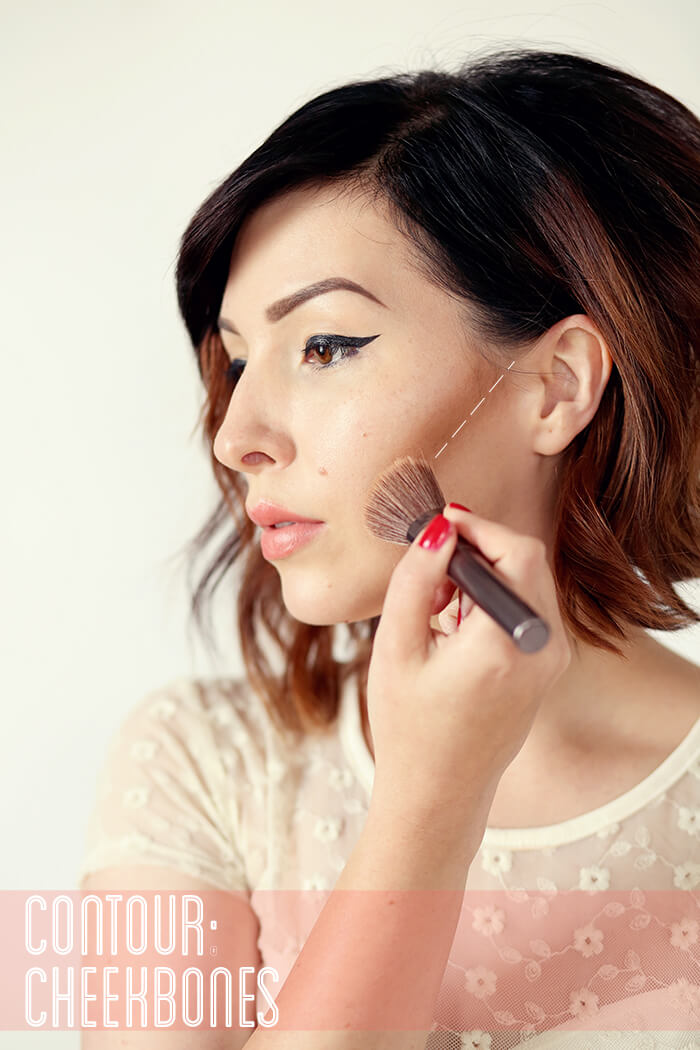
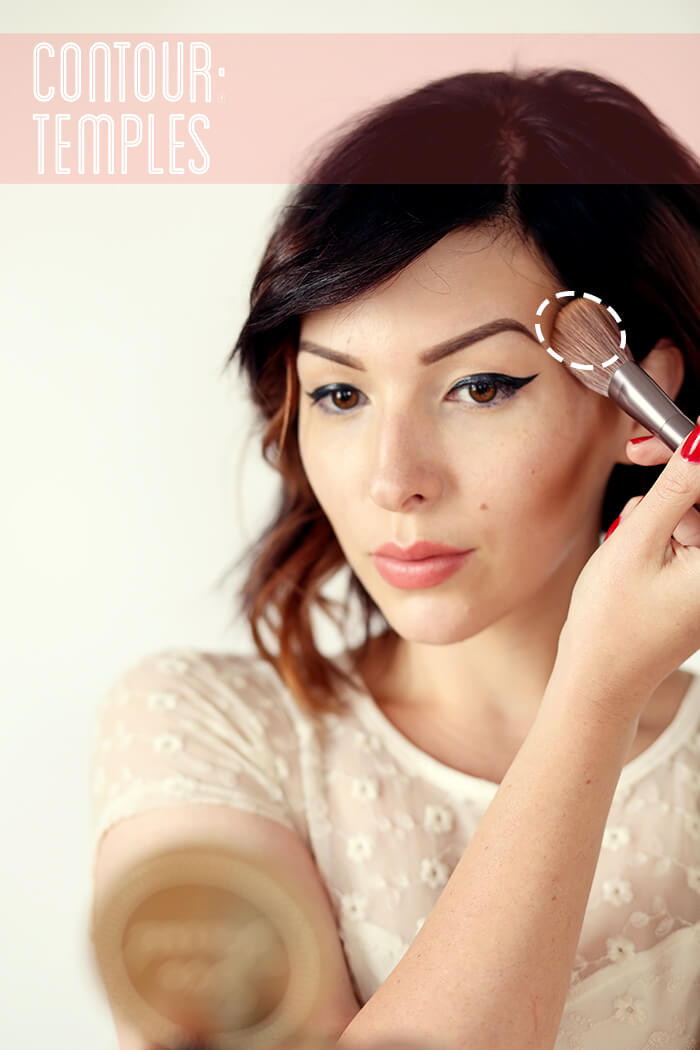
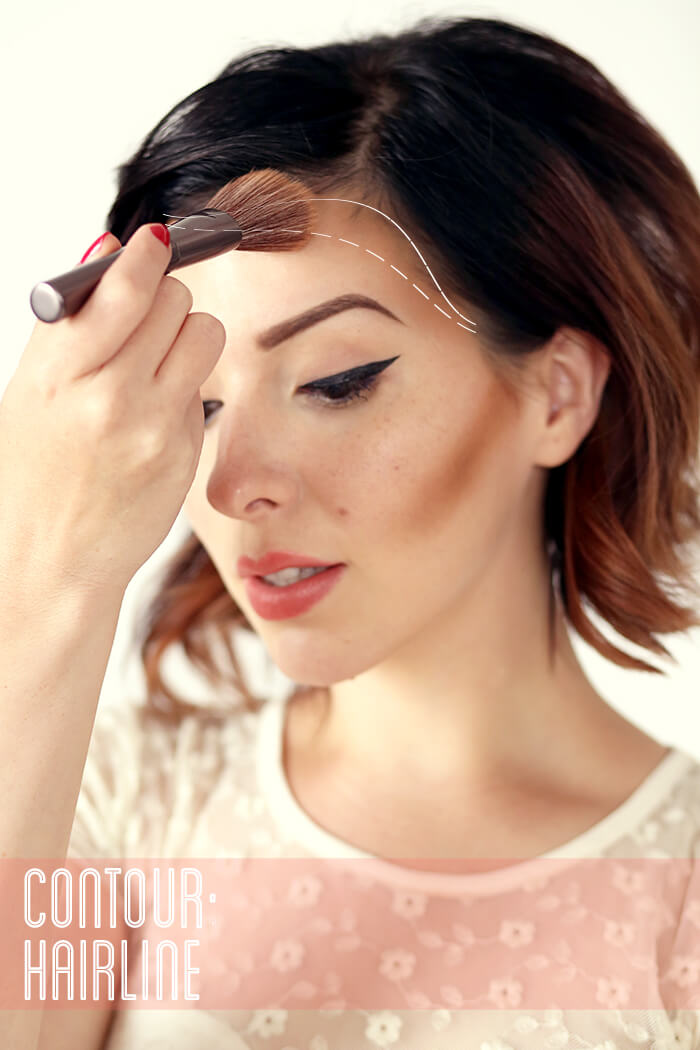
Using a slanted blush brush with the matte bronzer, contour the hollows of your cheeks, temples, and along your hairline.
While in front of a mirror, spend some time feeling the hollows and high points of your face with your fingertips, to figure out where to contour and highlight. High points that you want to bring out should be highlighted, and contour the places you want to further sink in or diminish. Do not contour your entire forehead – it defeats the entire purpose. I don’t know why that’s a thing, but I see that all the time. You’re supposed to be creating dimension and minimizing the space, not completely erasing your forehead!
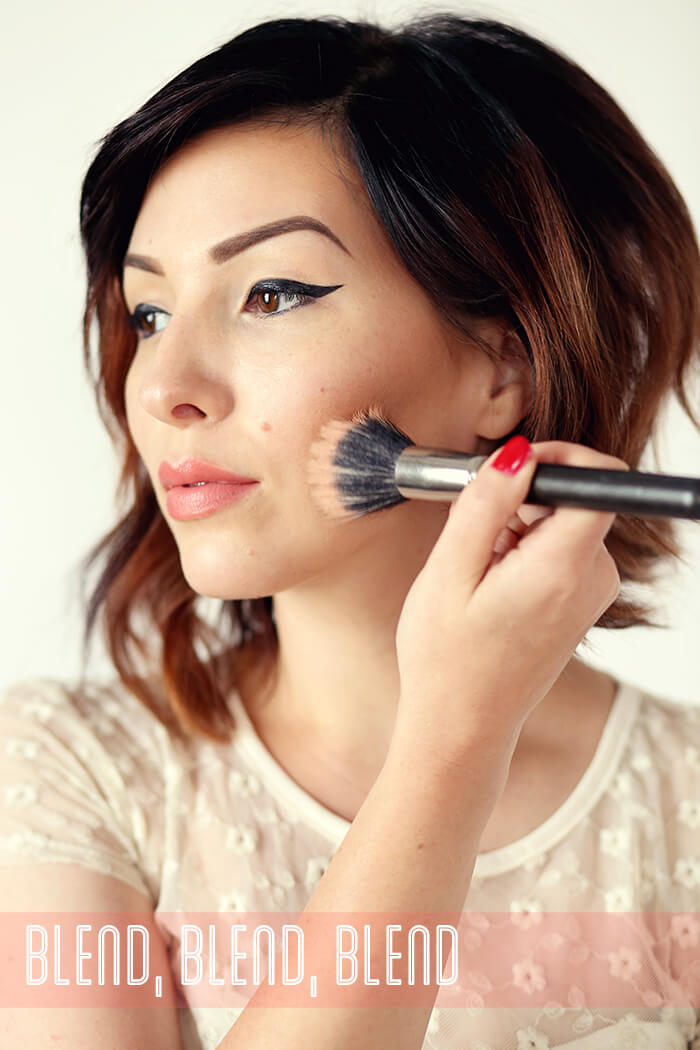
Blend the heck out of these with a duo fiber brush. If you’re using creams or liquids, this brush will also work – but I prefer a damp Beauty Blender for those.
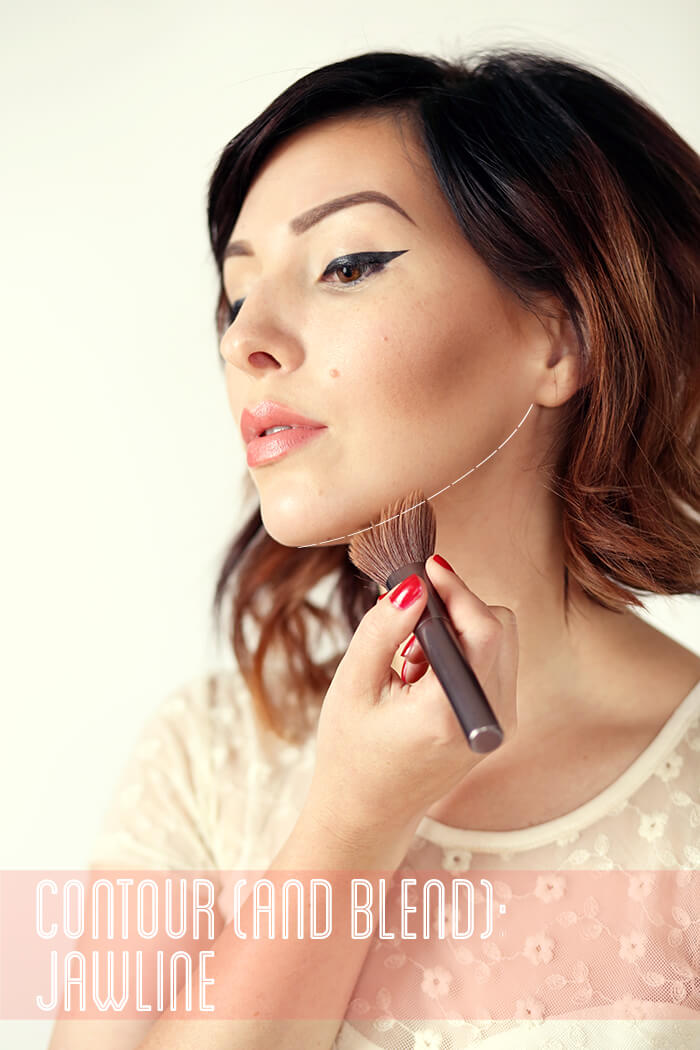
Using the slanted blush brush and bronzer, lightly go along your jawline. I don’t have the most defined jawline, and this tiny step makes a big difference.
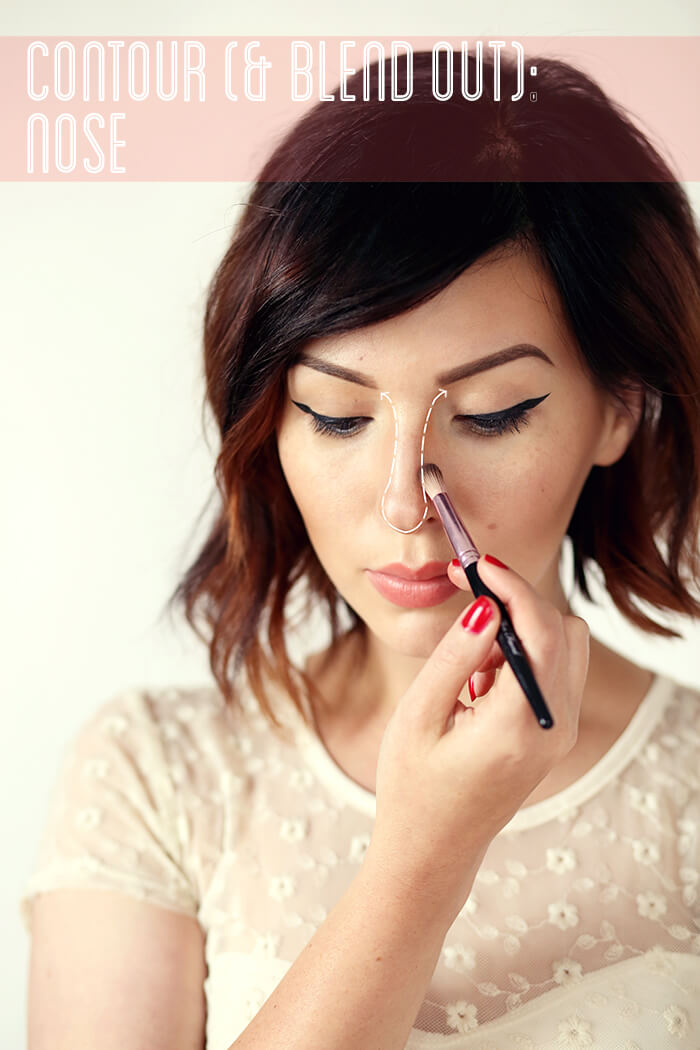
Use a small shadow brush to contour the sides of your nose and underneath the tip, making sure to blend outward.
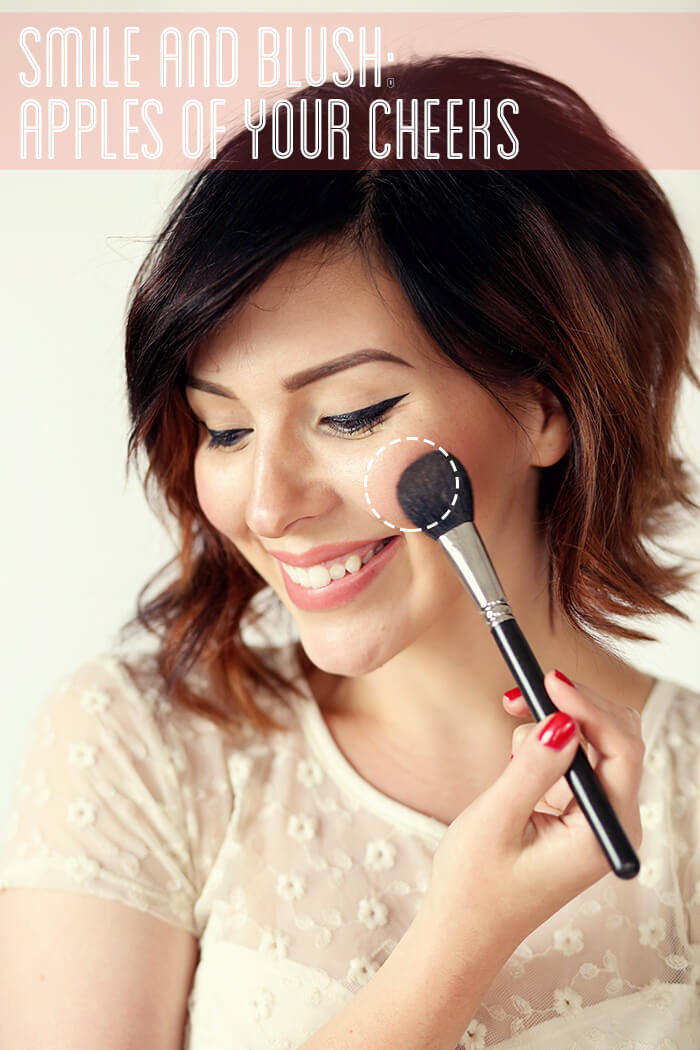
Apply blush to the apples of your cheeks.
Need help finding the right area? Just smile!
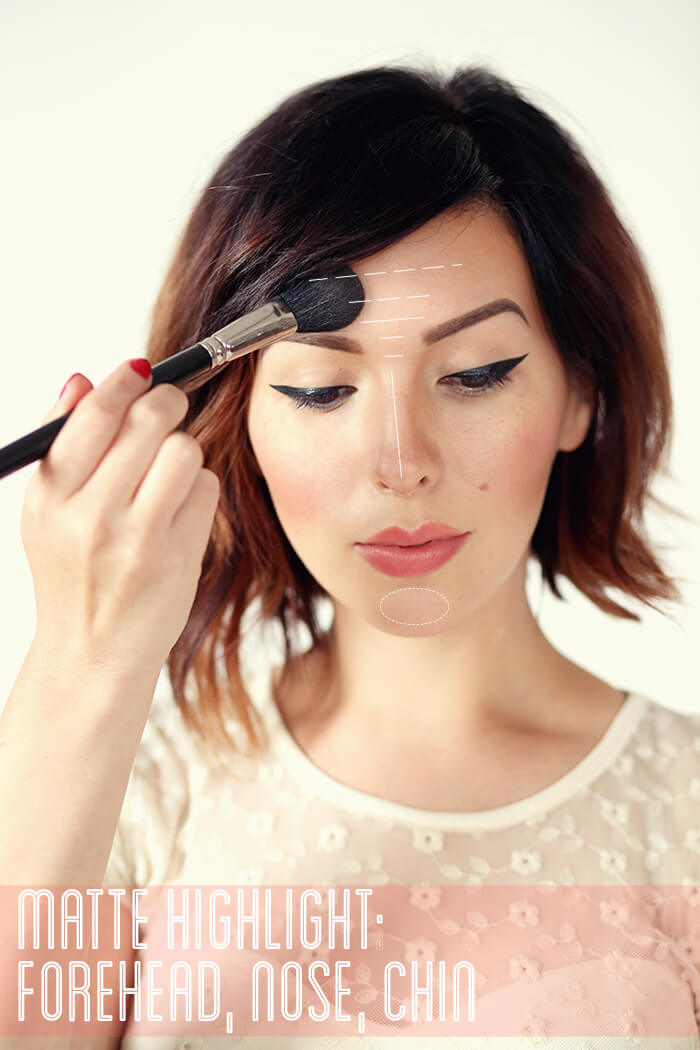
Apply a matte highlight across your forehead, the middle of your nose, and the middle of your chin.
A thinned out concealer (or slightly lighter foundation) can also be used.
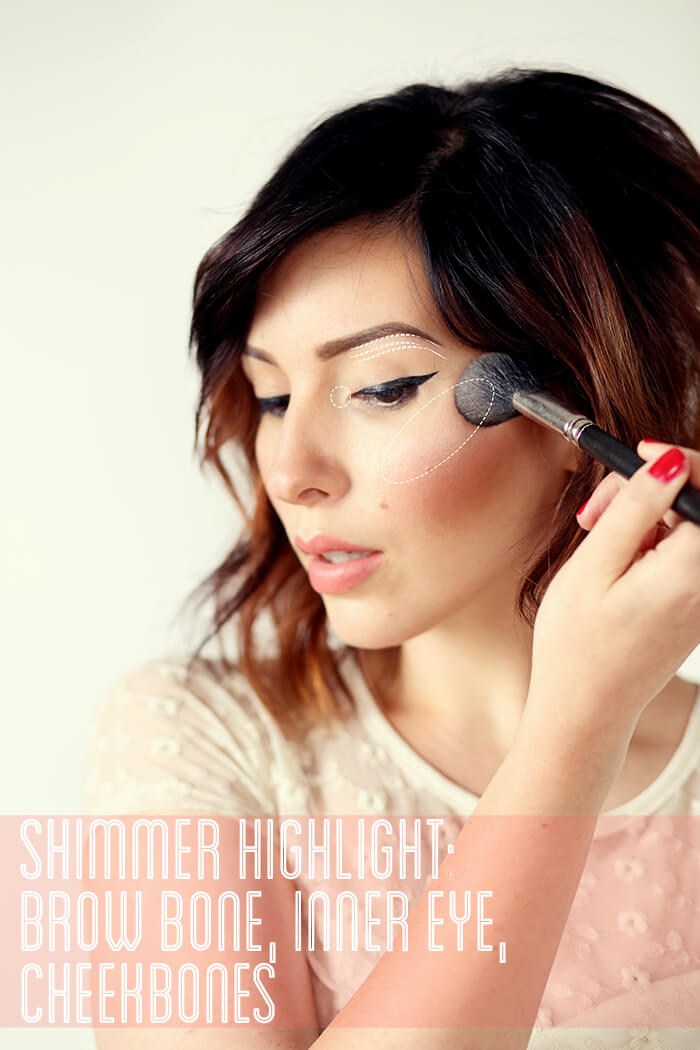
Now it’s time to add in a little more light: highlight the tops of your cheekbones, under the brows, and the inner corners of your eyes. I also like to add a subtle shimmer to the cupid’s bow of my lips. Blend, where necessary.
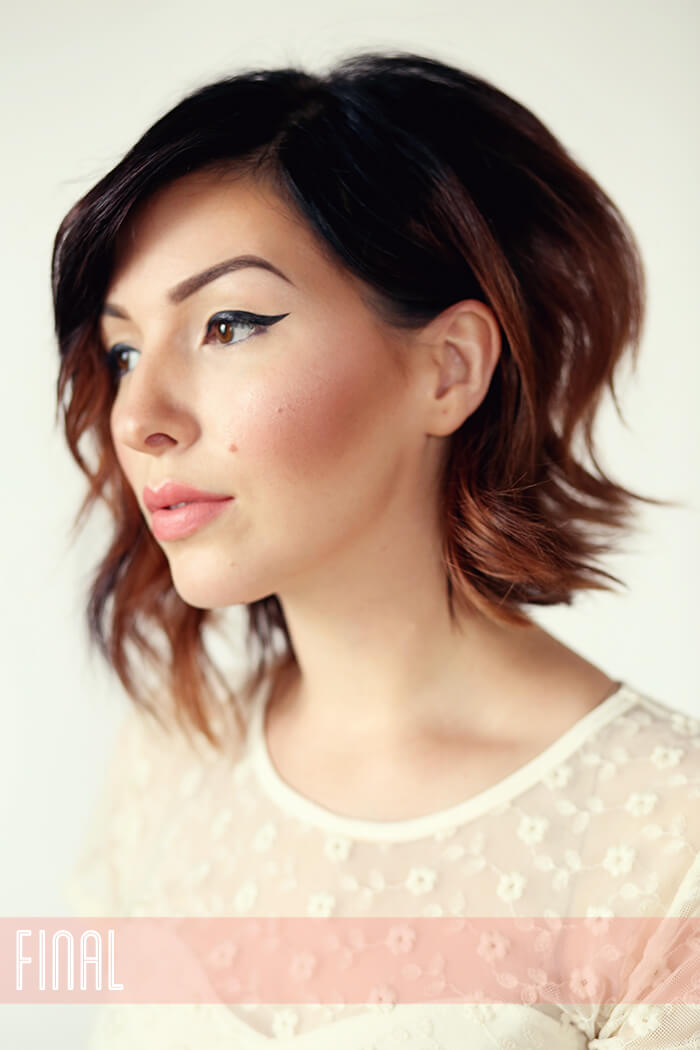
That’s it!

