October 21, 2016
Easy Halloween Nails Tutorial
I teamed up with OtterBox to bring you this fun and super easy nail tutorial, just in time for Halloween! While my sister is a professional nail tech, I have a difficult time keeping my nail polish off of my skin. Polish remover on a brush or cotton swab is my best friend; I just clean up my mess. But since I love nail art and can’t constantly go to the professionals, I find easy ways to jazz up my nails. This look was both inspired by the holiday and my favorite crystal OtterBox phone case — I swear I have others, but I just love this one! — and is so easy to recreate. Follow my step by step tutorial to see how I did it!

- Start with a clear base coat.
- Paint one coat of black polish on every nail. Hold off on the second coat for any nails that will have rhinestones, since you’ll need to place them on wet polish, but go ahead and polish the rest.
- Paint a second coat, and then use a wax pencil to pick up a rhinestone, one at a time. Seriously, the wax pencil is key. I’ve tried it with tweezers and it’s a pain, but the wax pencil picks them up and makes them so easy to place.
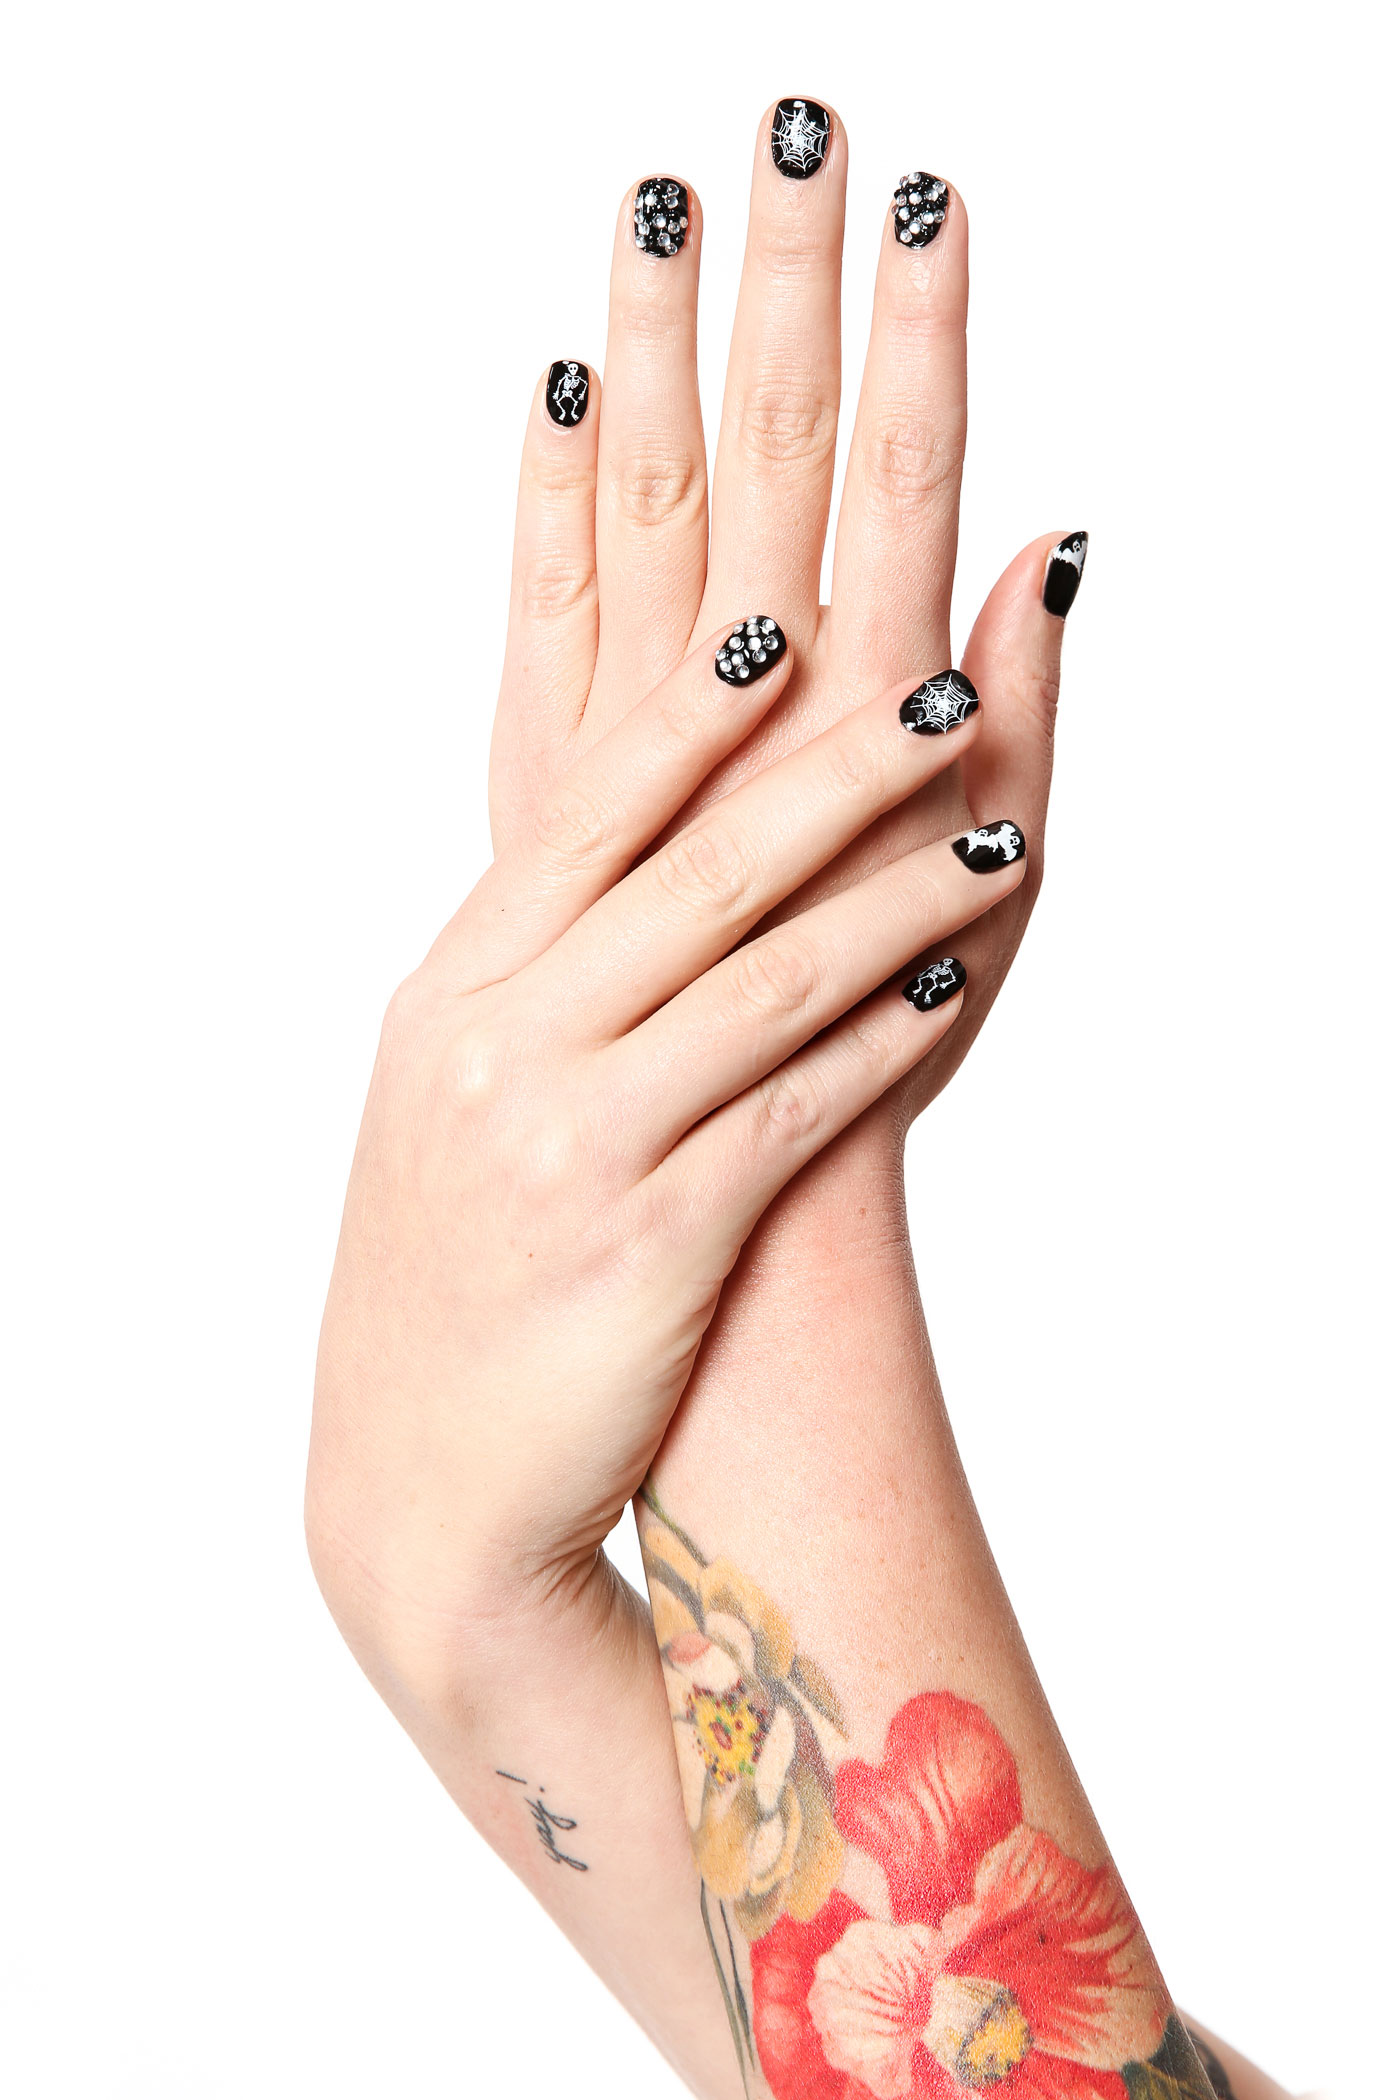
- Continue placing rhinestones until you have the look you desire. I wanted mine to look like my OtterBox phone case, so I went with black and clear rhinestones.
- Once your polish dries, add some nail stickers! I went with ghosts, skeletons, and spiderwebs, but if you’re not looking for a Halloween theme, there are lots of options out there. They’re super thin and adhere really well, so they look like you painted them with a precision tip brush. Just let people think that.
- Finish with a top coat on each nail. Done!