
Simple Beauty Tips and Tricks / Beauty Hacks with Everyday Household Items




(photos by Christina Emilie, hair by Erica of Pin Me Up Hair)
It’s time for part four of our mini-series with method, bringing you everyday tips for your retro (or modern!) life. Our final topic? Simple, classic beauty tips and a few little beauty hacks with everyday household products.
My everyday beauty routine is surprisingly simple, though it might look like a lot on paper. Give me five minutes and I’m ready to go. I rarely wear foundation, and I’ve become slightly addicted to lash extensions, which eliminates the need for my signature liner (I look alienesque without one or the other). But for those days/weeks/months when I abstain from that habit, my beauty uniform is the following: carefully blended concealer on prepped skin, blush & [maybe] highlighter, defined brows, lipstick of choice, liquid liner, and translucent powder on my t-zone. Anything else is just frosting on the already somewhat frosted cake. With my routine down pat, I’ve picked up some handy tips along the way:
- Take care of your skin. Never, ever sleep in your makeup, avoid harsh cleansers and exfoliants, and find a routine that works for you. Leave the cleansing wipes for when you’re in a pinch or on a road trip, not for daily use. Take time with your skin routine and make it a relaxing, enjoyable experience instead of a chore. Your skin will thank you.
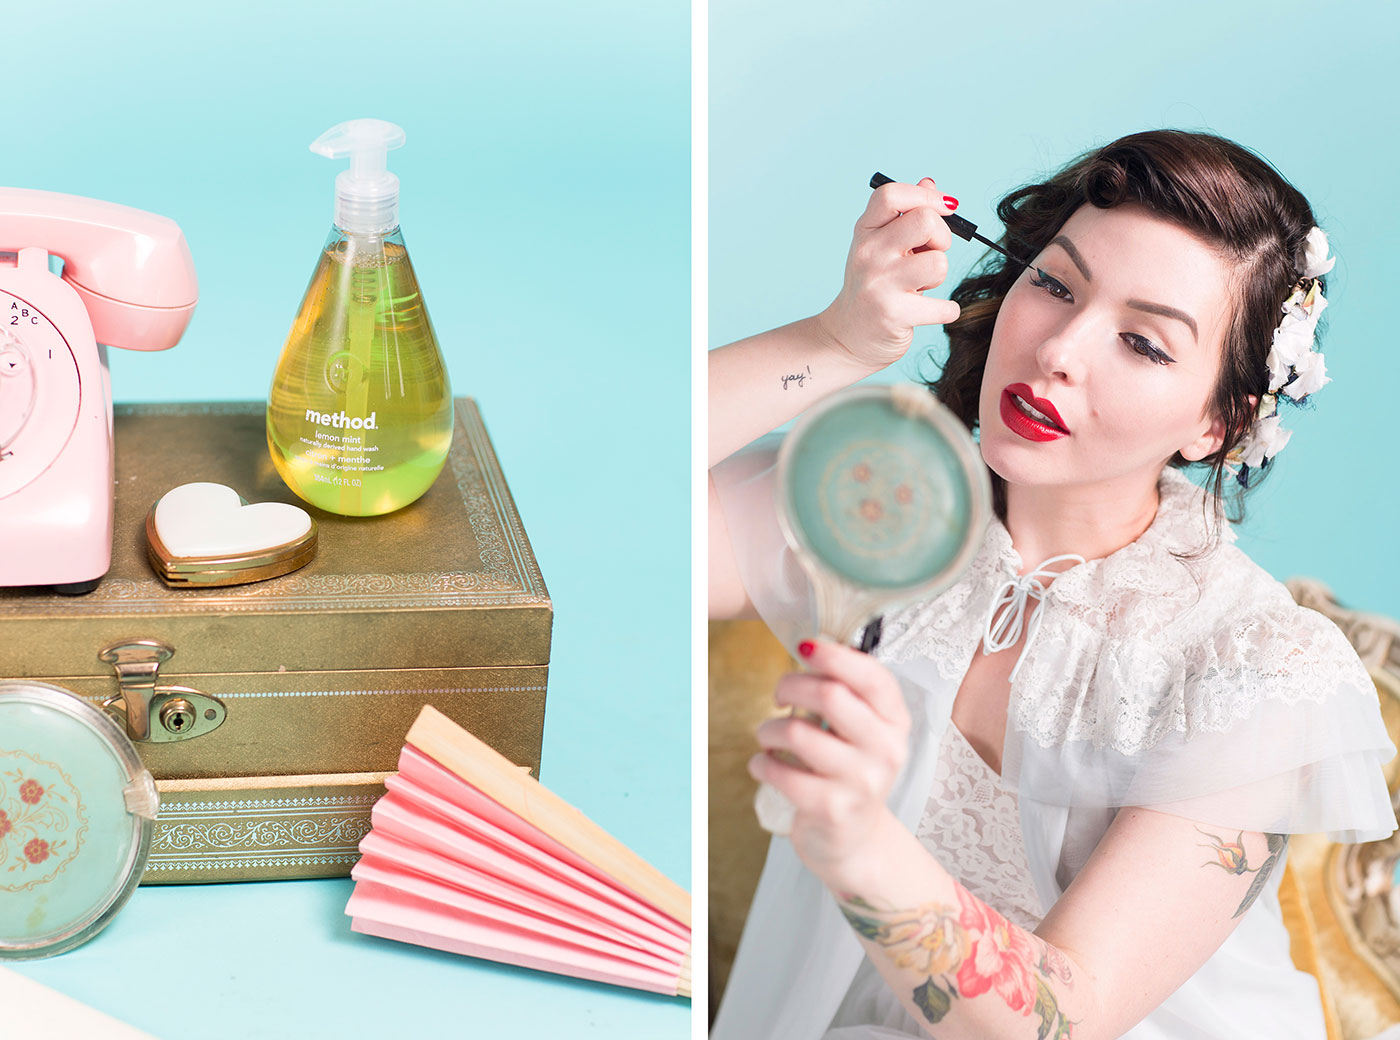
- Only use full coverage where necessary. Granted, this is just a personal preference — so if you prefer full coverage, go for it! But if you just have a few problem spots and want your skin to look luminous but maybe not flawless, just concentrate on the areas that need help. For a regular day, I use concealer under my eyes and around my nose, where it tends to get a little ruddy. I use a damp beautyblender to blend it out seamlessly and keep it from looking caked on. The beautyblender can get dirty rather quickly and collect bacteria, if not cleaned frequently, so make sure to thoroughly clean it after every use. I use my method gel hand wash to clean it up and make it look like new. Just saturate it with water, put a couple of pumps of hand wash, and work it in. Rinse, squeeze and repeat until the water runs clear.
- Customize your foundation coverage by cutting it with moisturizer. You can start with a medium to full coverage foundation and make it a little more sheer by mixing it with moisturizer. Using a damp (soak in water and squeeze out the excess) beautyblender will also help with this.
- Keep your brushes clean with the same hand wash you keep at your sink. The last thing you want to do is be transferring grime and bacteria all over your face! I used to buy expensive brush cleaner, which I would promptly misplace (I have no idea how I manage that), until I realized I could use the same hand wash I use for my sponges and, duh, my hands. Bonus: since it sits right by my sink, I never misplace it. Use lukewarm water, not hot, or else you’ll risk losing some bristles. Shape and then lay flat to dry.
- Use your finger to blend out your concealer. You can use a brush, of course, but I actually prefer using my ring finger. Your body heat will make it melt right into your skin. Gently press and roll your finger to blend, don’t wipe (or you’ll just wipe it away). Since you already have your method gel hand wash on hand (wink wink), put it to good use and make sure to wash your hands – especially if you’re covering a blemish, any bacteria can just make it worse. And obviously wash your hands after you’re done, or else you’ll get makeup on everything you touch. Fear no mess!
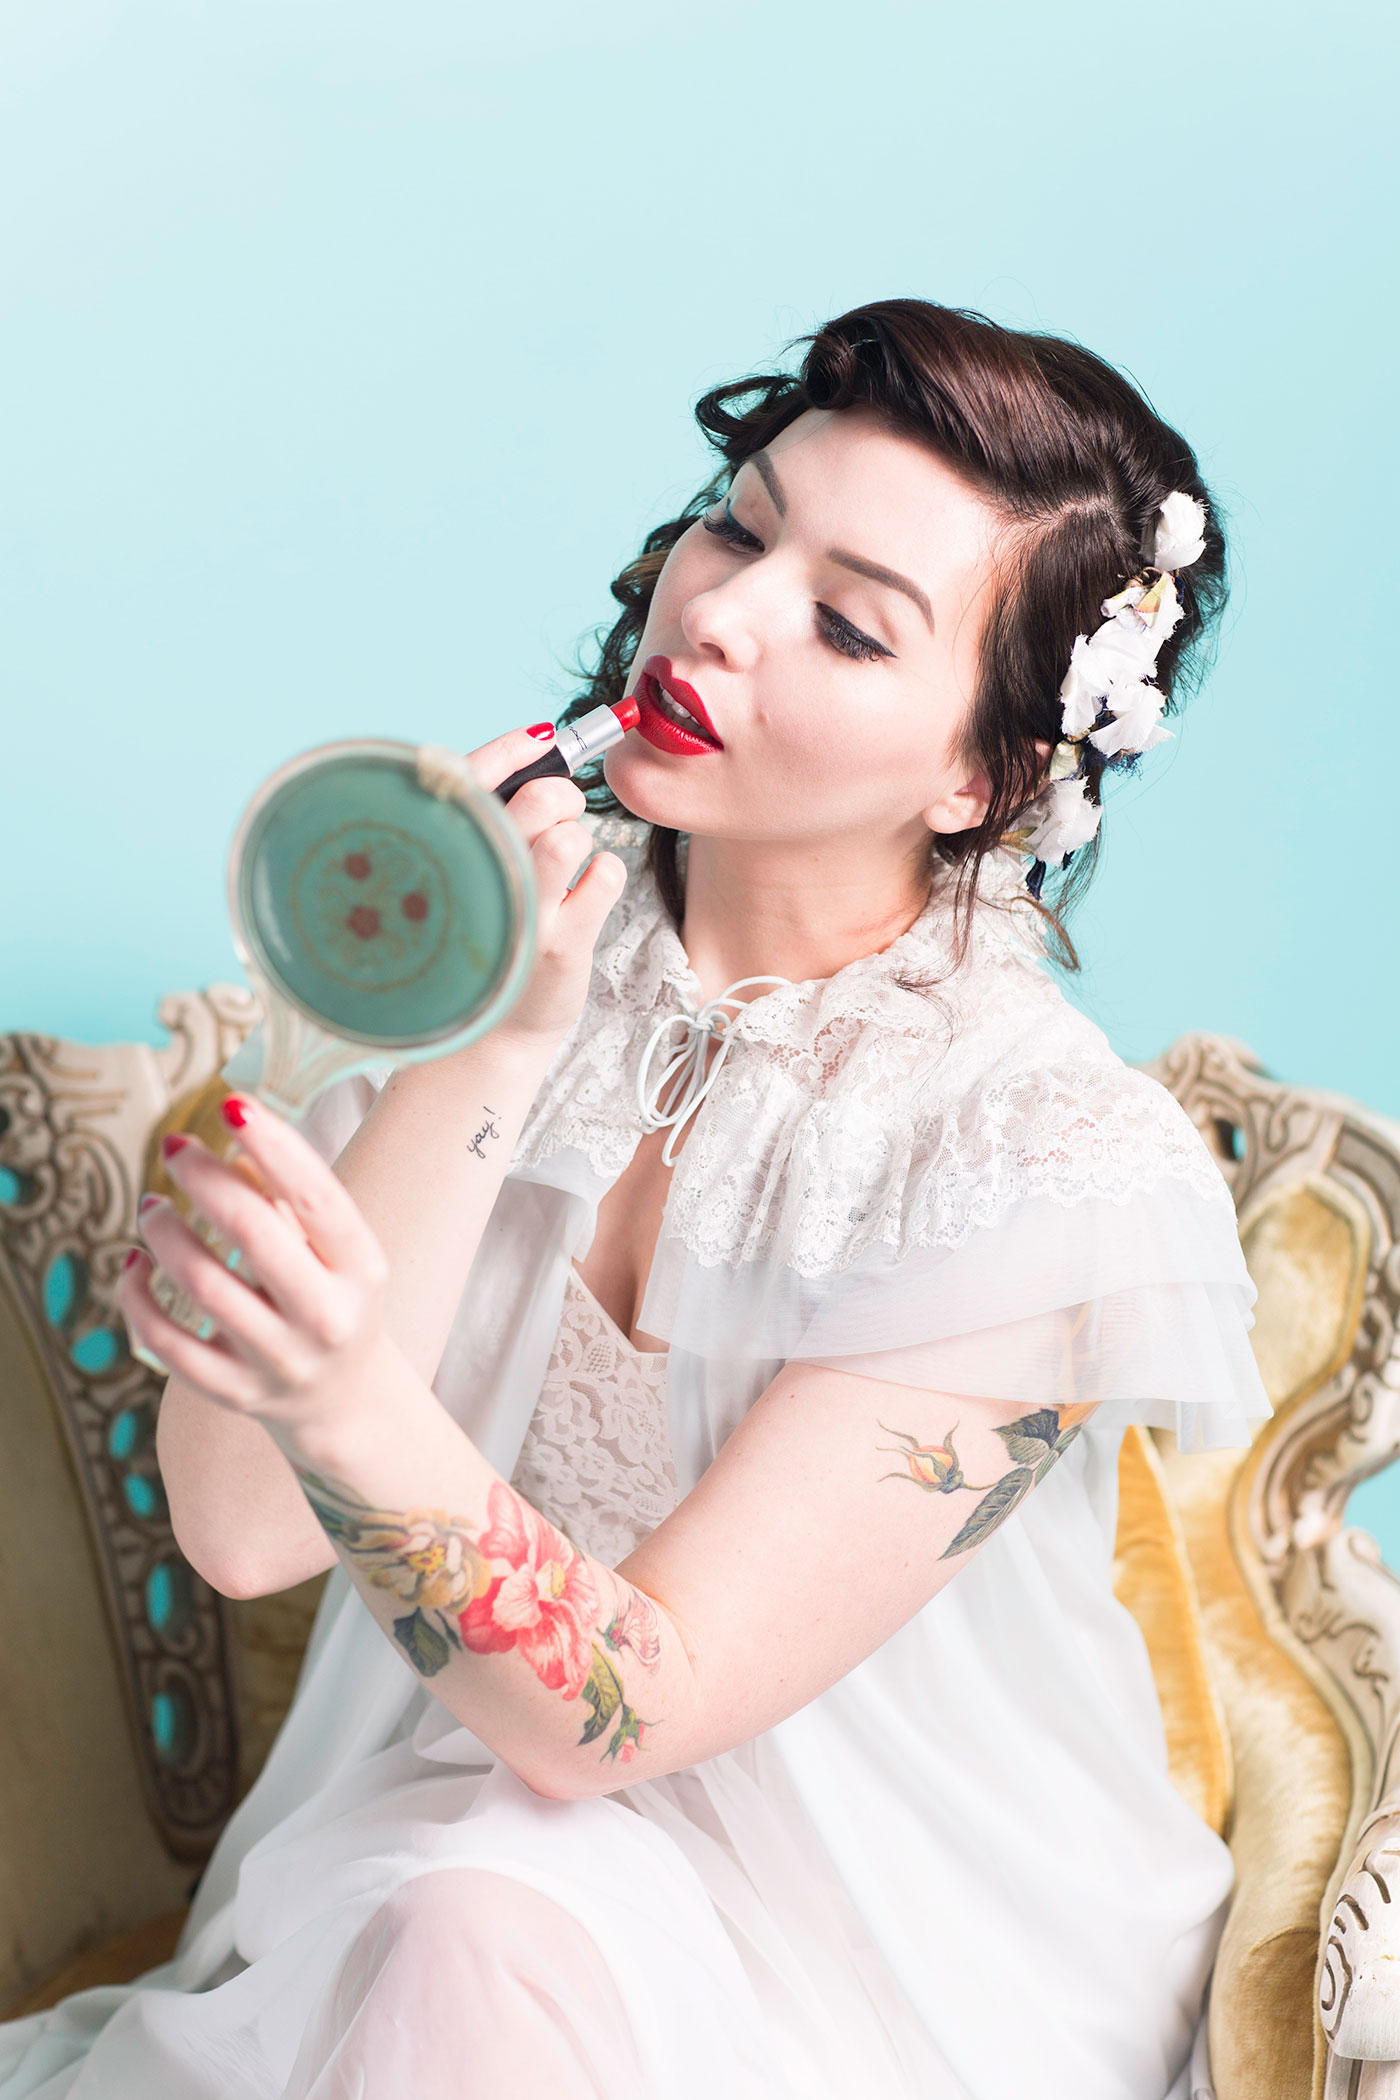
- Apply lip liner last. I almost always use lip liner with bold lipsticks. But here’s my personal trick: I use it after I apply the lipstick. You can line your lips before applying lipstick, as it creates a color-in-the-lines scenario and keeps it from bleeding, but primer can also do the trick (and make your lipstick last longer). I usually finish a bold lip with lip liner, which helps me perfect the shape and edges. Just make sure the liner matches the lipstick!
- Use your lower lash line as your guide for winged liner. Your wing should look like it’s continuing in the same direction as your lower lash line, so imagine that it just keeps extending upward — that’s where the outer edge of your wing should line up. Here’s a handy trick, which can also be used with shadow: use a piece of tape as your guide. That way, you can symmetrically position the tape on both eyes in the desired position, apply liner, and then remove the tape for a clean line.
- Keep blotting papers on hand. Rather than reapplying powder, soak up any excess oil with blotting papers. I buy mine pre-packaged, but you can also use a coffee filter or tissue paper (like the kind you use to fill up a gift bag) for a DIY version. I also like to refresh my makeup with a face mist, throughout the day. It’s a nice pick-me-up!
Thanks to method for partnering with me on this mini-series of everyday tips for your retro (or modern!) life. #fearnomess

